Introduction

If you are confident that your motherboard needs to be replaced, and have a replacement motherboard, then follow this guide.

  1. Zdifga6btoHisELE
    • Open the battery compartment and remove the batteries.

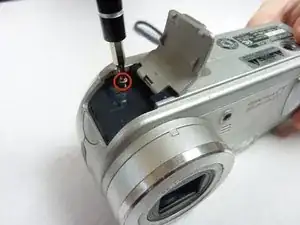
    • Remove all of the visible screws on the outside of the case.

    • There should be three of them that are all easily located.

  2. dti2SEuQUx1wHLPb
    • Open the memory card compartment.

    • Remove the screw next to the memory card slot.

  3. RIWPa3odMwLExFdN
    • Pull apart the front and back cover pieces carefully.

    • The front cover should come completely free with little effort.

    • The back cover will still be attached to the circuit board.

  4. NJMrDPPJbpBLcnNF
    • Simultaneously unclip all of the clips holding in the circuitry. Remove the back case.

    • The circuitry will still be connected to the back case by ribbon cables.

  5. oAAMsW2xjYxNjqmm
    • Open the case as shown.

  6. ukQVEFTlNGv4PJ2G
    • Unclip the clip holding the ribbon cable in.

    • Other ribbon cables might not have a clips.

  7. HAvdOMHnKpQhaqsZ
    • Pull the ribbon cable out.

  8. EdwyZ455qTC1IgAs
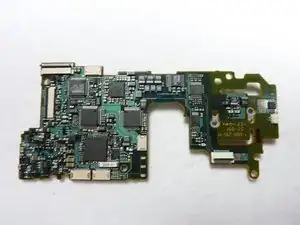
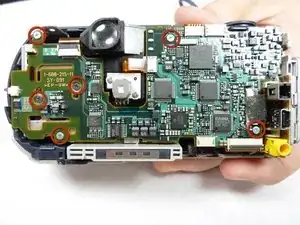
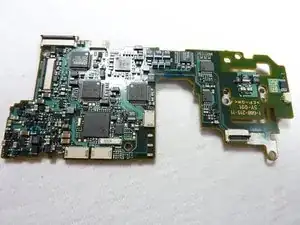
    • Remove all six screws on the front side of the motherboard circled in the picture.

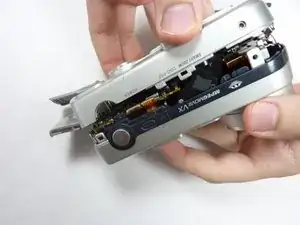
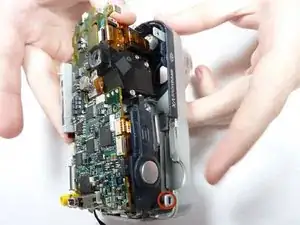
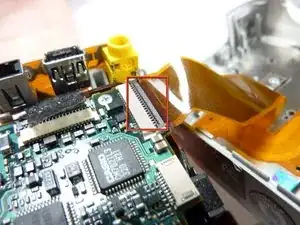
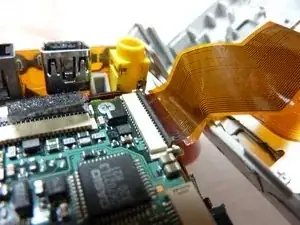
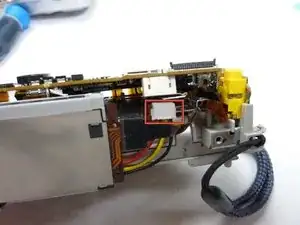
    • Pull the motherboard from the rest of the housing.

    • It will still be connected to the flash unit.

  9. XKNAHOuUYkNGFkTe
    • Remove the cable on the back side of the motherboard.

  10. TML1WUe1nqiTw6ZL
    • Detach the ribbon cables shown.

    • Careful! Touching the leads of the large yellow capacitor can result in a painful shock.

    • Remove the flash unit from the motherboard.

    I actually accidentailly did touch the capacitor - It did indeed hurt. Don't do it!

    AlexPlaysRoblox -

  11. bpwvYwMUUD6AsAu1
    • The motherboard is now free, and ready to be replaced by a new one.

Conclusion

To reassemble your device, follow these instructions in reverse order.

Trevor

Member since: 20/01/11

295 Reputation

0 comments