Introduction

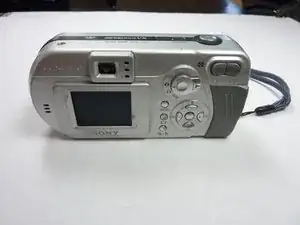
The LCD should be checked if the screen is blank or broken.

  1. Zdifga6btoHisELE
    • Open the battery compartment and remove the batteries.

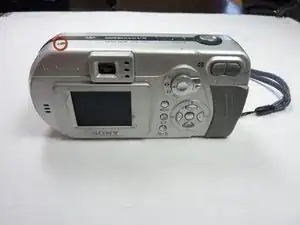
    • Remove all of the visible screws on the outside of the case.

    • There should be three of them that are all easily located.

  2. dti2SEuQUx1wHLPb
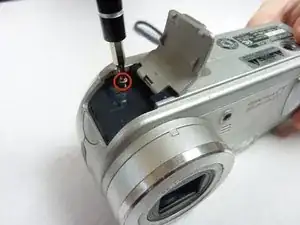
    • Open the memory card compartment.

    • Remove the screw next to the memory card slot.

  3. RIWPa3odMwLExFdN
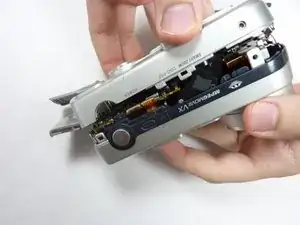
    • Pull apart the front and back cover pieces carefully.

    • The front cover should come completely free with little effort.

    • The back cover will still be attached to the circuit board.

  4. NJMrDPPJbpBLcnNF
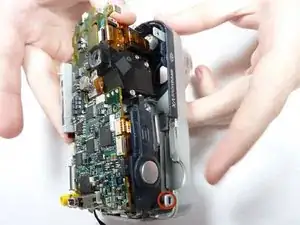
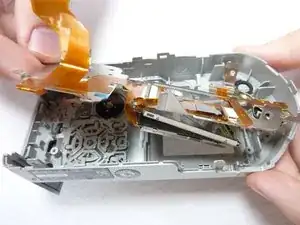
    • Simultaneously unclip all of the clips holding in the circuitry. Remove the back case.

    • The circuitry will still be connected to the back case by ribbon cables.

  5. oAAMsW2xjYxNjqmm
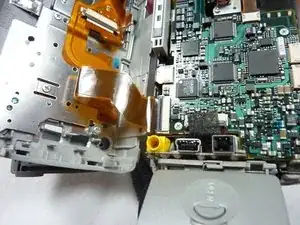
    • Open the case as shown.

  6. ukQVEFTlNGv4PJ2G
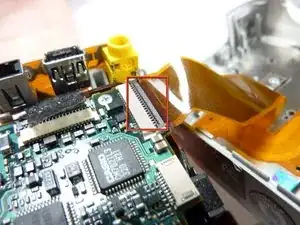
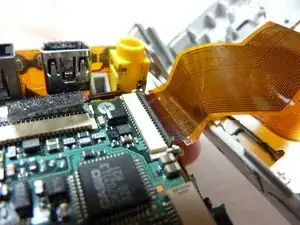
    • Unclip the clip holding the ribbon cable in.

    • Other ribbon cables might not have a clips.

  7. HAvdOMHnKpQhaqsZ
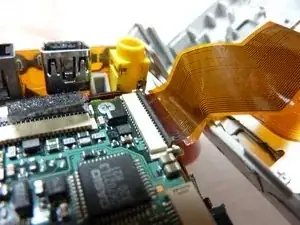
    • Pull the ribbon cable out.

  8. iV4DcKQ5EFMgmQbl
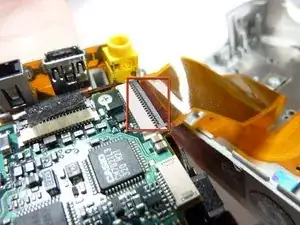
    • Unclip the ribbon cable shown the in picture.

    • Some ribbon cables do not have a clip holding them in.

  9. dVBeHZypGOsaKSBN
    • Pull the ribbon cable out.

  10. ABMo3g4PLmDOZ4fR
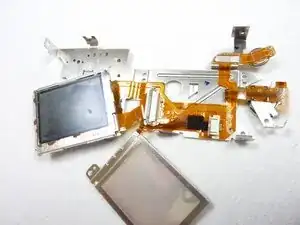
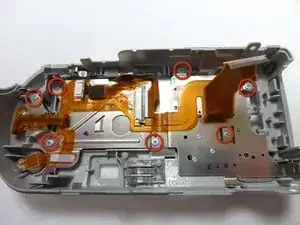
    • Remove 7 Screws to remove plate and expose LCD screen.

  11. hxnk1FNoXj5PBKOB
    • Remove LCD plate to expose LCD components and ribbon cables

  12. ELgW6WnxTGCANCfj
    • Check connection of LCD to cables

    • If cables are intact, disconnect cables and replace LCD with new part

  13. sL4yXPg2D6GsQYTY
    • Repeat steps in reverse order to reassemble the camera

Conclusion

To reassemble your device, follow these instructions in reverse order.

Mark

Member since: 11/01/11

13 Reputation

One comment

I don’t know the cause of my camera not turning on.
Smgmc64 Productions -