Introduction
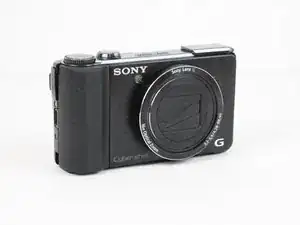
This guide will assist with removal of the rear case of a Sony Cyber-shot DSC-HX9V camera in order to facilitate replacement of internal parts such as the lens or LCD screen. Disassembly of the rear case involves small screws. Store screws in bag or container to aid with installation.
-
-
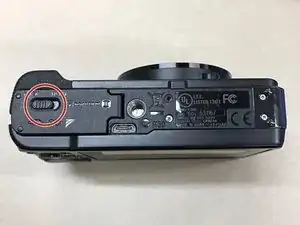
Place the camera upside down with the top sitting on a flat surface.
-
Using your fingers, slide the door lock to the unlock position.
-
-
-
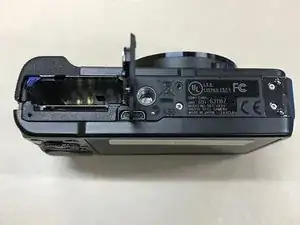
Open the battery compartment door.
-
Remove the battery from the compartment by turning the camera upside down and allow it to slide out. Be sure to catch the battery as it slides out.
-
If you are replacing internal camera parts, stop here. If you are replacing the old battery, continue with step 2.
-
Insert the new battery into the compartment matching the positive battery lead to the positive terminal and the negative battery lead to the negative terminal on the camera.
-
Close and lock the battery door and power the camera up. Ensure to check the battery charge levels and that all functions of the camera work properly.
-
-
-
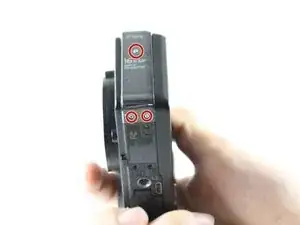
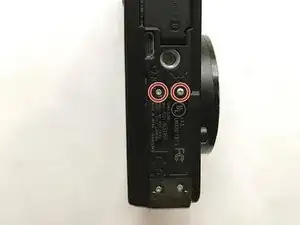
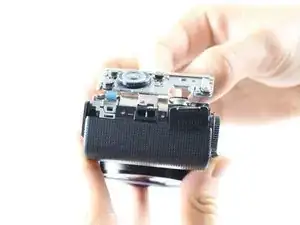
Place the camera on a towel while working on top of a desk or table.
-
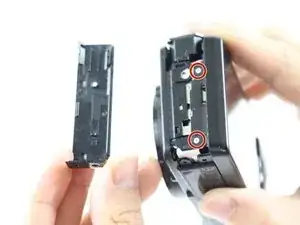
Remove the five marked screws with a Phillips #000 screwdriver.
-
-
-
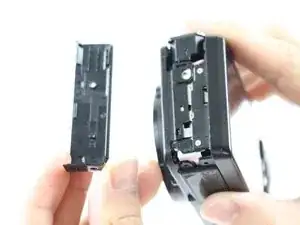
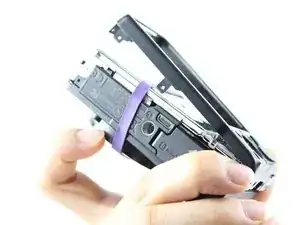
Once all the screws are removed, partially lift the rear case upward and install a rubber band.
-
After installation of the rubber band, open the HDMI dust plug located on the right hand side of the camera and continue to tilt the rear case backwards until it is removed.
-
-
-
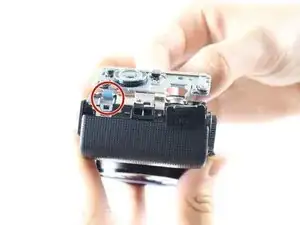
Disconnect the control board data cable by wiggling carefully with your fingertips. Set the control board to the side once it is disconnected.
-
To reassemble your device, follow these instructions in reverse order.

One comment
Hello @jetblast Thanks for this guide. Flash of my HX9V is not working properly. It actaully popus up but doesn’t throw the white light. I got it checked in the Sony Service center and this is what they suggested me to change: http://prntscr.com/qidtm4 Can anyone identity these two parts and from where I can get them? Also, any repaid guide available on how to change the flash?
Thanks in advance!
Raj -
Hi all, In the battery compartment there is a tiny blue plastic tab in the upper left hand side (when lens faces forward).
Gently press to the left to release battery - then it will fall out! (This definitely applies to the DSC-HX9V in my hand.)
Matt_T_B -