Introduction
This guide will help a user replace the LCD screen if it is broken. It is also a prerequisite guide for lens removal. Take note that there is a data cable installed and you must use caution when disconnecting it from the mainboard. The LCD lens is fragile and requires special handling.
-
-
Place the camera upside down with the top sitting on a flat surface.
-
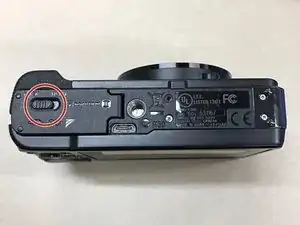
Using your fingers, slide the door lock to the unlock position.
-
-
-
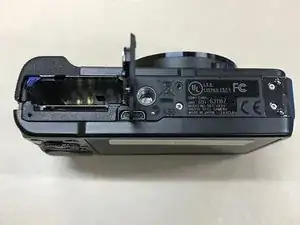
Open the battery compartment door.
-
Remove the battery from the compartment by turning the camera upside down and allow it to slide out. Be sure to catch the battery as it slides out.
-
If you are replacing internal camera parts, stop here. If you are replacing the old battery, continue with step 2.
-
Insert the new battery into the compartment matching the positive battery lead to the positive terminal and the negative battery lead to the negative terminal on the camera.
-
Close and lock the battery door and power the camera up. Ensure to check the battery charge levels and that all functions of the camera work properly.
-
-
-
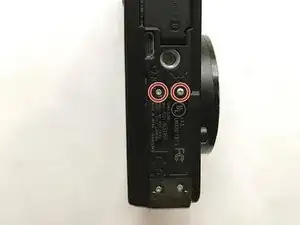
Place the camera on a towel while working on top of a desk or table.
-
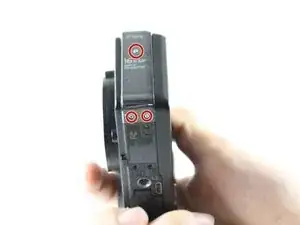
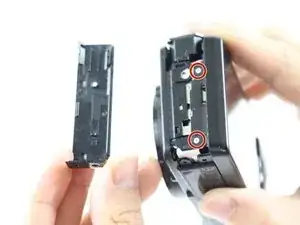
Remove the five marked screws with a Phillips #000 screwdriver.
-
-
-
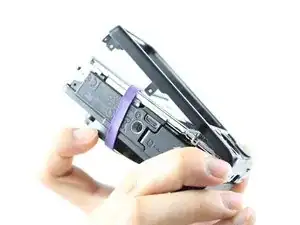
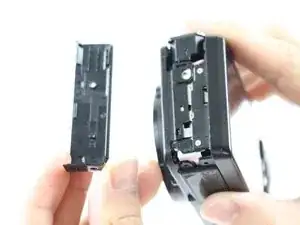
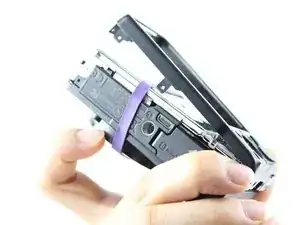
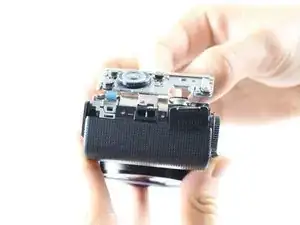
Once all the screws are removed, partially lift the rear case upward and install a rubber band.
-
After installation of the rubber band, open the HDMI dust plug located on the right hand side of the camera and continue to tilt the rear case backwards until it is removed.
-
-
-
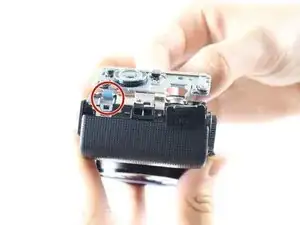
Disconnect the control board data cable by wiggling carefully with your fingertips. Set the control board to the side once it is disconnected.
-
-
-
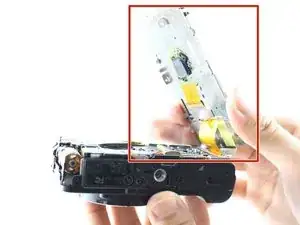
The LCD screens rests against a metal plate. Lift the metal plate and LCD screen simultaneously until it is perpendicular to the camera.
-
-
-
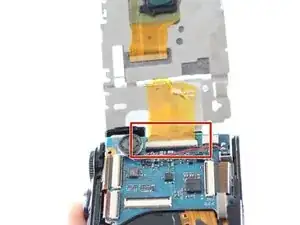
Using one hand, carefully rock the data cable in a side to side motion to disconnect it from the mainboard. Ensure your other hand is holding the screen to prevent damage.
-
Store the LCD screen on a padded surface with the screen facing downward. This will prevent any damage to the screen if tools or items were accidently dropped on it.
-
To reassemble your device, follow these instructions in reverse order.

4 comments
My camera was dropped recently and now no display appears. The camera was in a protective case but hit the ground, just right, on its corner. This looks like a great procedure for repair. However, where would I procure a replacement screen? Do you have a part number? Thank you!
I recently dropped my camera and now there’s no display. The camera was in a protective case but landed, just right, on it’s corner.
This procedure looks great. However, where would I procure a replacement LCD screen? Do you have a part number? Thanks!
Mijn display in mijn camera was volgens mij aangetast door vocht en was niet meer helder en gebruiksvriendelijk. Met een nieuwe (misschien wel occasion) uit china is hij weer prima te gebruiken. Dank voor de uitvoerige en precieze beschrijving om deze reparatie uit te voeren. Hulde aan schrijver Kris.
Yann van Tol, Den Haag, 28.08.2018