Introduction
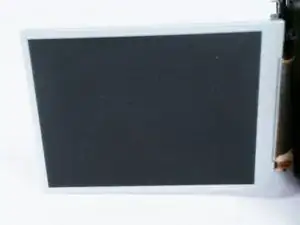
If the LCD screen is not powering on after the LCD/Finder button has been pressed twice, then the screen or the circuit board may need to be replaced.
-
-
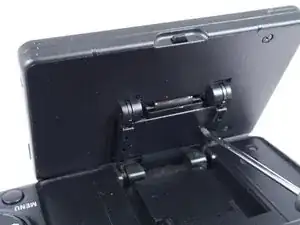
Use a Phillips head screwdriver to remove one 2 cm screw located on the inside portion of the LCD hinge.
-
-
-
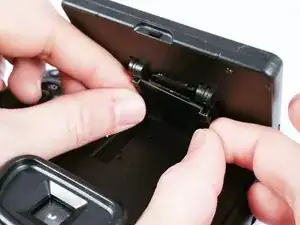
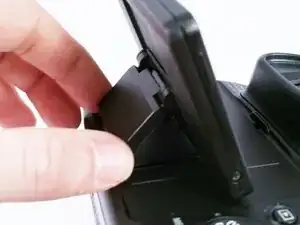
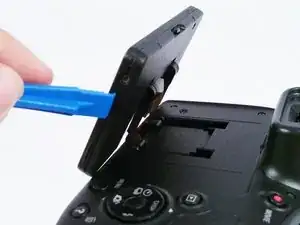
While using a plastic opening tool, carefully remove the plastic housing that surrounds the hinge.
-
-
-
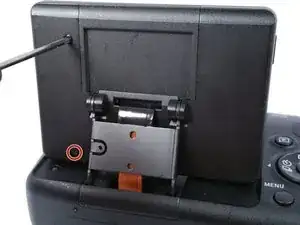
Using a small Phillips head screwdriver, remove the (2) 2 cm screws on the back of the LCD display, as indicated in the photo.
-
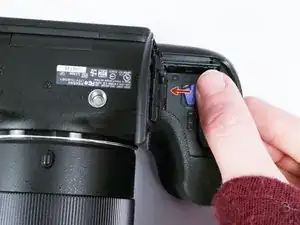
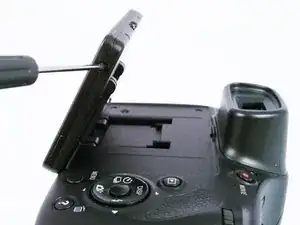
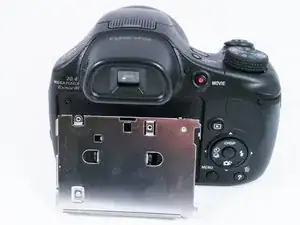
Turn the camera on its side to access the last remaining 2 cm Phillips head screw holding the LCD case together.
-
-
-
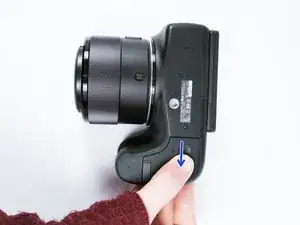
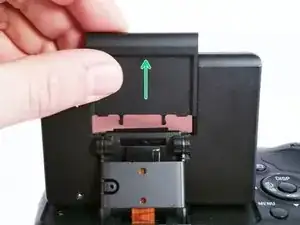
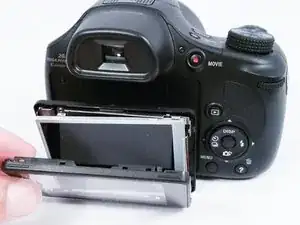
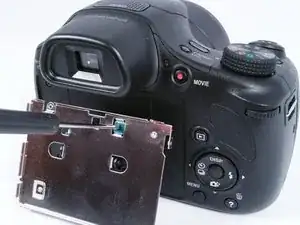
Remove the plastic cover from the back of the LCD display by simply sliding it up and off of the camera.
-
-
-
Using a plastic opening tool, carefully remove the plastic housing that surrounds the LCD display.
-
-
-
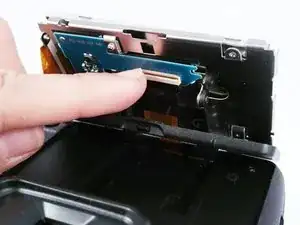
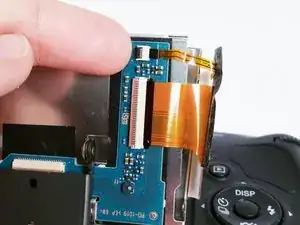
Once the plastic housing is separated, disconnect the ribbon wire located on the back of the LCD display. This can be achieved by pulling up lightly on the brown bar that locks the ribbon wire to the circuit board..
-
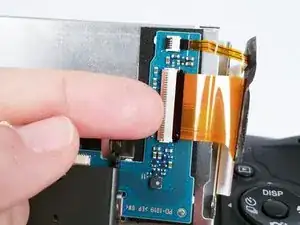
Disconnect the remaining two ribbon wires the same way. They are located on the right, rear side of the LCD frame.
-
-
-
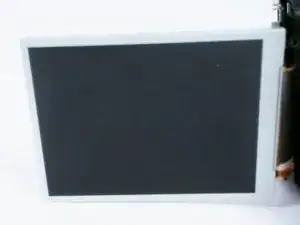
Using a small Phillips head screwdriver, remove the last 2 cm screw that mounts the circuit board to the metal LCD display frame.
-
-
-
Once the circuit board is removed the replacement parts can be installed in the reverse order.
-
To reassemble your device, follow these instructions in reverse order. It is important to follow the steps in this order as it may not turn on properly if the user does not follow every step.
3 comments
my screen is working but in negative effect, any ideas??
wilmer -
Comment réparer la carte circuit imprimé de l'écran? Il y'a un transistor qui reçoit 3.7v et qui laisse rien sortir
my screen was showing vertical red and green lines but you could read the settings. Now the lcd screen is white. Can the lcd be replaced?
yuclin -