Introduction
This Sony Cyber-shot DSC-H55 guide will show you how to remove all the necessary pieces in order to reach and disconnect the LCD screen and replace it.
-
-
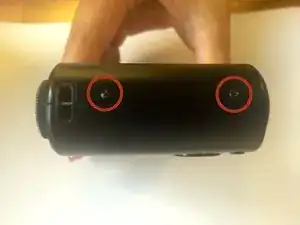
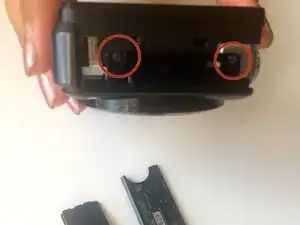
Use the Phillips #00 screwdriver to remove the two screws located on the right side of the camera.
-
-
-
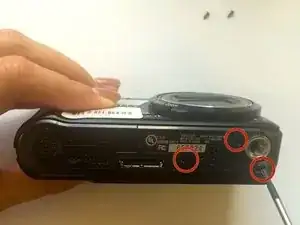
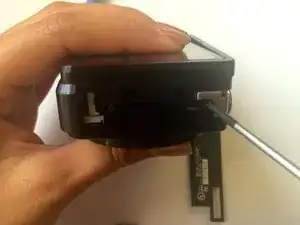
Use the Phillips #00 screwdriver to remove the three screws on the bottom of the camera.
-
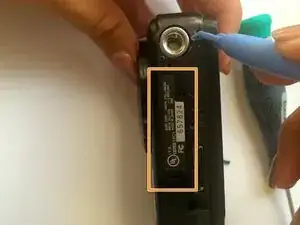
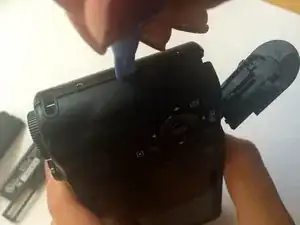
Use the plastic opening tool to lift the cover containing the patent information off.
-
-
-
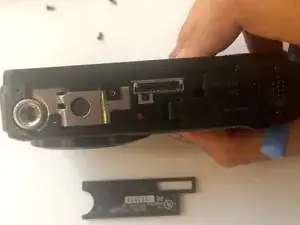
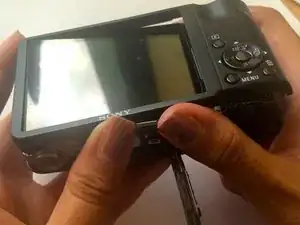
Place the plastic opening tool in the crack between the metal circle and the black piece on the left.
-
Slide the black cover and lift to remove.
-
-
-
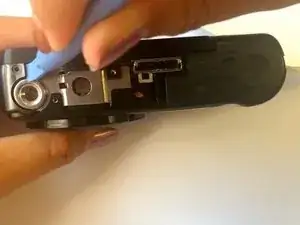
The first picture shows how the left side of the camera looks once we remove the side piece.
-
Use the Phillips #00 screwdriver to remove the two screws on this left side.
-
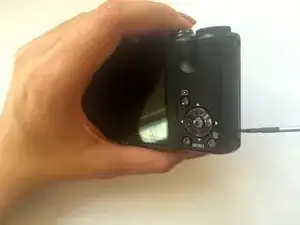
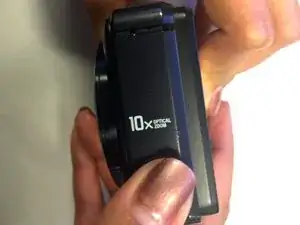
Flip your camera to the right side where we removed the first two screws.
-
Use the plastic opening tool into the crack and lift in order to loosen that side of the shell. Loosening one side makes removing the entire shell easier.
-
-
-
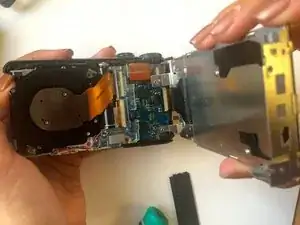
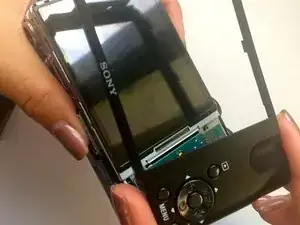
Removing the outer shell will expose the motherboard (the green chip).
-
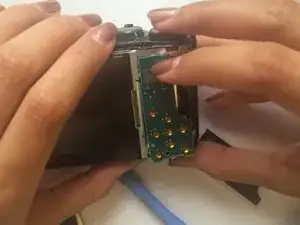
Carefully grab the motherboard and flip it over.
-
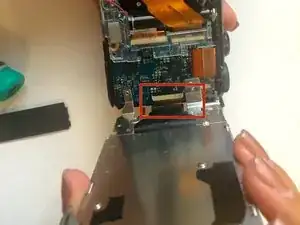
Locate the ribbon wire protruding from the motherboard. Grip the wire as close to the white square as possible and slightly pull it to disconnect it from the wire.
-
-
-
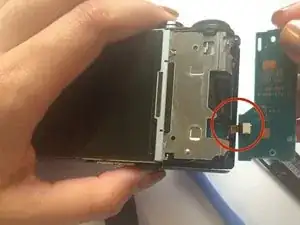
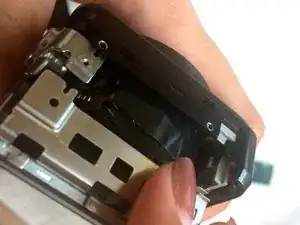
Remove the LCD Screen to separate the metal frame connecting the screen to the camera.
-
Gently pull the metal frame away, keeping in mind that the right end of the screen is attached by a ribbon wire.
-
Slowly remove the metal frame until it fully pops off.
-
-
-
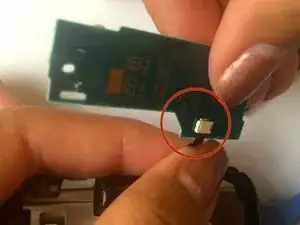
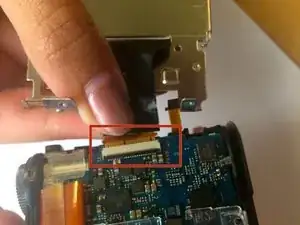
Flip the metal screen to be facing down. There will be a small black clip on the white connector that will allows the ribbon wire to be removed.
-
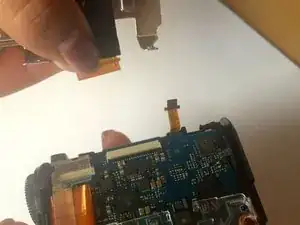
Carefully lift the black clip and slide the ribbon out in order to remove the LCD screen.
-


To reassemble your device, follow these instructions in reverse order.