Introduction

  1. xVJ2AH4xv4yOWo5l
    xVJ2AH4xv4yOWo5l
    RhcROdifi1PK24wW
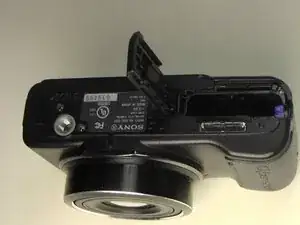
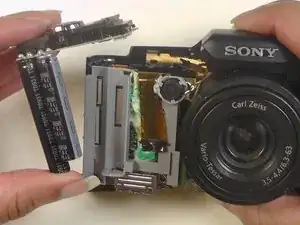
    • Slide open the battery cover and remove the battery and the Memory Stick Duo.

    • Return the battery cover to its closed position.

  2. dCJLJPwpfNhGePFR
    • Remove all three screws from the bottom of the camera.

  3. Hqk2PHp2Ouab2mEH
    Hqk2PHp2Ouab2mEH
    ZSrSGO2WsEUUCZQI
    • Remove the screws on the left and right sides of the camera.

  4. 56H1iNZeh3PeJgtC
    56H1iNZeh3PeJgtC
    Cg1omGmQuaEYjMIm
    DXiwBoYm1LJFRnbL
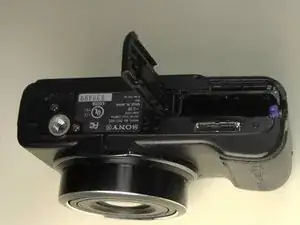
    • Press down on the flash cover to raise the flash.

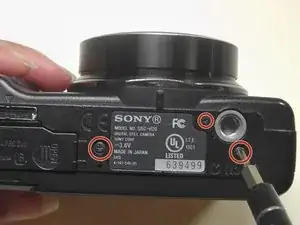
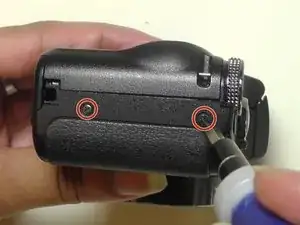
    • Remove both screws that hold the flash cover to the body of the camera.

  5. 4KMQo5NWHquP5QhP
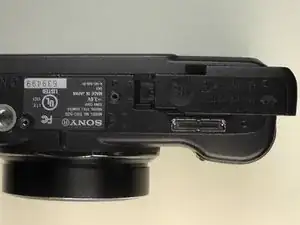
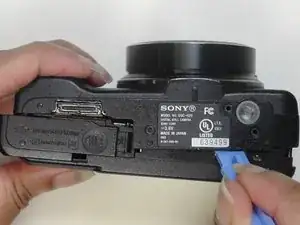
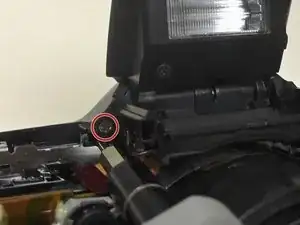
    • Place the camera upside down with the battery port positioned upward and the battery port open.

  6. fBreF6UMlHesreBV
    fBreF6UMlHesreBV
    rIdGL3M6qAW1CXbB
    RkoWyOtpD2QoTwnG
    • Pry the front cover of the camera off with the plastic opening tool.

    prying off is difficult, with a proper plastic tool. I guess it requires some skills

    Crazy Tesseract -

  7. Ban1D2mLrRPTamEG
    • Remove the power shutter unit

  8. 4eLb4oDHcyZmHaWp
    4eLb4oDHcyZmHaWp
    iKJtxWxfG5feicbZ
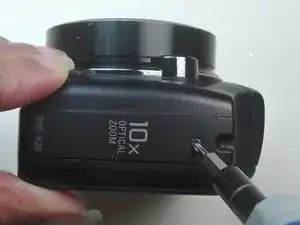
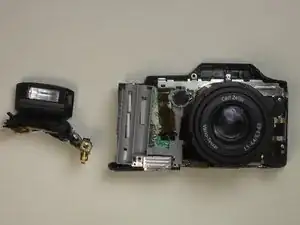
    • Unscrew the screw located at the back left corner of the flash component.

    • Set the flash component aside.

  9. TeXEBAwAwQPIItkf
    TeXEBAwAwQPIItkf
    OtRhXfrWIxWSUO2S
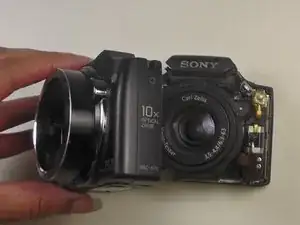
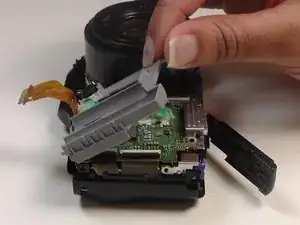
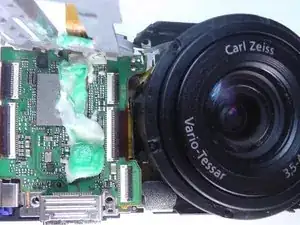
    • Lift up the gray plastic facing in order to uncover the motherboard and the ribbon cable ports.

  10. IKMSmtKWOUbSyMOJ
    IKMSmtKWOUbSyMOJ
    Y6llZCgZ3M4rIDxE
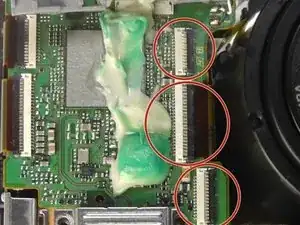
    • Carefully flip up the three black clasps holding the lens cables to the motherboard.

    • Slide the cables from the ports.

  11. gOsXodhKA3xhY4aM
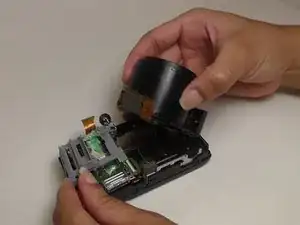
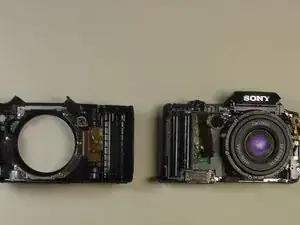
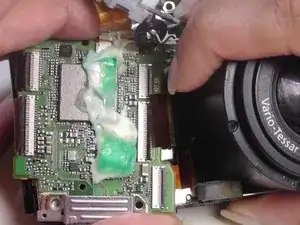
    • Lift the lens and attached ribbon cables from the camera in order to switch this lens with a new one.

Conclusion

To reassemble your device, follow these instructions in reverse order.

Rachel Payne

Member since: 23/02/15

386 Reputation

0 comments