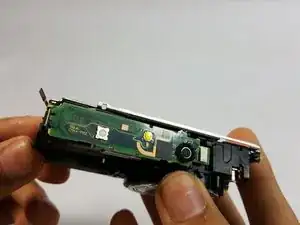
Introduction

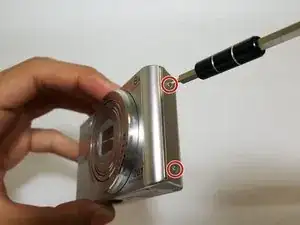
In order to reach the flashboard unit inside the device you have to first remove the front and back panel, the button board and the top cover of the device.

  1. aCHlYPSvgMDQCLkf
    • Slide the lock at the bottom of the camera to "Open".

    • The door to the battery pack is spring loaded.

  2. bAHDegt2FbfbXXst
    • Slide the blue clip up and away from the battery.

  3. QUSyALrrQLSeYyiu
    • Remove the battery.

  4. a5W6aJvOcVUlq4Uj
    a5W6aJvOcVUlq4Uj
    NdlleuqqdYLJBFfH
    Xk1fJoeEx6d5dicn
    • Remove the six 3.5mm Phillips #000 screws.

    • Rotate the lock away from the camera.

  5. Pi1XMSPbeBTymXOi
    Pi1XMSPbeBTymXOi
    2pGtYkfvDJTyyuhY
    eIrRwSaLELKZLFyC
    • Pry the device open with the plastic opening tool.

    • There are two clips that help prevent the front panel from separating.

    There is also a small corner piece, coloured the same as camera body, at the battery compartment corner which will also fall out. be careful not to loose it - it’s a bit fidly to fit back when re-assembling, but logcal. The Ifixit tweezers where a great help in locating it back on its pins.

    Nicholas Smith -

  6. IGTJ1NvD2oZPIfCj
    IGTJ1NvD2oZPIfCj
    ljUrg3amZdXmAZ5w
    SJ2MRWXlQeTPRVrW
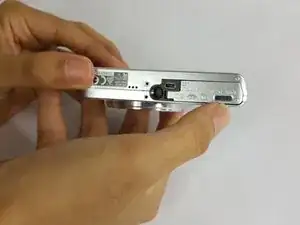
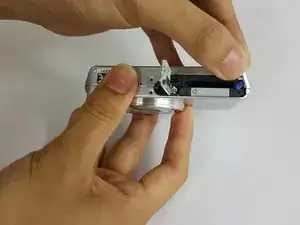
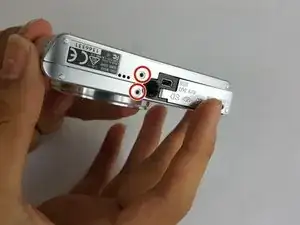
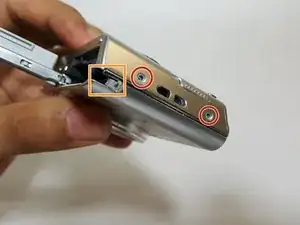
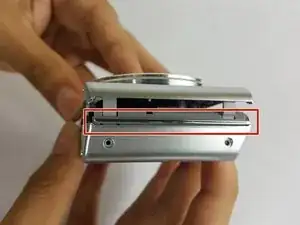
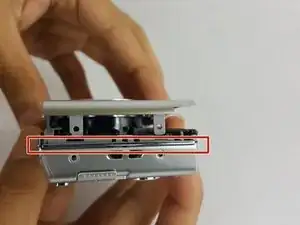
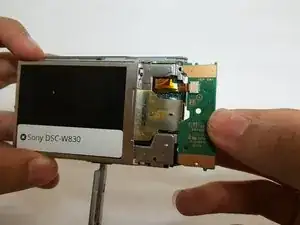
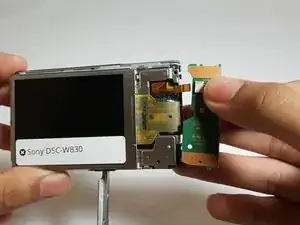
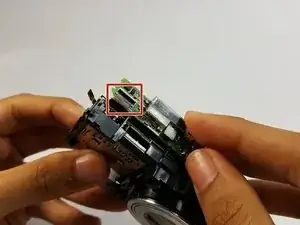
    • Remove the two plastic spacers between the front and the back panels.

    • The spacers may fall out when removing the panels.

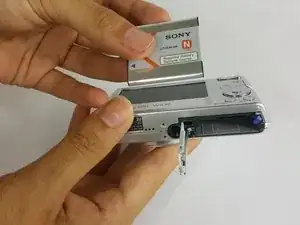
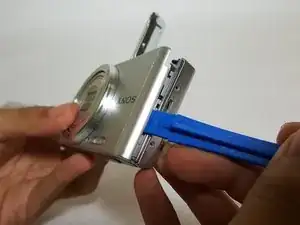
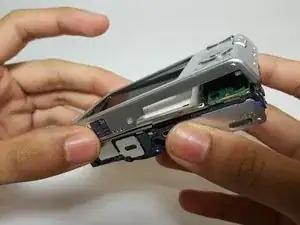
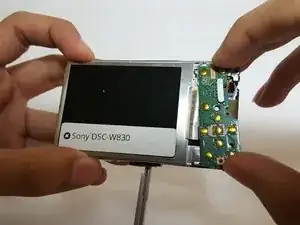
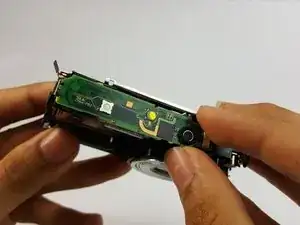
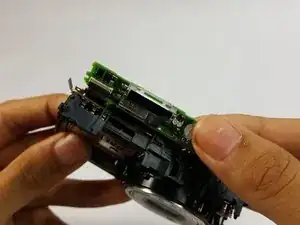
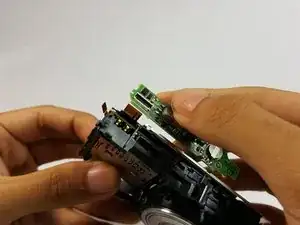
    • Carefully remove the back panel.

  7. gA3AZxiOsHJ4U63c
    gA3AZxiOsHJ4U63c
    DmOfqxkJK5BYHJca
    • Gently release the button board from the clips.

    • Be careful when lifting the button board; the ribbon cable will still be attached.

  8. oOCgXoJtCsuq61nT
    oOCgXoJtCsuq61nT
    oyWjE1GqxaMDmbPB
    • Disconnect the no-fuss ribbon cable by gently pulling it out of the button board.

  9. 6e24L1GFdRbhQPTl
    6e24L1GFdRbhQPTl
    gyHqFDKIFQIXOgUd
    5vrPxUgBlY1JQPJF
    • Gently pry the flash board up from its clips.

  10. IMs1FtxPtvSGKc4y
    IMs1FtxPtvSGKc4y
    GRgOGIVABJCxN4aj
    • Gently pull out the no-fuss ribbon cable from the flash board.

Conclusion

To reassemble your device, follow these instructions in reverse order.

Tong Tang

Member since: 15/09/16

557 Reputation

0 comments