Introduction
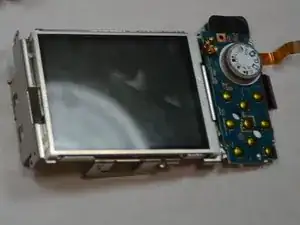
If the LCD display unit of your Sony Cyber-Shot DSC-W120 is damaged, this guide will walk you through the process of locating and removing it.
-
-
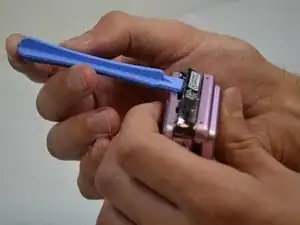
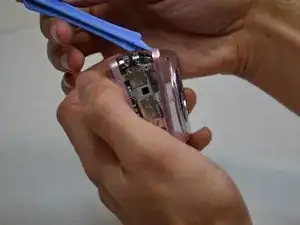
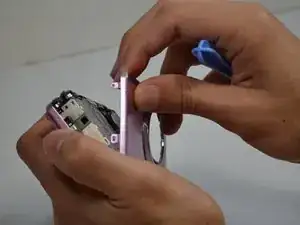
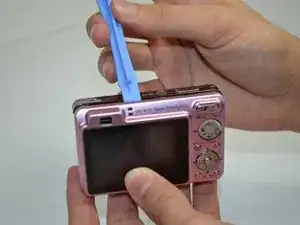
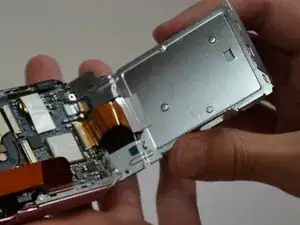
With a plastic opening tool, gently lift and remove the silver piece on the right side of the camera.
-
-
-
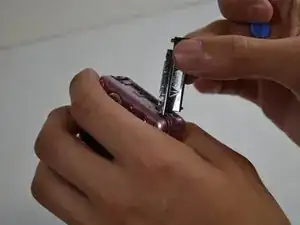
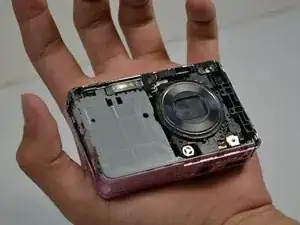
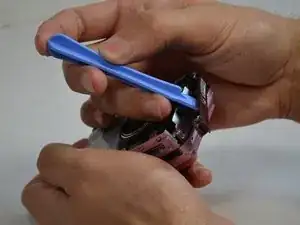
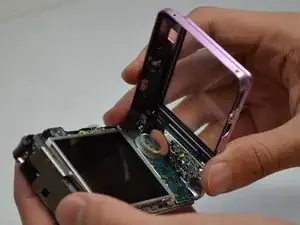
Lift the LCD display from the rest of the camera.
-
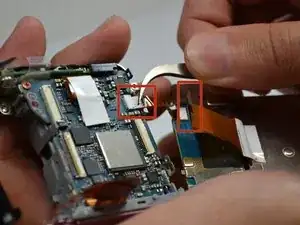
Use tweezers to carefully separate the connecting tape.
-
To reassemble your device, follow these instructions in reverse order.
One comment
Hi, for step 8 the wider of the two ribbon cables is held by a black/dark grey clamp on the connector on the motherboard, it's best to release the clamp before pulling the cable out.
Do that by gently lifting it with a fingernail, it hinges on the screen side, it will rotate about 90 degrees to open. When reassembling it's simply the reverse, so push the cable in to the connector with the clamp open, when the cable is fully in there will be about 1mm of the gold connectors on the ribbon cable showing still, and then just clamp connector clamp shut but pushing it with your thumb.