Introduction

If the movie button gets stuck or comes loose, it must be replaced to ensure that the device works properly and that the device is capable of maintaining an air-tight seal when used underwater to prevent water damage.

  1. uSvIlTKeYTntQ4t4
    uSvIlTKeYTntQ4t4
    NXckJjbMcfjGp2sB
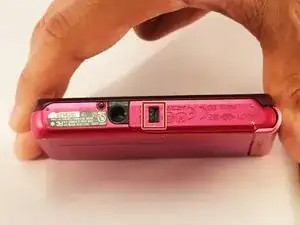
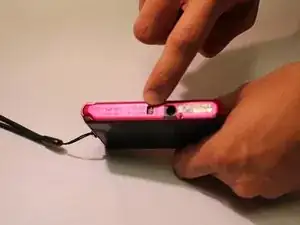
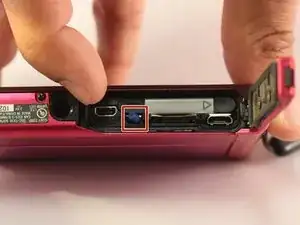
    • Using your finger, slide the release catch to unlock the battery/memory card cover.

  2. pYl5YswLWZjyHsaa
    pYl5YswLWZjyHsaa
    mTDWFDqIfZCsvRNL
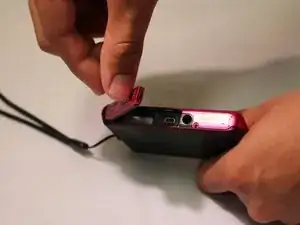
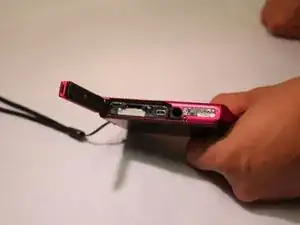
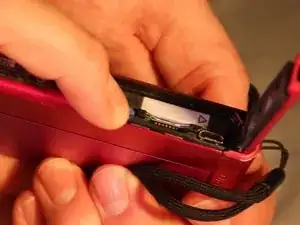
    • Open the battery/memory card door.

  3. jQ3CcTToMHNWnVeH
    jQ3CcTToMHNWnVeH
    CgvWu5UIBxp32vxx
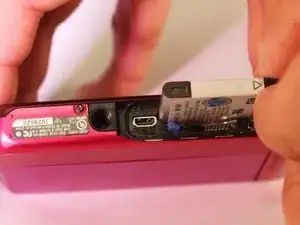
    • Push the battery eject lever to free the battery.

  4. tlJIZsv4t2UYQboW
    • Remove the battery from the device.

  5. A2ysluTLOPAPUYjQ
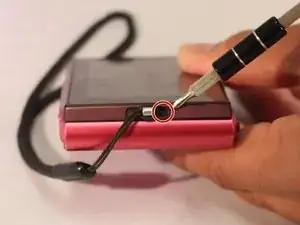
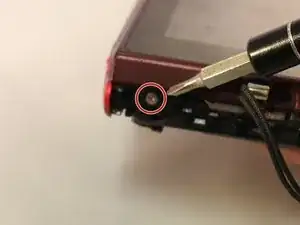
    • Using a Phillips #00 screwdriver, remove one black 2 2/5mm screw that is located next to the wrist band loop.

  6. Y5nPvxlFuUpJjBis
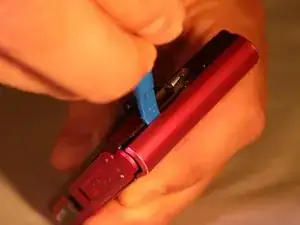
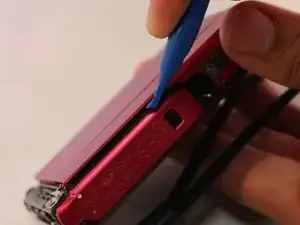
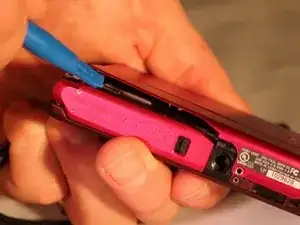
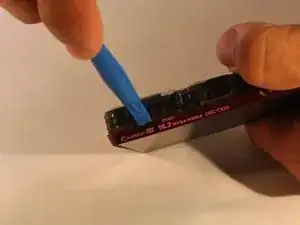
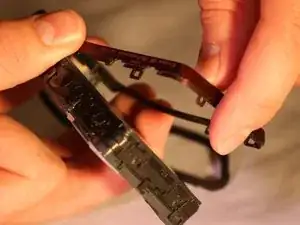
    • Using the plastic opening tool, separate the edge-casing from the rest of the camera.

  7. 1EIkG6sjEI6NmjXs
    1EIkG6sjEI6NmjXs
    NOcafZQX4Td2ZWWM
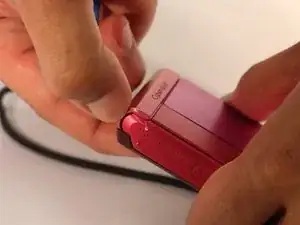
    • Pull the edge-casing off of the camera.

  8. uOSLOtfj3OTim4ks
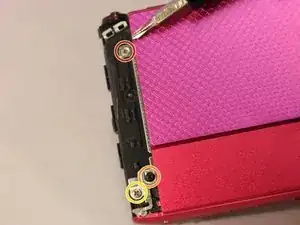
    • Using a Phillips #00 screwdriver, remove one silver 3mm screw located on the front side of the camera.

    • Using a Phillips #00 screwdriver, remove one silver 5 2/5mm screw located on the front side of the camera

    • Using a Phillips #00 screwdriver, remove one black 2 1/2mm screw located on the front side of the camera.

  9. HOlHHTSScH24lV6M
    • Using a Phillips #00 screwdriver, remove one 2 1/2mm screw located near the wrist strap.

  10. aSOmmoEOOBnLINUM
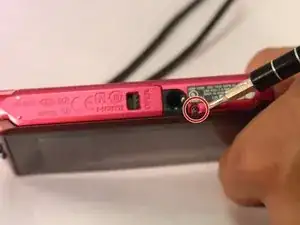
    • Using a Phillips #00 screwdriver remove one black 2 2/5mm screw near the tripod slot on the bottom of the casing.

  11. jZPRWDrnIOWiyW4L
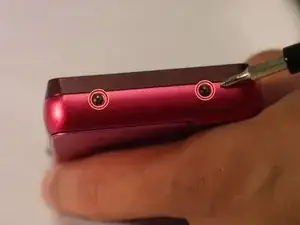
    • Using a Phillips #00 screwdriver remove the two 2 2/5mm black screws from the side of the camera opposite of the wrist strap

  12. en1YSsY4lrJENYYT
    en1YSsY4lrJENYYT
    MSMF2KLQi5AT1Bgl
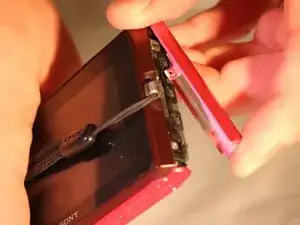
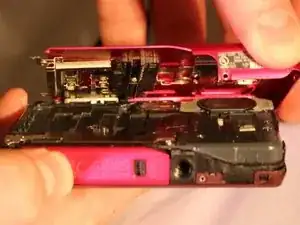
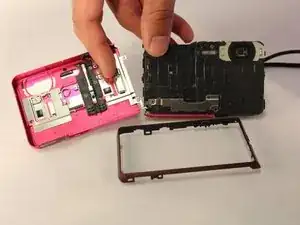
    • Using the plastic opening tool, open the device's outer shell.

  13. giFQvWB4ONmkKyDu
    giFQvWB4ONmkKyDu
    Qe5eySvK2FjAKqnT
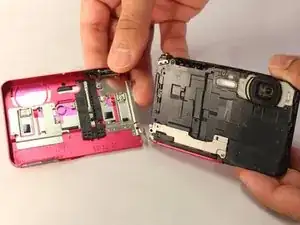
    • Remove the front casing of the device.

  14. XeDbSJp3ZJTyJHNg
    XeDbSJp3ZJTyJHNg
    eCbkbEK2bL2vuxhL
    V2BwTjFUJxYQVluZ
    • Using the plastic opening tool, remove the back casing of the device.

  15. anLlDlZVK5MIYhus
    anLlDlZVK5MIYhus
    1AGISk3HIFDFJoRX
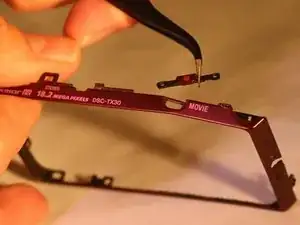
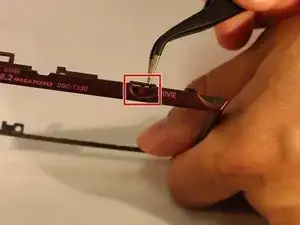
    • Using the tweezers, remove the movie button from the back casing of the device.

Conclusion

To reassemble your device, follow these instructions in reverse order.
Kellen Fulkerson

Member since: 11/04/17

689 Reputation

0 comments