Introduction
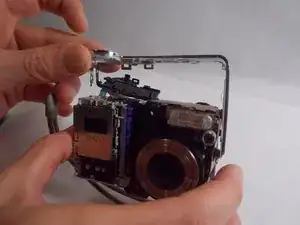
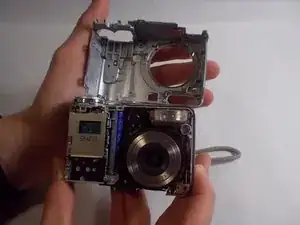
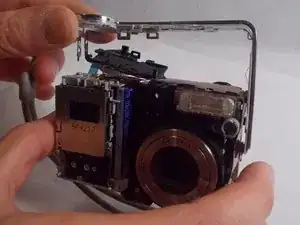
When removing or replacing the top/side part of the Sony Cyber-Shot DSC-S90’s overall casing, it’s an easy process that only involves ten simple steps. The tools needed consist of the opening tool, and J00 screwdriver. It’s important to make sure you have all the latches of the casing unhooked in attempt of disassembly, some are challenging to locate.
Tools
-
-
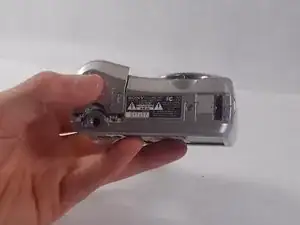
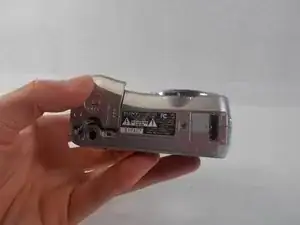
Hold down the "open"button (gray oval with arrow pointing upwards) on the battery port door.
-
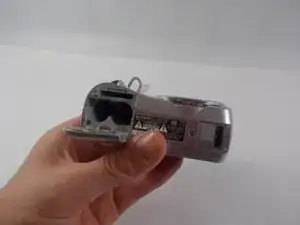
While holding the button downwards, slide the door upwards to unlock and open the door.
-
-
-
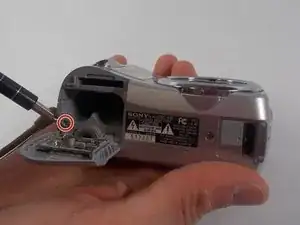
Remove the 2mm Phillips #00 screw under the battery port door.
-
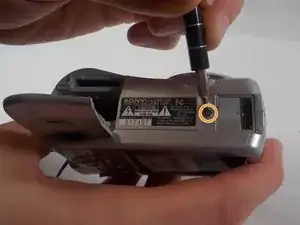
Remove the 2mm Phillips #00 screw towards the right of the bottom-side of the camera.
-
-
-
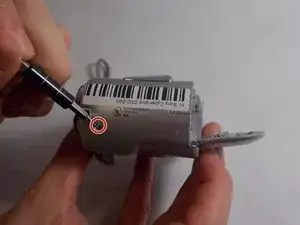
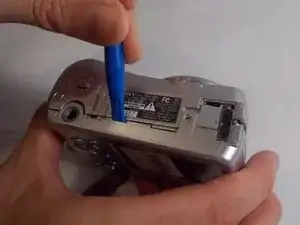
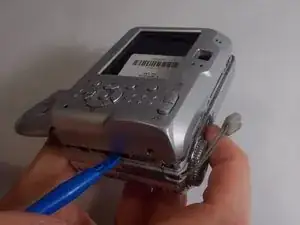
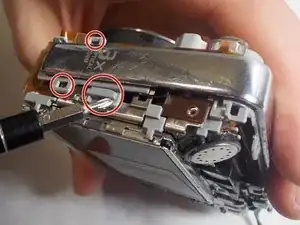
Use an opening tool to unlock the front case from the main body of the camera. Use the tool on the right side and bottom of the camera with the LCD screen facing you.
-
-
-
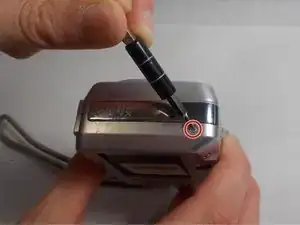
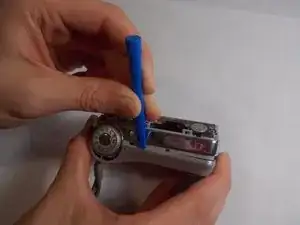
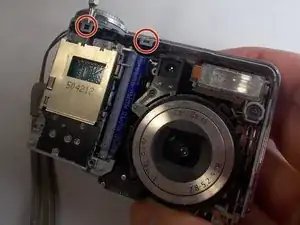
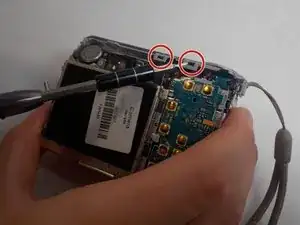
Use an opening tool to unlock the front case from the main body of the camera. Use the tool on the top of the camera.
-
-
-
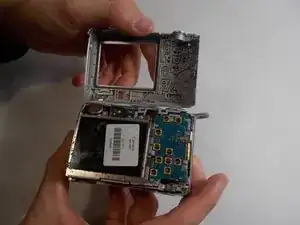
Release all clips and latches keeping the casing in place using a spudger, opening tool, or screwdriver.
-
To reassemble your device, follow these instructions in reverse order.
