Introduction
If your Sony Cyber-Shot (model DSC-S90) is failing to produce in-focus images—the focus is blurry or uneven across an image—or you see dark spots, use this guide to replace the lens of the camera.
Camera lenses work by collecting and focusing light reflected from the scene that the photographer wants to capture. A faulty or damaged lens will create dark spots on each image or cause pesky issues with the focus.
Before using this guide, clean your lens to make sure the problem is internal. Typically, smudges, fingerprints, and a small buildup of dust can be removed using a dust blower and lens cleaning fluid with a microfiber cloth. Make sure to never put the cleaning fluid directly onto the lens, but to spray it onto the cloth. After cleaning, take some sample photos at various distances and observe the focus to confirm that the issues are from the lens itself. If you’re not sure the lens is causing issues, review the troubleshooting page.
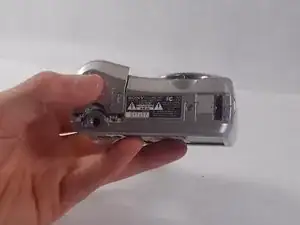
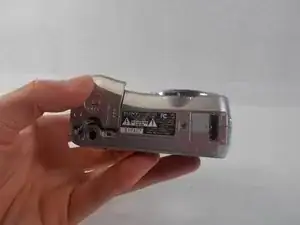
Before beginning, make sure to power off the camera and disconnect from any external power source.
-
-
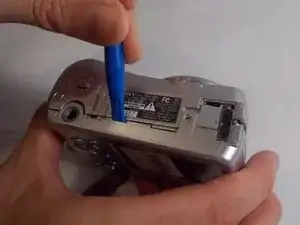
Hold down the "open"button (gray oval with arrow pointing upwards) on the battery port door.
-
While holding the button downwards, slide the door upwards to unlock and open the door.
-
-
-
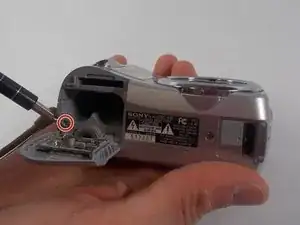
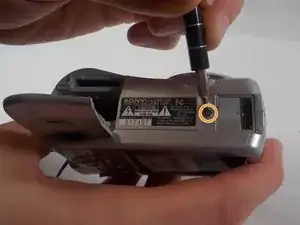
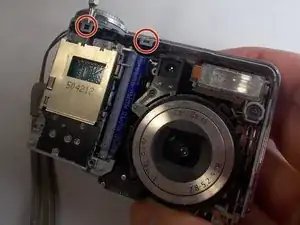
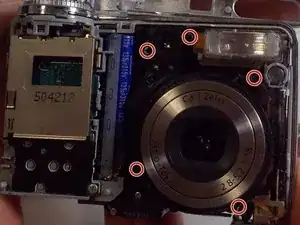
Remove the 2mm Phillips #00 screw under the battery port door.
-
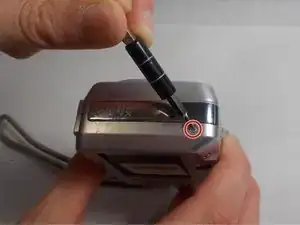
Remove the 2mm Phillips #00 screw towards the right of the bottom-side of the camera.
-
-
-
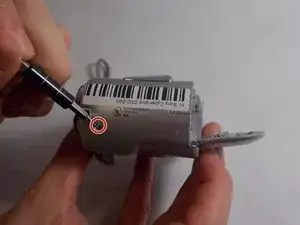
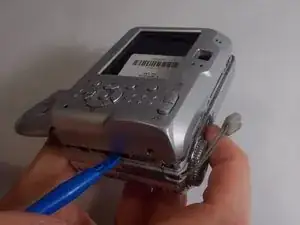
Use an opening tool to unlock the front case from the main body of the camera. Use the tool on the right side and bottom of the camera with the LCD screen facing you.
-
-
-
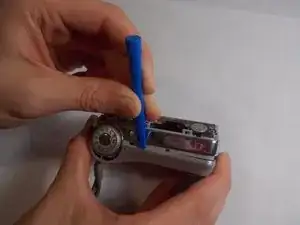
Use an opening tool to unlock the front case from the main body of the camera. Use the tool on the top of the camera.
-
-
-
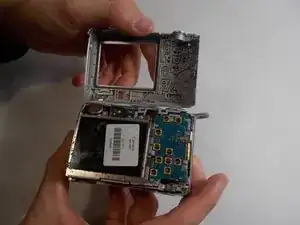
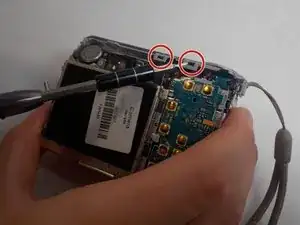
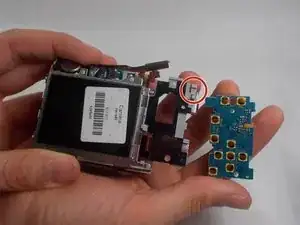
Release all clips and latches keeping the casing in place using a spudger, opening tool, or screwdriver.
-
-
-
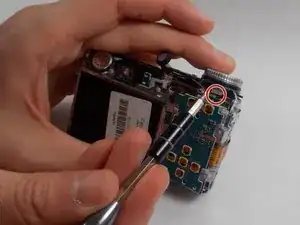
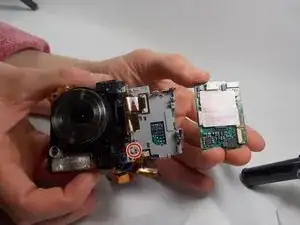
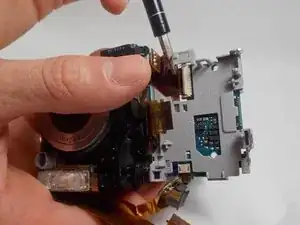
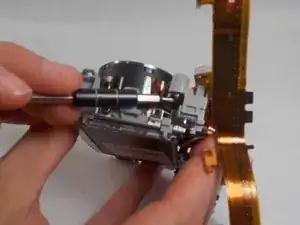
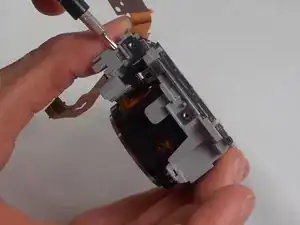
Disconnect the remaining ribbon cable on the side of the camera using a spudger or screwdriver.
-
-
-
Once the battery terminal is unclipped, pull this ribbon cable out with a spudger or screwdriver to finish freeing the battery terminal.
-
-
-
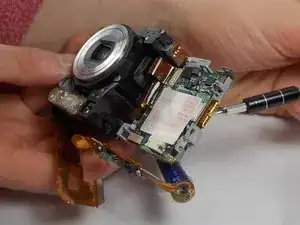
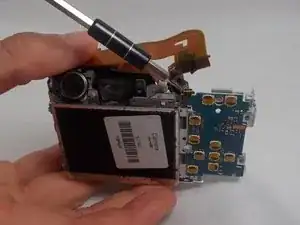
Release the clips on either side of the connector/ribbon cable using a spudger or screwdriver.
-
-
-
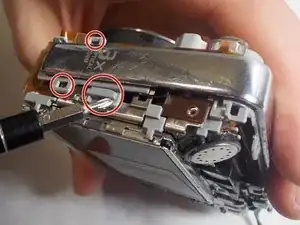
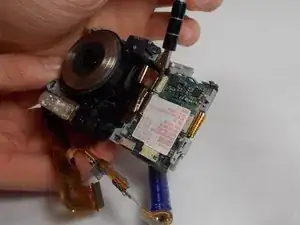
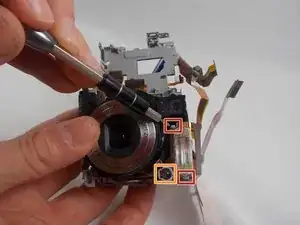
Release the two clips next to the flash using a spudger or screwdriver.
-
Release the clip holding the LED indicator in place using a spudger or screwdriver.
-
Push the LED indicator upwards from below using a spudger or screwdriver.
-
-
-
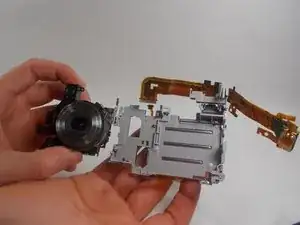
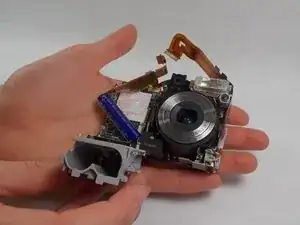
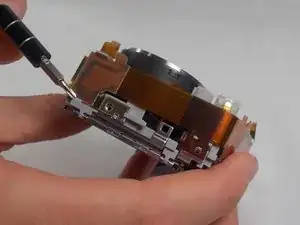
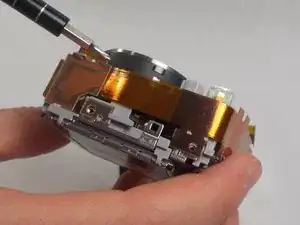
Release the clip that holds the housing for the flash and LED in place using a spudger.
-
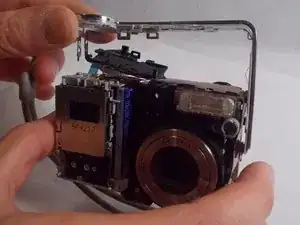
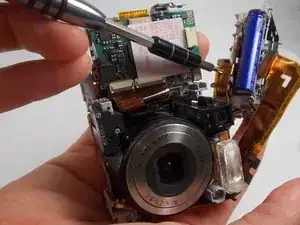
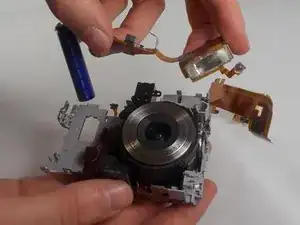
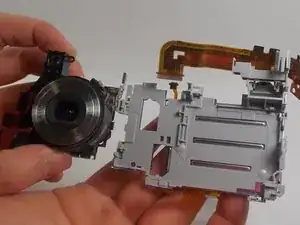
Rotate the housing backwards to free the lens.
-


To reassemble your device, follow these instructions in reverse order.