Introduction
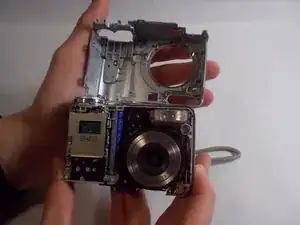
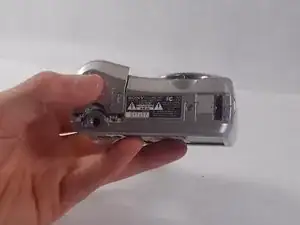
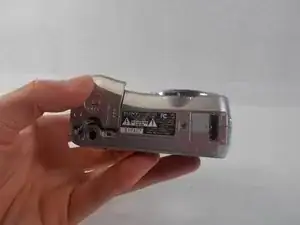
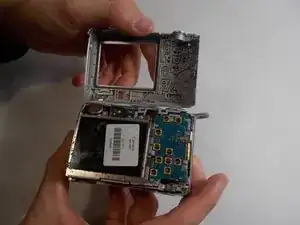
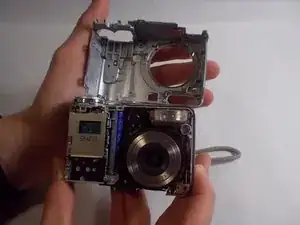
The following guide provides step-by-step instructions for replacing the Front case of a Sony Cyber-Shot DSC-S90 Camera. The front case is what contains the internal components and prevents the components from being exposed to contaminants. You may need to make this replacement if the case becomes cracked or damaged in any way. Replacing the front case is simple and should only take about 6 minutes to complete. You will begin by removing the batteries and removing the screws that hold the front case in place, then prying the front case away from the main body of the camera.
Tools
-
-
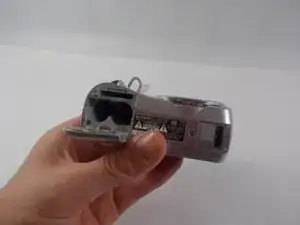
Hold down the "open"button (gray oval with arrow pointing upwards) on the battery port door.
-
While holding the button downwards, slide the door upwards to unlock and open the door.
-
-
-
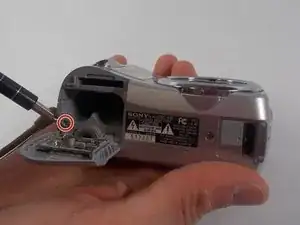
Remove the 2mm Phillips #00 screw under the battery port door.
-
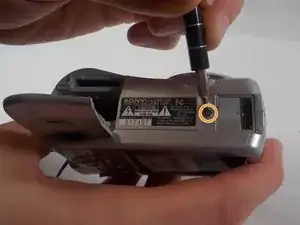
Remove the 2mm Phillips #00 screw towards the right of the bottom-side of the camera.
-
-
-
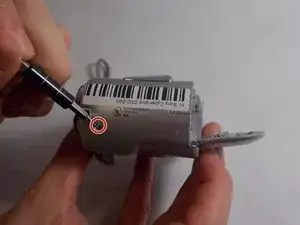
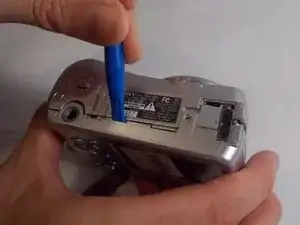
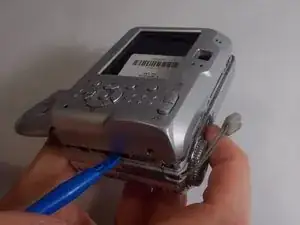
Use an opening tool to unlock the front case from the main body of the camera. Use the tool on the right side and bottom of the camera with the LCD screen facing you.
-
-
-
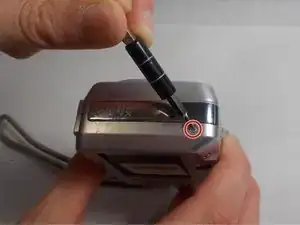
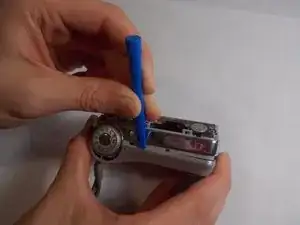
Use an opening tool to unlock the front case from the main body of the camera. Use the tool on the top of the camera.
-
To reassemble your device, follow these instructions in reverse order.
