Introduction

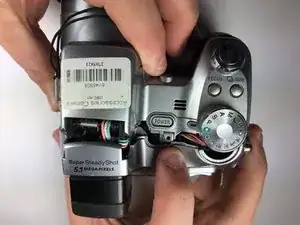
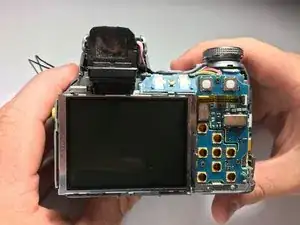
Seeing the image before taking it is vital to taking long-lasting quality pictures. This guide will show you how to properly remove the existing LCD screen.

  1. h4PyQSyCSVoiwSoI
    • Power down the camera and remove the batteries.

  2. yAQXltuknoE2hEkE
    yAQXltuknoE2hEkE
    tZXNXKEryNAM2YWE
    st2SNqS2nAVewKDK
    • Using a Phillips #0 screwdriver, remove all of the screws from the back panel casing.

    • There are six 5.22mm long, 3.00mm head diameter screws total.

    • The left side is not shown but there should be 1 screw on that side.

  3. aS4YKRjZNWBwPl3i
    aS4YKRjZNWBwPl3i
    YBBnvAtxAwwocpxY
    • Remove the back casing.

    • The casing itself is sturdy so don't be afraid to remove it forcefully.

  4. PjplldWmHeBjpFOM
    • Take a hold of the right side of the LCD screen and lift it towards the left.

    • The screen is held firm and will require a bit of force to ease it from its housing.

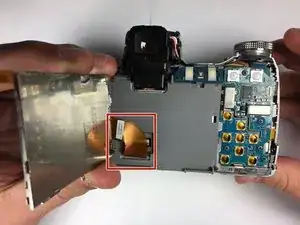
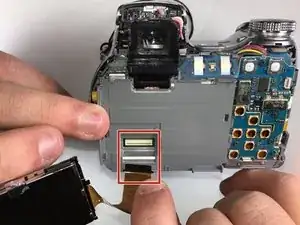
    you need to open the know locked the cable on the top-right side before lift the screen.

    Linh Đoàn -

  5. YpMMKWlBmFxyfwZ6
    • Unplug the large conductive tape attached to the screen.

    • Remove the LCD from the device.

Conclusion

To reassemble your device, follow these instructions in reverse order.

Trystan Jasperson

Member since: 17/03/18

231 Reputation

0 comments