Introduction

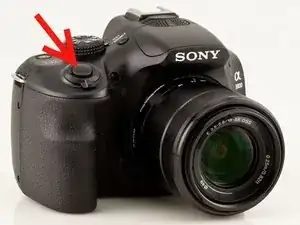
My camera was auto focusing only after power-up, all menu buttons were not active (there was a workaround of switching camera mode e.g. A->P to enter the main menu). Taking photos was still possible.

That were results of stucked first action circuit of the shutter button: camera was constantly detecting slight press of the button leading to that strange behaviour.

Hopefully I found the microswitch replacement at mouser. Costs only ~2Euro and is fully compatible or even same as used in factory.

Ifixit helped me with disassembly, now I'm paying off describing this guide.

  1. TJELFvgUORKCjE1a
    TJELFvgUORKCjE1a
    Q5fFP1KeGRJEvscy
    UVCGfZorLrAwBbXD
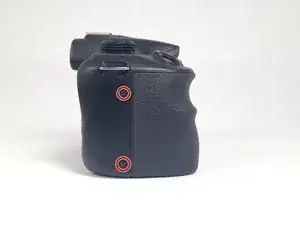
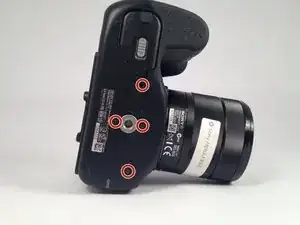
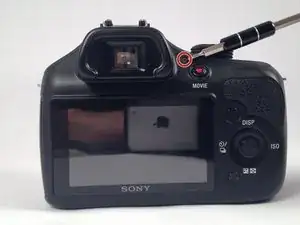
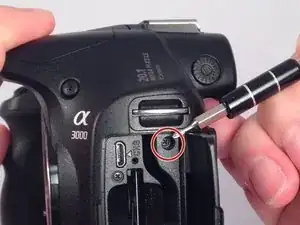
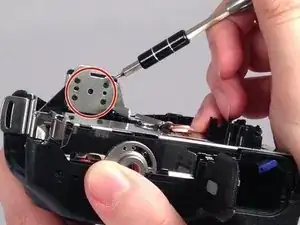
    • Remove the seven highlighted screws shown here.

    • Screws are teeny tiny, don't lose them!

  2. Oj1Y6FfI2IFUjThW
    Oj1Y6FfI2IFUjThW
    tJgLEm5l6sB6C1Sr
    • Remove this final screw from the memory card compartment.

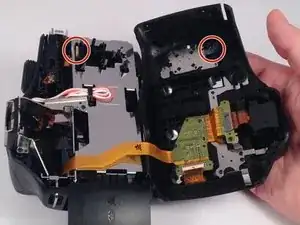
    • Remove the chassis by pulling the back cover away from the camera.

    • Be careful not to damage any of the delicate ribbon cables when removing the chassis.

  3. aIABiCBKEleSmBf4
    aIABiCBKEleSmBf4
    kdXCiZTDUqqUFCTL
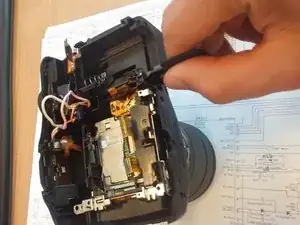
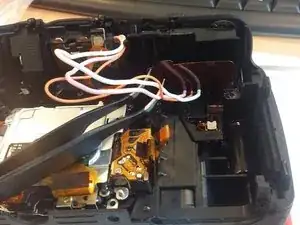
    • Gently but forcefully lift up on the parallel cable connecting the two halves of the camera.

  4. krk2xUccnWf5BSTH
    krk2xUccnWf5BSTH
    xA35JHCeHKbIkBL5
    • After removing the backing from the camera. Remove the two final screws in the memory compartment area.

    • Detach the facing for the memory dock.

  5. dXS1eZydlCXDFj5e
    dXS1eZydlCXDFj5e
    yAQ3LiN31qffCK6X
    • Remove the eight screws securing the mount for the flash device.

  6. mVnSiPfVHcslKalN
    mVnSiPfVHcslKalN
    pdXPfSsBYuPNPKFo
    • Remove the three remaining screws holding in the protective metal casing.

  7. VPumEdrKnxbKecIF
    • Remove the metal casing.

  8. on5mtuVEihHIYxOg
    • Remove three screws holding down the motherboard .

  9. NNsUB11kwq16wWBw
    NNsUB11kwq16wWBw
    vISr6YELpeFqppbk
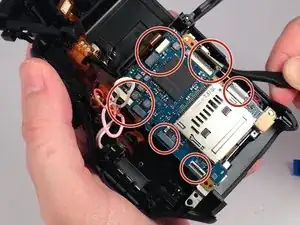
    • Detach the nine serial cables connecting it to the camera body.

  10. ERqBgvxXiITRTHXm
    • Finally remove the motherboard from the casing.

  11. N5epAb3NqTrIMknS
    • shutter button placement...

  12. ONyRQlSXmXgU1Z1J
    ONyRQlSXmXgU1Z1J
    B2A6vGFQlVMlZXAw
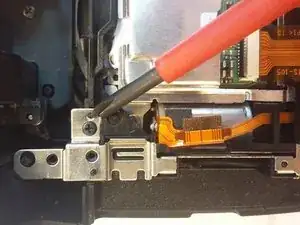
    • Remove two screws holding plastic/metal frame.

  13. YclN6wux5HkNgMiu
    YclN6wux5HkNgMiu
    NFohgofPIejwiR34
    • Holding the battery door gently lift the frame up .

  14. bNJZaP3LOcY6fqNf
    bNJZaP3LOcY6fqNf
    SlABb2QcXbSIkZQe
    • Pull out the capacitor and move the capacitor board (flexible) to the left to clear the way for future steps.

  15. cTYHrntTsYRW5Yey
    cTYHrntTsYRW5Yey
    Zbk3AybQihXFBSdO
    T1mDUf4DQqBkhjCo
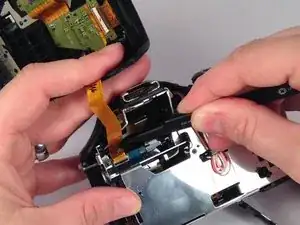
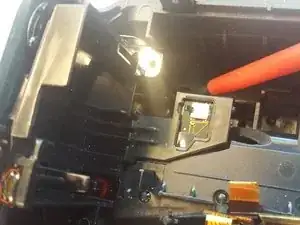
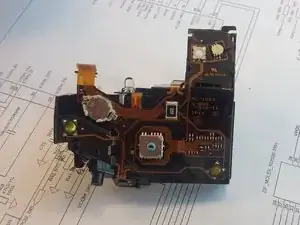
    • Remove two screws mounting plastic buttons module.

    • Remove the module.

  16. VAPeeHaMiN4udGQj
    VAPeeHaMiN4udGQj
    6sL1ZnEPIVvAY3uC
    mpEHx2KlR2mDyMIE
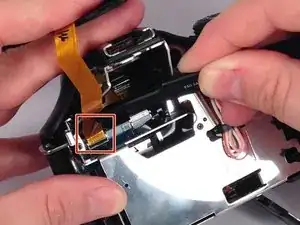
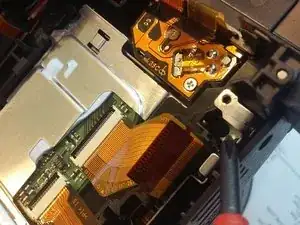
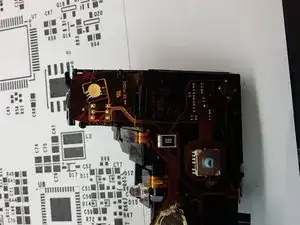
    • Replace the ALPS SKSDPCE010 microswitch. Look out for the correct allignment and orientation (first pin marked with a dot).

Conclusion

To reassemble your device, follow these instructions in reverse order.

Andrzej Majchrzak

Member since: 26/04/17

131 Reputation

3 comments

Excellent article, I would like to know what should be done to replace or repair the mode selector of the camera, (Dial mode) I appreciate this great contribution. Greetings.

Edgar Delgado -

Mode selector switch is visible on 2 photos of buttons module PCB. Look for a switch with blue knob on 2nd Photo of step 16. I dont know the serial number or replacement.

Andrzej Majchrzak -

Thank you so much for reply.

Edgar Delgado -