Introduction

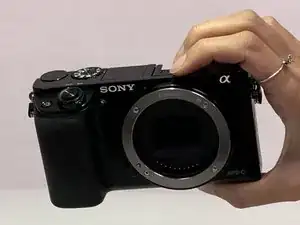
This guide will tell you how to replace the flash assembly of the a6000 camera if it breaks or gets damaged.

  1. sDrFtEXjVTiThUol
    sDrFtEXjVTiThUol
    O3eFAyYswiRac2EP
    • Begin by placing the camera facing upside down.

  2. 12qF3s2kma3frAZo
    12qF3s2kma3frAZo
    kIKTfUC5mEpVDmTL
    • Slide the notched locking bar on the battery compartment from LOCK to OPEN.

  3. 612NDeLGuCYQYLkE
    612NDeLGuCYQYLkE
    RGPxwIMCZuHsFbMk
    • Push the small blue bar horizontally off of the battery.

  4. osjcsC4YPWFvH4Fx
    osjcsC4YPWFvH4Fx
    IGKDdY1VA21ifCxZ
    • Extract the battery.

  5. 4Vl3FyrL54FgFswW
    • Position the camera with the flash assembly facing upwards.

    • Locate the flash assembly.

  6. on6eAyFJDFsDPS3Y
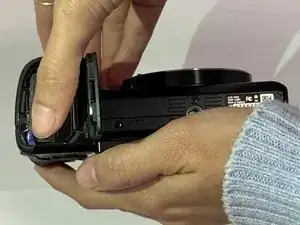
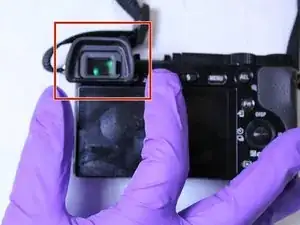
    • Open the flash assembly.

    • Using the Phillips #00 screwdriver, remove the single screw beneath the flash assembly.

    There are two screws to remove here.

    iluvgir91 -

  7. CBH4YeVybMlhNTHF
    • Remove the eye guard.

  8. qiCTMiNxaqGHBGPs
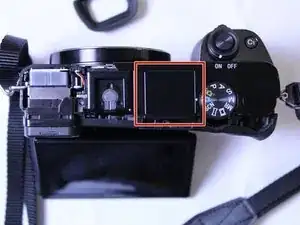
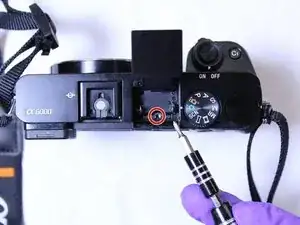
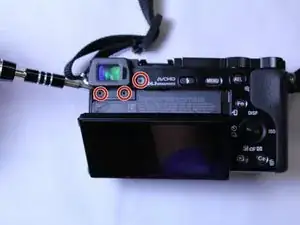
    • Position the camera with the LCD screen facing upwards.

    • Pull back the LCD Screen.

    • Using the Phillips #00 screwdriver, remove the three screws beneath the viewfinder.

    To remove the top panel it is not necessary to remove the screw right of the eye guard.

    Jürgen Walther -

  9. RM3OIH2uKCLkq21P
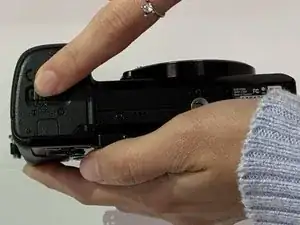
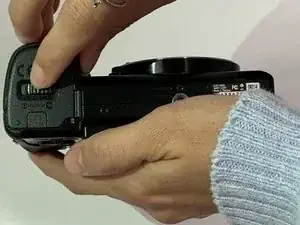
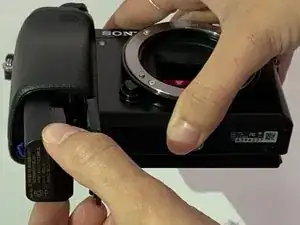
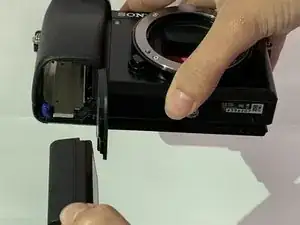
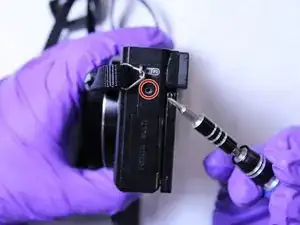
    • Position the camera with the HDMI port facing upwards.

    • Using the Phillips #00 screwdriver, unscrew the single screw on the left side of the camera body.

    To remove the top panel, another 2 screws under the battery (battery panel) must be removed, too.

    Jürgen Walther -

  10. YQ6LPuINiDjmAPJO
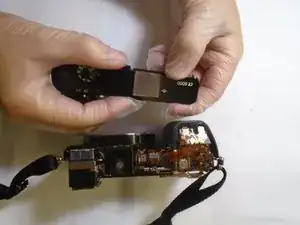
    • Position the camera with the top panel facing upwards.

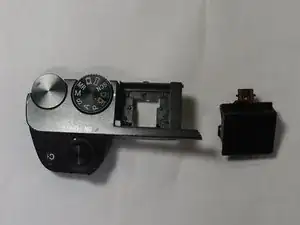
    • Carefully separate the top of the camera from the body using plastic opening tool.

    • Be careful not to break the top of the camera when removing the top panel.

  11. 1fXqWVIiwwNX634U
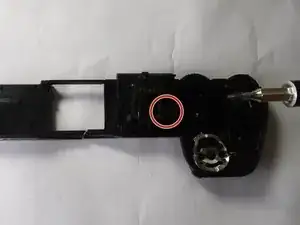
    • Position the camera so the top panel's underside is facing you

    • Using the Phillips #00 screwdriver, unscrew the screw underneath the flash assembly.

  12. qNNhVtnRsQO5MT3v
    • Carefully remove the flash assembly from the top pannel

    Just pull the flash connector to remove the flash assemby. A toothpick can be helpful, especially to later reconnect the cable.

    Jürgen Walther -

Conclusion

To reassemble your device, follow these instructions in reverse order.

William Lee

Member since: 02/10/19

205 Reputation

4 comments

Anyone know where to get the flash? My daughter’s has the “won’t stay closed” problem so common to the a-series and I need to replace it.

David Reeves -

Thanks, good guide but please update it according to Jürgens comments or there is a big risk people will break their top panel.

David: I got the flash unit from AliExpress, but you can find it on Ebay as well.

Dan Lilliehorn -

Thanks for the guide! I had to open additional 2 more screws inside the battery compartment. and only had to remove 2 bottom screws on Step 8 (instead of 3). Replaced the flash unit without any issue. Thank you!

Dustin Nguyen -

Thank you for the Description, for me I had 2 screws below the view finder, and also 2 in the battery compartment that needed to come loose.

I did not have any screws behind the button to adjust for your eye sight.

I did have some issues to get the cable back in properly, and had to tape my metal tweezer not to get zapped over and over again.

What worked best for me was a flat tweezer and gently push it in.

When Placing back the top panel i had some issues with the alignment with the on off button as initially i couldn't turn the camera on/off any more. After trying some positions with the on off button it worked.

Erik -