Introduction

  1. vaxZM2rcCSYBHQwi
    • Remove the rubber pads and unscrew

  2. g6vWOXWiIKYKl6ES
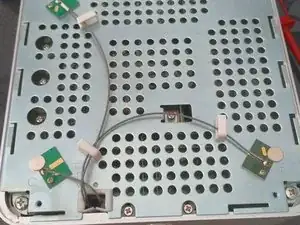
    • Take care not to damage the wires of the Wi-Fi antennas which are very bothersome.

  3. LWRBCOZXVU2DxDOG
    LWRBCOZXVU2DxDOG
    EuJkB3QYEQpLIQos
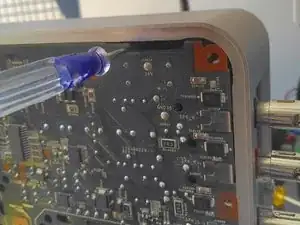
    • By using a screwdriver inserted through each of the 8 peripheral slots, you can access the clips of the top cover.

  4. MbhBMOpy2WLWvFtk
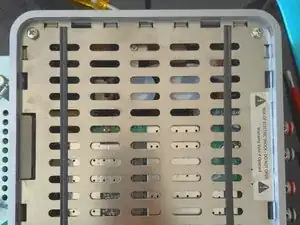
    • Continue unscrewing (there is a screw under the seal).

  5. fp2A6Q4Exdpe1lK1
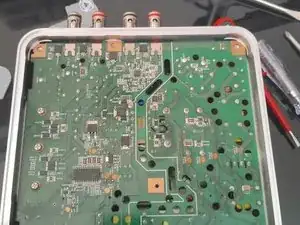
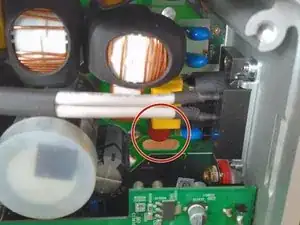
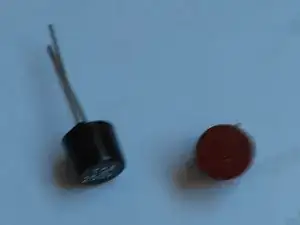
    • It's a soldered fuse. You will need to desolder it from the back in order to replace it.

  6. a64Xr6VdSlBmLsDV
    • About 1$

    • 250V 5A T fuse (time delay).

Conclusion

To reassemble your device, follow these instructions in reverse order.

YvesG

Member since: 04/06/18

290 Reputation

One comment

Bravo

Ce tuto peux rendre service a des consommateurs abusés par la sociète Sonos .

Merci
bruno vinay -