Introduction
After years of blending our smoothies, the Solis blender suddenly smelled funny, and black bits of rubber surfaced into the smoothie. I knew this might be the end of this sturdy blender. In search for replacement parts we found that the knife set could be replaced. Because the replacement part was sold out I started opening the blender, and getting to the guts of the rotating knife bit.
-
-
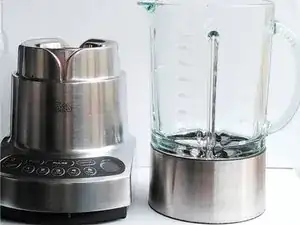
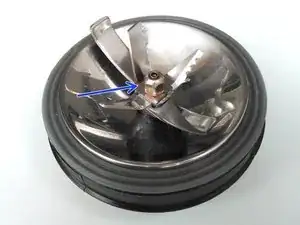
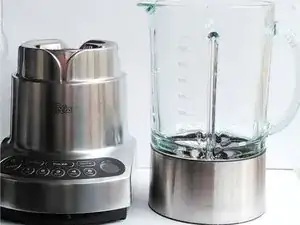
Here you see the Solis 836/537 Blender.
-
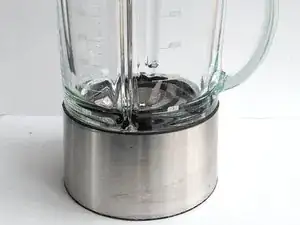
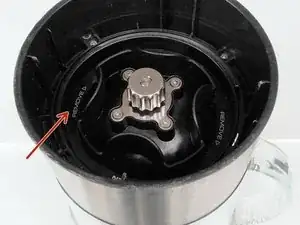
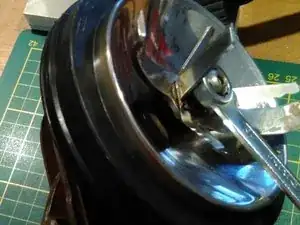
First take the blender jar off and take a look underneath. Here you will find the metal rotating bit which will fit into the female gear on the motor side of the blender.
-
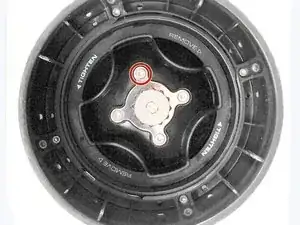
The text already shows which direction to rotate to get the knife component out of the glass jar (turn to the right, yep this was unexpected). You have to apply some force to get it loose.
-
-
-
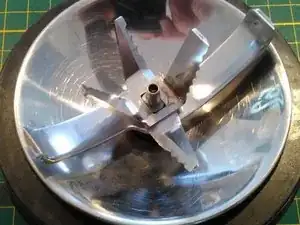
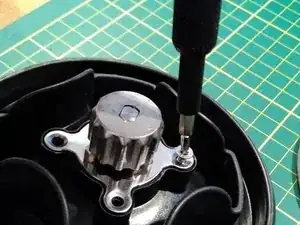
When you look at this component, you will see four Torx T3 screws. Leave them for later and get to the other side.
-
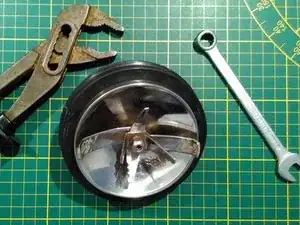
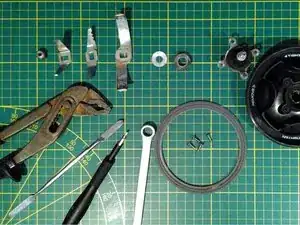
Get a 10 wrench and something to hold the other side. I used a pipe wrench for this, but you can use any other plier for it (see photo for the tools). To loosen the bolt you have to turn it to the right (again unexpected, must be something Swiss ;).
-
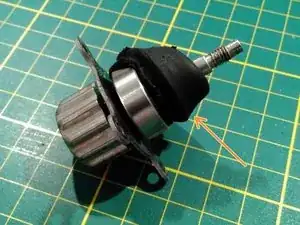
If all went well you can now take all three knifes off and you will see a metal washer and underneath a rubber bushing.
-
-
-
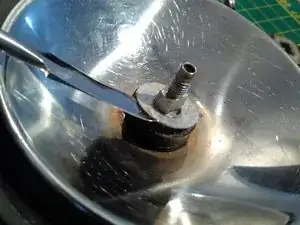
Now we come to the tricky part. You have to take the washer out to get to the rubber bushing.
-
I did some twisting and turning to get the washer of. I also used the iFixit metal spudger together with a small plier to get it loose.
-
The washer is bended in the process of taking it out. It is very difficult to get this part out, because it is tightly wrapped around the axel. I flattened by placing it in between two wooden boards together with a hammer
-
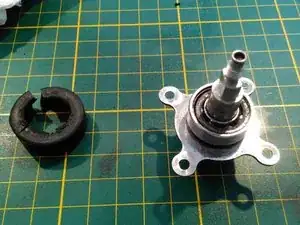
After you have taken the washer off, you can take the rubber off.
-
Look at the rubber, it consists of two parts, a plastic bushing and a rubber ring. Leave it like this.
-
-
-
Alright, you got this far. Now we have to turn the component and unscrew the 4 Torx screws.
-
I used a T3 screwdriver for this
-
Loosen the axel from the underside of the blender cup.
-
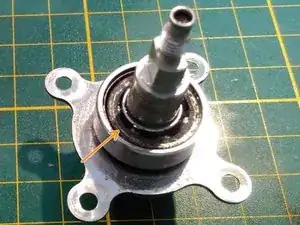
You will see a rubber part which tightly fits into the underside of the blender cup. This rubber is encapsulating the ball bearing (which probably is jammed).
-
Take the rubber of the bearing. It looks like a car-wheel tire!
-
Mine looked like on the foto, completely wrecked because of rubber degradation. Fractions of the rubber made the bearing jam, which made the tightly fitted rubber "tire" rotate in its fitting, producing the burning rubber smell.
-
-
-
I took of the bonded rubber bits from the bearing using the metal spudger.
-
It took a while and gave some mess on my working table. It also smells funny and tastes terrible.
-
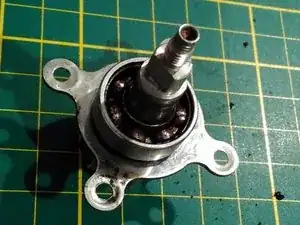
When all rubber bits are taken off, you will see a small washer on top of the ball bearings, likely to keep out the rubber of the bearing balls.
-
Take the washer out, and you will see the balls in the ball bearing. The outside ring should rotate nicely around the axes. The bearing jammed, so this was not the case.
-
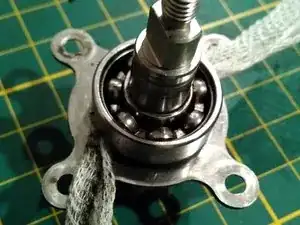
I took some WD40 to clean the ball bearings and wiggled the outside to get it loose. After a while this will work. Use some napkins to clean the WD40 together with the rest of the rubbery bits from the bearings.
-
Use loads of napkins, to keep yourself and your working environment clean. I also used some bandage to clean gaps in between the parts.
-
Your hands will get black dirty!
-
-
-
OK, the bearing is clean. I took some oil to lubricate the bearing.
-
Now take the small washer or replace it with a new one to cover te balls from the rubber "tire" encapsulating the bearing.
-
Take your rubber "tire" and encapsulate the bearing with it. I turned the rubber bit and cut of the fraying bits from it, preventing it to get stuck in between the balls.
-
To reassemble your device, follow these instructions in reverse order.
Take note that you don't tighten the bolt to much. I tested whether the bowl is waterproof by putting in some water, and leave it standing for an hour.

5 comments
Hello Bas, do know where I could get a replacement rubber 'tire' for this? Mine has the same problem, with a deteriorated 'tire'. Thanks, Jacinta.
unfortunately i did not find the replacement rubber, but the complete component can be bought. I have been thinking to use a 3D print or just use a rubber strip. Did not get to it.
Part for sale: https://www.solisonderdelen.nl/nl/catego...
rubber strip: https://www.rubbermagazijn.nl/rubberstri...
Got the same problem, wanted to fix it but the rubber part is to hard to find in the same size… the replacement pieces are not available anymore, i’ll have to buy a new one just for this rubber piece, that’s so unfortunate.
thanks for the tutorial tough !
Thanks Bas!
I have been able to repair and save my blender due to your well documented plan! Luckily I could reuse all the original parts. Just had to clean the bearings and made it rotate again.
Best regards,
Frank
super, fijn dat het gelukt is.