Introduction
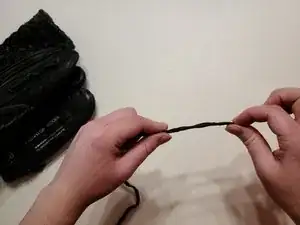
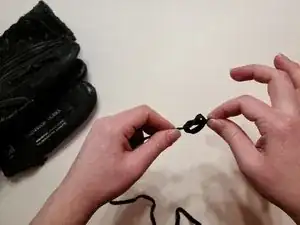
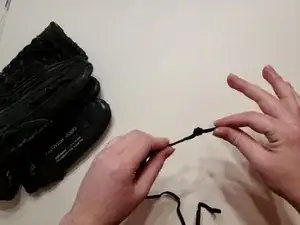
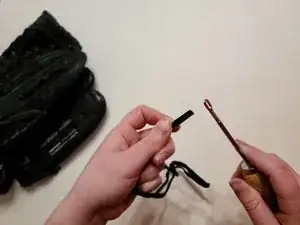
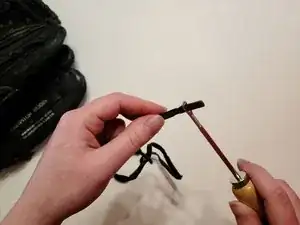
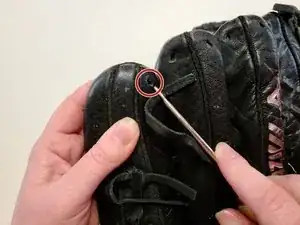
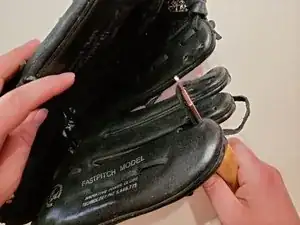
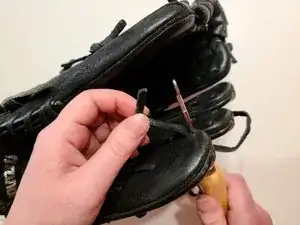
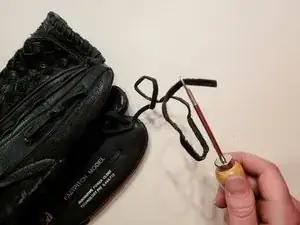
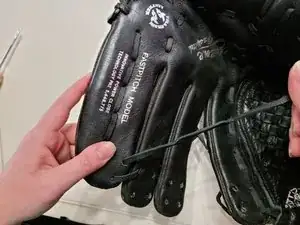
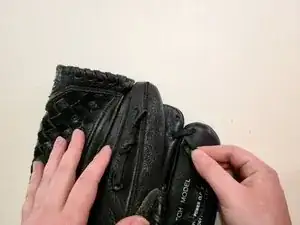
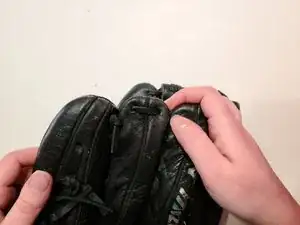
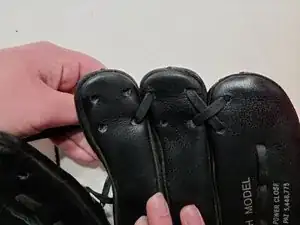
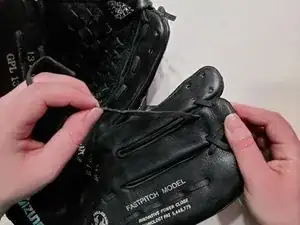
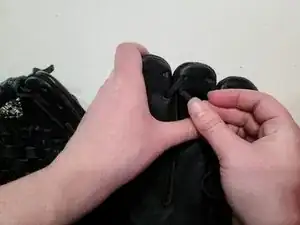
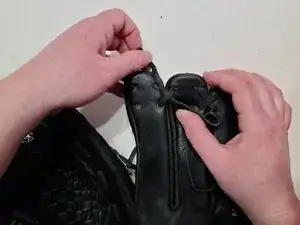
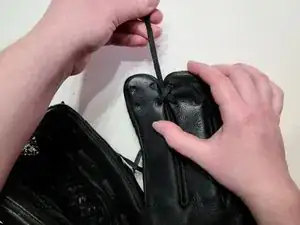
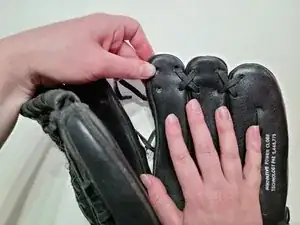
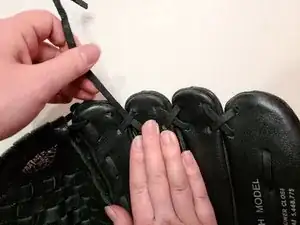
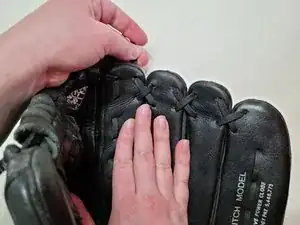
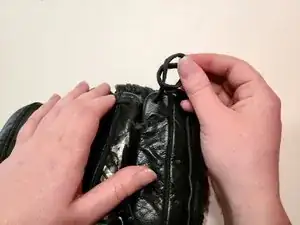
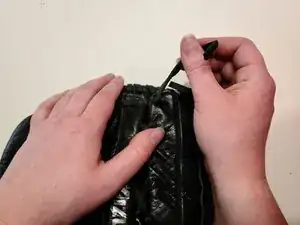
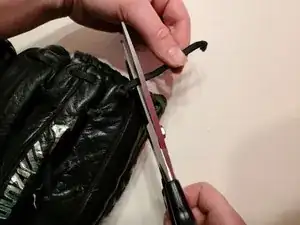
If your softball glove has a broken string, you need to restring it before you can play again. This guide will show you how to restring the fingers of your softball glove, making your glove as good as new. When restringing your glove, make sure the smooth part of the string is facing outwards. This is important so the string doesn’t slide or move around when you’re playing catch. Also, leather glove conditioner will make this process easier and smoother, but it is not required.
Tools
-
-
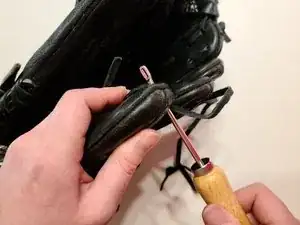
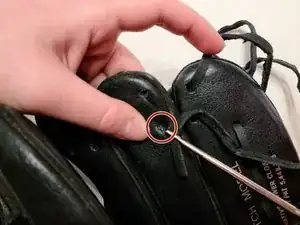
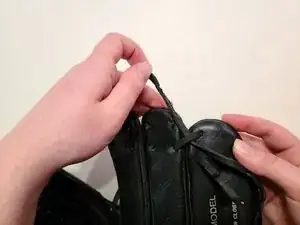
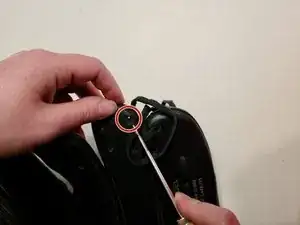
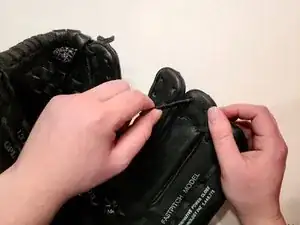
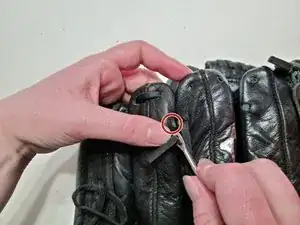
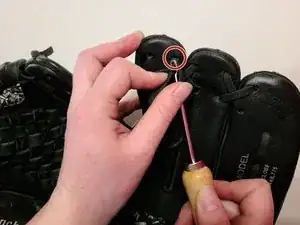
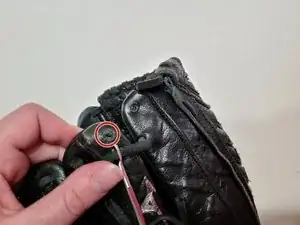
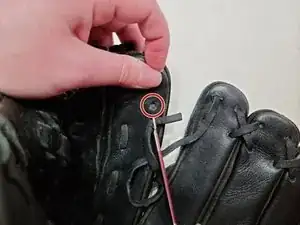
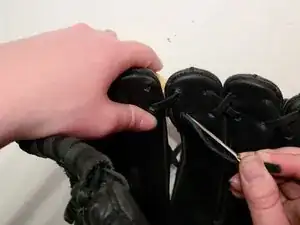
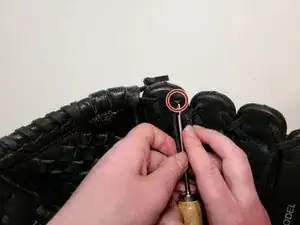
Push the needle through the bottom hole on the ring finger.
-
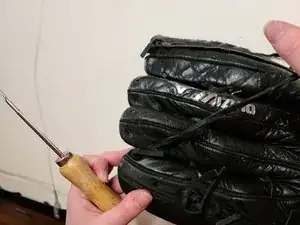
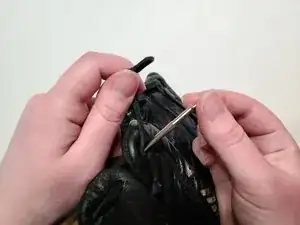
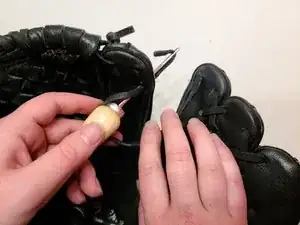
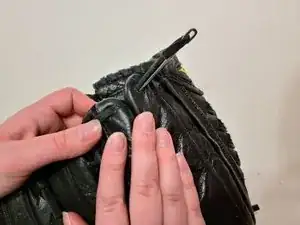
Pull the string out of the needle and all the way through the hole. Back the needle out of the hole.
-
-
-
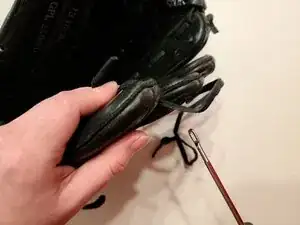
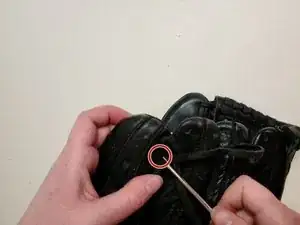
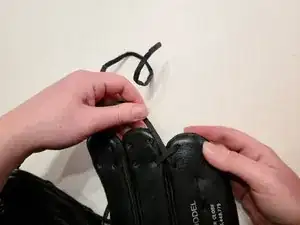
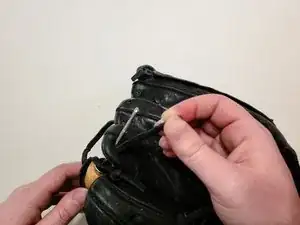
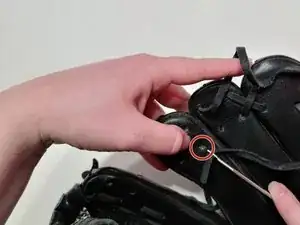
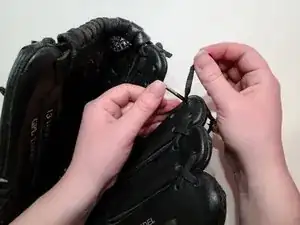
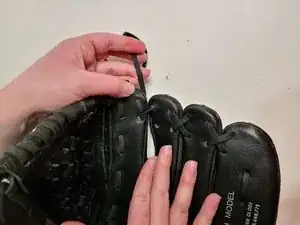
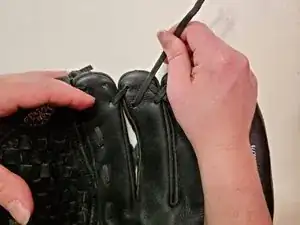
Insert the string back into the needle and push it through the bottom hole on the pinky.
-
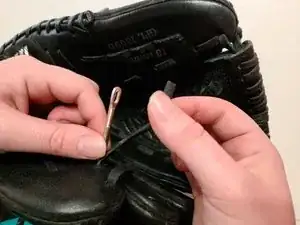
Pull the string all the way through and remove it from the needle.
-
-
-
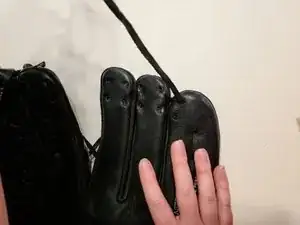
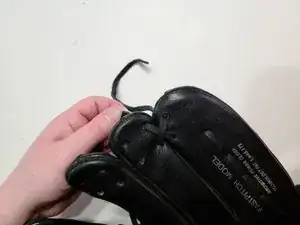
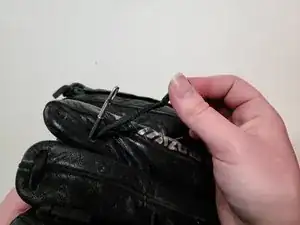
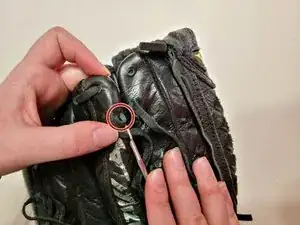
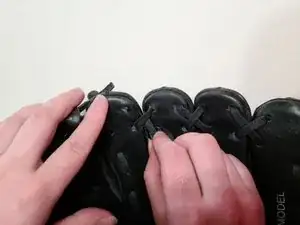
Put the string through the needle and push the needle though the top hole on the ring finger.
-
Pull the string all the way through and remove it from the needle.
-
-
-
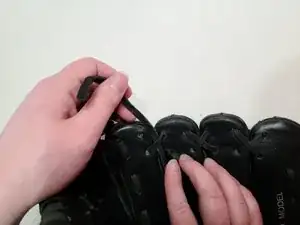
Going around the back of the ring finger, insert the string through the top hole on the left side of the ring finger.
-
Pull the string all the way through.
-
-
-
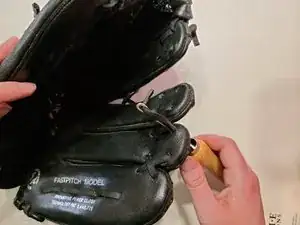
Insert the string through the bottom hole on the middle finger.
-
Pull the string all the way through.
-
-
-
Cross over the backside and insert the string into the bottom hole on the left side of the ring finger.
-
-
-
Push the string through the top hole on the right side of the middle finger.
-
Pull the string all the way through.
-
-
-
Going around the back of the middle finger, insert the string into top hole on the right side of the middle finger.
-
Pull the string all the way through.
-
-
-
Insert the string into the bottom right hole on the pointer finger.
-
Pull the string all the way through.
-
-
-
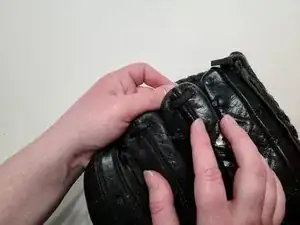
On the backside, push the string through the bottom left hole on the middle finger and pull the string all the way through.
-
-
-
Insert the string into the top right hole on the pointer finger and pull the string all the way through.
-
To remove a string from a softball glove, repeat these steps in reverse order.
One comment
Thank you so much for sharing this guide on softball glove string replacement! Your step-by-step instructions made it easy for me to replace the strings on my old glove and bring it back to life. Your expertise and generosity are truly appreciated!
