Introduction

  1. DFRqvvwaRRIVglRL
    • The new shear bolt is stored on the top of the auger discharge

  2. iukqbyKNNKgCgv2N
    iukqbyKNNKgCgv2N
    V5QtodAck6IOMGbY
    GPYXa22PAFwgHLRe
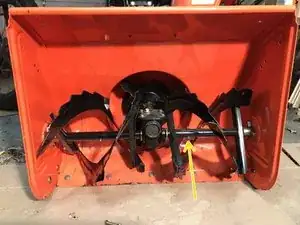
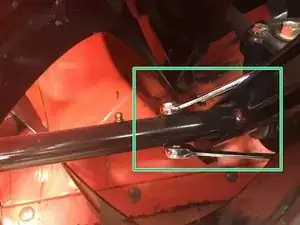
    • The shear bolt attaches the auger to the shaft

    • The shear bolt is designed to break preventing damage to the auger and shaft if an hard object is pulled in

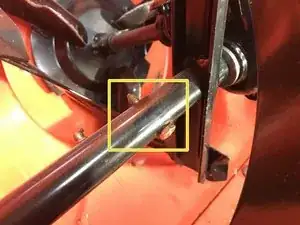
    • Locate the side with the missing shear bolt

    • The left side is missing

    • This auger will spin freely on this side

    • Rotate the auger to find where the bolt is on the shaft

  3. GfAKC3MNXNebKEcw
    GfAKC3MNXNebKEcw
    wNNb44cSgAbfqIbm
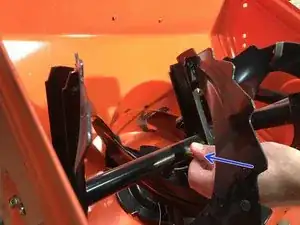
    • Use the new shear bolt to push the old broken bolt out of the shaft

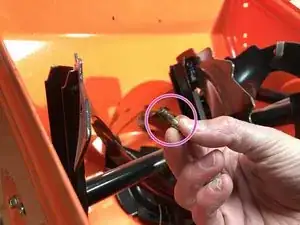
    • It should fall out and look like this

  4. JxRIVjNSFBhi5WoG
    JxRIVjNSFBhi5WoG
    g3pZFGtDpFWRuyqT
    • With the new bolt in place from pushing the old bolt out add a nut

    • Hand tighten

  5. vLuaSXVB2TinWWuD
    vLuaSXVB2TinWWuD
    qPHrxs5VCVnEukYQ
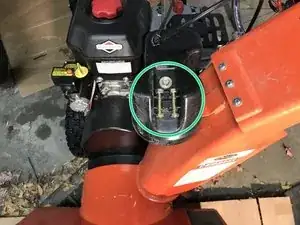
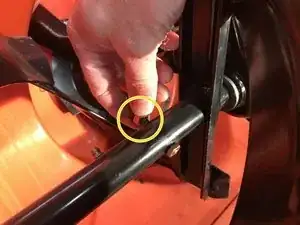
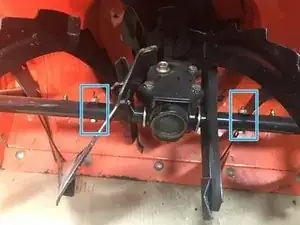
    • Using two 7/16" wrenches tighten the nut on the bolt

    • Do not over tighten

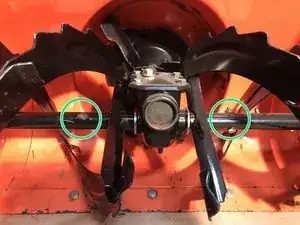
    • Congratulations, both shear bolts have been replaced

Conclusion

To reassemble your device, follow these instructions in reverse order.

Jacob Rattray

Member since: 11/05/18

263 Reputation

0 comments