Introduction
Tools
-
-
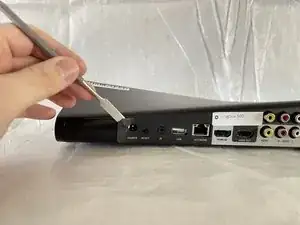
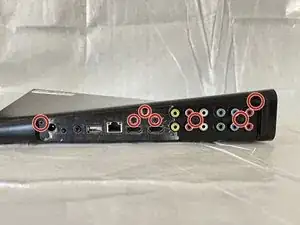
Remove the seven 7.9 mm rear screws from the device using a Phillips #1 screwdriver.
-
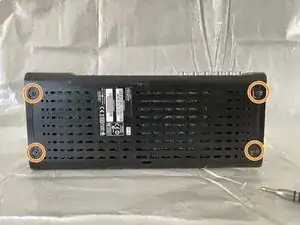
Flip your Slingbox so the bottom is facing upwards.
-
Remove the four 7.9 mm screws using a Phillips #1 screwdriver.
-
-
-
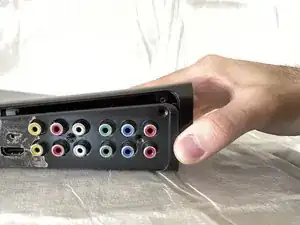
Remove the upper section of the case by rotating your Slingbox to view the back and lifting up on the higher corner.
-
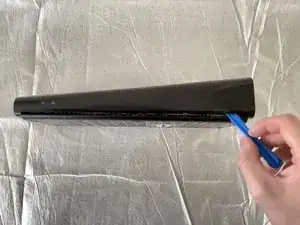
Use the opening tool to disconnect the small clips in the front.
-
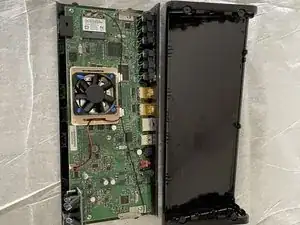
Remove the entire top of the Slingbox and set it aside.
-
Conclusion
To reassemble your device, follow these instructions in reverse order.
