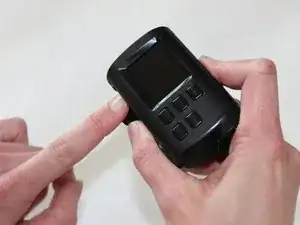
Introduction

The user will learn how to:

  • Remove the device from the case
  • Locate the memory card
  • Remove memory card
  • Insert memory card
  1. HIR1KWYRcWCBgiQm
    HIR1KWYRcWCBgiQm
    mmUlU6oxKNePaB3h
    • Power off your device before you begin this SD card replacement.

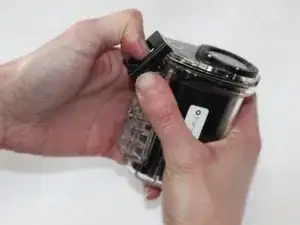
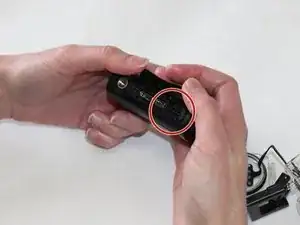
    • Use your thumb to push down on the lever that says "open" while simultaneously pushing up the latch with your other thumb.

  2. 4toACYYJd14CKa1Y
    4toACYYJd14CKa1Y
    vOslrbkt4cmXvcXh
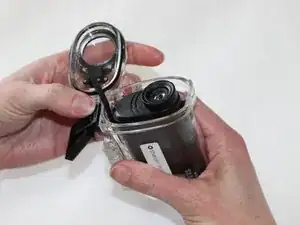
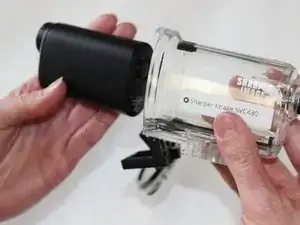
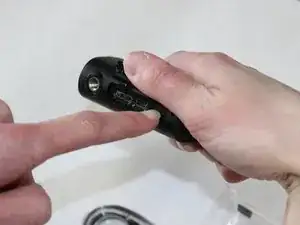
    • Once the latch is free, simply pull the front of the waterproof case off and slide the camera out.

  3. bxrMOjmAJV3YarOo
    bxrMOjmAJV3YarOo
    HQHmTy4I53COGNHX
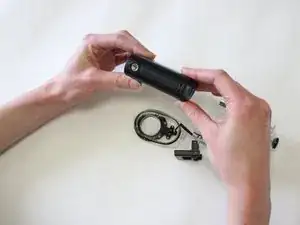
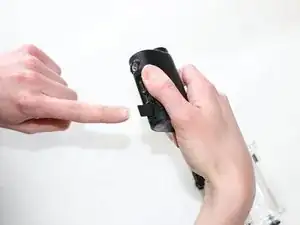
    • Locate the micro SD port at the bottom of the device by lifting up the panel.

  4. NAJJtFaII4QEKEJE
    NAJJtFaII4QEKEJE
    vNDrltCWiBCdiul1
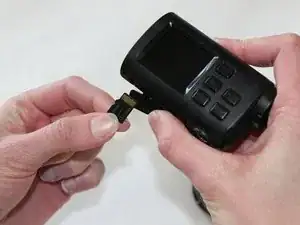
    • To remove the micro SD card from the device, gently push the SD card and release. The SD card will pop out.

    • Be sure to gently push the SD card, pushing harder than necessary can cause the SD card or port to break.

  5. lxWbsCsSYTd5uXXC
    • When putting a micro SD card back into the device, be sure to place the exposed metal side up, as well as have the device LCD screen side up.

  6. pRBPCdvwxD6JcBvR
    • Gently push the micro SD back into the SD port until you hear a click!

    • Do not push the SD card hard. If it doesn't click, you may have the card the wrong way. Too much pressure can break the SD card or the SD port.

Conclusion

To reassemble your device, follow these instructions in reverse order.

Kathryn Mattingly

Member since: 29/01/16

698 Reputation

0 comments