Introduction
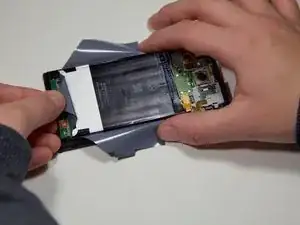
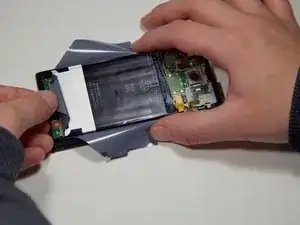
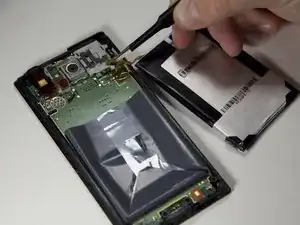
When doing this action, remember to power down the phone before disconnecting the battery. Also be careful not to completely remove the paper as it helps to keep electrical connections underneath. This repair may be needed if the battery in the phone is found to be faulty.
Tools
-
-
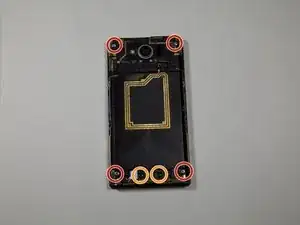
Remove case around battery using a T5 screwdriver to remove four 5mm silver screws.
-
Remove two 6mm T5 black screws.
-
-
-
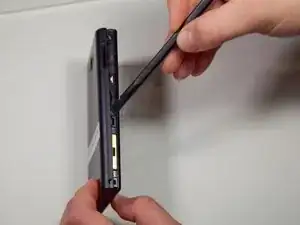
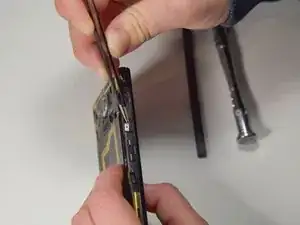
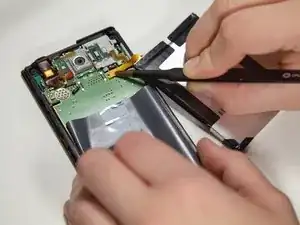
Use the tweezers to remove the pink clips on either side of the device and then take the casing off.
-
Conclusion
To reassemble your device, follow these instructions in reverse order.
