Introduction

When the vacuum is not turning on or providing no suction, this may indicate that the motor needs replacement.

  1. RfVDTH5FAUaPHpqb
    RfVDTH5FAUaPHpqb
    GQZcsFV5nmRVEfSv
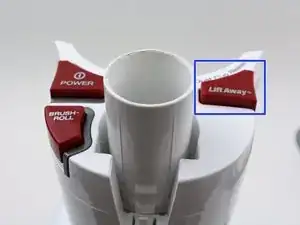
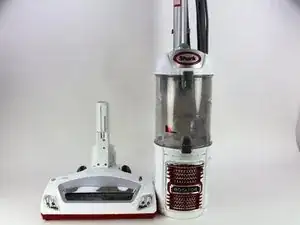
    • Push the red Lift Away button down and lift up on the vacuum handle to detach the base.

    • The handle was removed for convenience but is not required.

  2. UDOHwiBVJHmry2Sb
    UDOHwiBVJHmry2Sb
    QIXbJcNYTRmoafDP
    BrWdcbkFgN4As35a
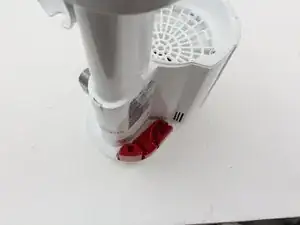
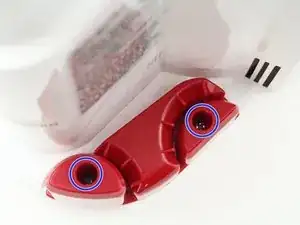
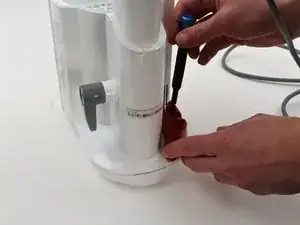
    • Remove the two 19mm Phillips #2 screws located in the red plastic piece behind the filter.

  3. WdijgpZk1ulEmBeh
    WdijgpZk1ulEmBeh
    qT4AJFsolJ6uaPBq
    N2vQQZlXPLgXbMPO
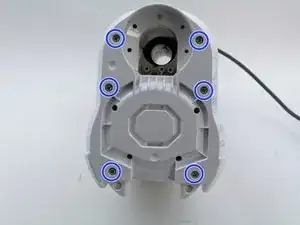
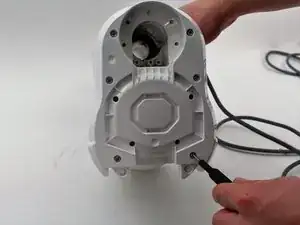
    • Flip over vacuum and remove the six 12.7mm Phillips #2 screws from the base.

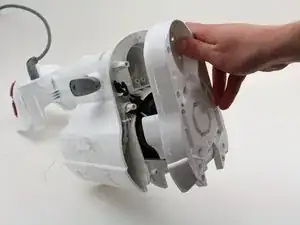
    • Take off white plastic cover exposing the motor in its insulation.

  4. ZEuDgQh1AgW6EdNZ
    ZEuDgQh1AgW6EdNZ
    bQbPWTCsSpXwwP2W
    XpRkVBKNU2MwdJ6p
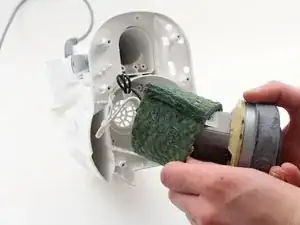
    • Remove the motor from the base and slide the insulation down along the wires.

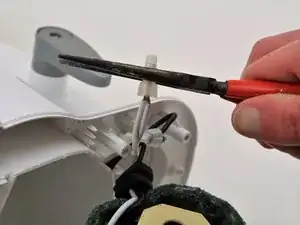
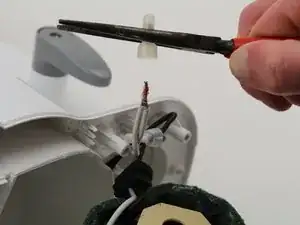
    • Find the plastic caps on top of the black and white wires. Using pliers twist and carefully remove these caps.

    • Needle nosed pliers are recommended but not necessary.

    • These plastic caps are somewhat sensitive and can be difficult to take off. Additionally once taken off they can become unusable.

Conclusion

To reassemble your device, follow these instructions in reverse order.

Joshua Morrison

Member since: 24/01/19

196 Reputation

One comment

What is the motor PN and where can I get one?
Dennis Meece -