Introduction

If your motor is faulty, use this guide to replace it. You will need wire strippers, wire end caps, and the T10 and T20 Torx Screwdrivers. Reassembly requires rewiring. This guide was also used and generalized for an N611 to successfully open up and fix an internal component.

  1. OMnZ1H2BOmUDtmEo
    OMnZ1H2BOmUDtmEo
    HG1qRwXcMeNnmnDW
    O4QDVKPJqnGT1Otu
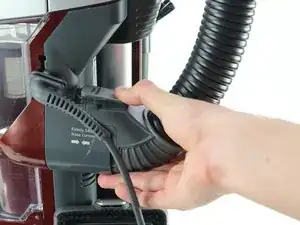
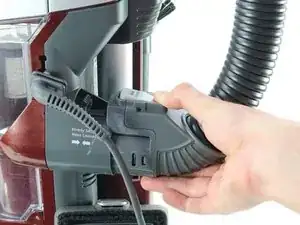
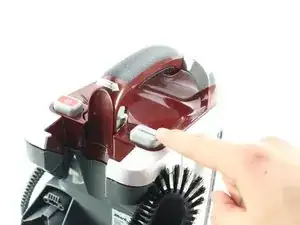
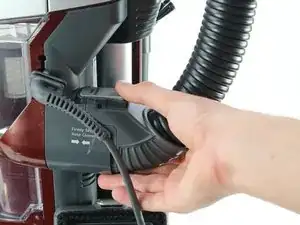
    • Press the Hose Release button and pull back to detach the hose.

  2. XDZNsHw2StHglRch
    XDZNsHw2StHglRch
    tPNTpgNfmtcVMRBO
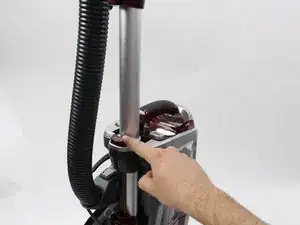
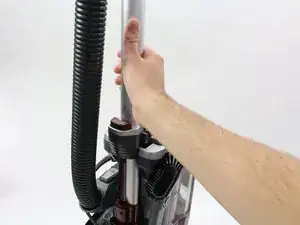
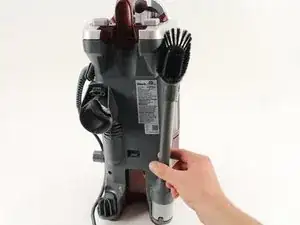
    • Press the Wand Release button and pull up on the metal tube to remove the entire hose.

  3. kd5is5aOEfoLvMaO
    kd5is5aOEfoLvMaO
    ygiIIK3SPSEYCVf2
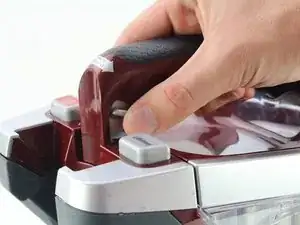
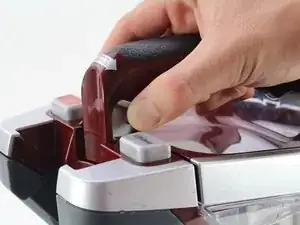
    • Press the Lift Away button and pull up on the handle to separate the top of the vacuum from the bottom.

  4. ZJnGQP3RIBYGg4ux
    ZJnGQP3RIBYGg4ux
    vAIsA1aKNbkLBfvw
    • Pull up on the extra brush pieces to remove them from the vacuum.

  5. 5bHHVknmhC6dG14b
    5bHHVknmhC6dG14b
    6sCLvFjcw5C6Vaup
    AqMciwWbnKEAgXC5
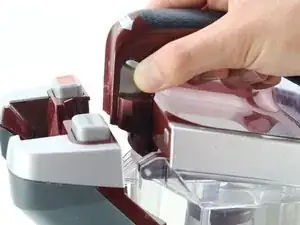
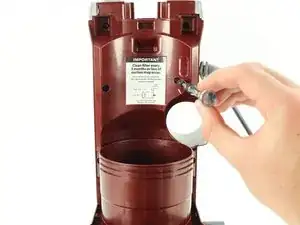
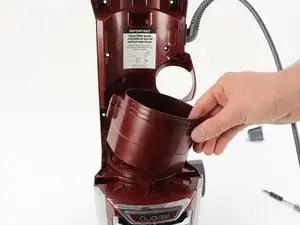
    • Pull up on the Dustbin Release button, and pull up on the handle to detach the dustbin.

  6. mACJwkPTUEdxADuk
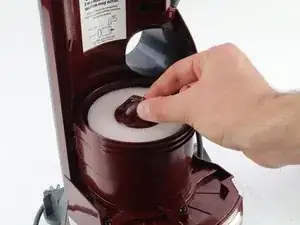
    • Pull up on the filter tab to remove the large foam filter.

  7. Qj2CSZJsZayPEYsL
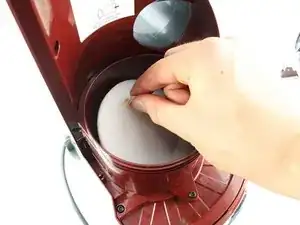
    • Pull up on the small tab to remove the filter pad.

  8. xEIpaiqVVBMHXHfc
    xEIpaiqVVBMHXHfc
    ZGkt55qpMdMWaukI
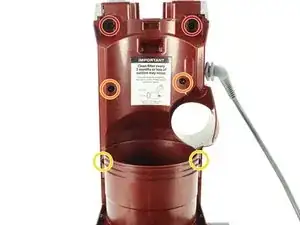
    • Use the T20 screwdriver to remove the two 12 mm screws by turning counterclockwise.

    • Use the T20 screwdriver to remove the two 17 mm screws by turning counterclockwise.

    • Use the T20 screwdriver to remove the two 14 mm screws by turning counterclockwise.

  9. jZUals3P32aATKJQ
    jZUals3P32aATKJQ
    qJNvcuxdFfP3nkaL
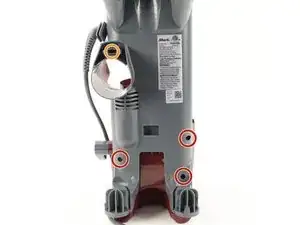
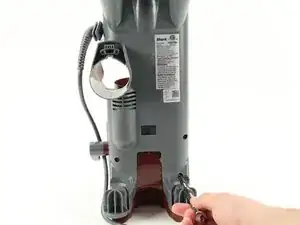
    • Use the T20 screwdriver to remove the three 15 mm screws by turning counterclockwise.

    • Use the T10 screwdriver to remove the one 17 mm screw by turning counterclockwise.

    Might need like micro tooling for T10 if unable to fit in to reach screw.

    On my navigator nv680 I had to remove silver covers near power button and lift away button to remove two more T20 screws before removing back cover.

    Chris Carbajal -

  10. AtQXPsYBn4cXycqb
    AtQXPsYBn4cXycqb
    DRvvcPoLis6wXBs5
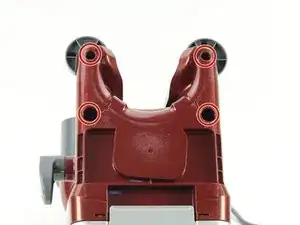
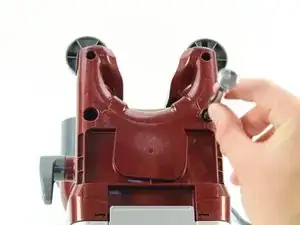
    • Use the T20 Screwdriver to remove the four 14 mm screws from the bottom of the vacuum by turning counterclockwise.

    • The grey plastic cylinders will detach.

  11. jylKifkYEk3pH5xj
    jylKifkYEk3pH5xj
    nupCAG6aLCUjRkmd
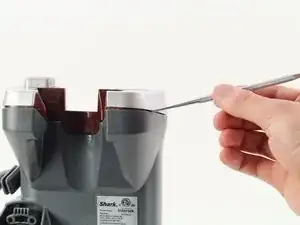
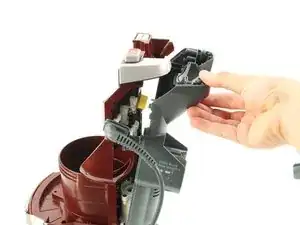
    • Use the metal spudger to pry off the back panel.

    • Be careful not to break or snap any plastic.

    You can see the two silver covers here (remove). On the second photo you can see on top of back piece the hole slots that would have the two T20 screws under both silver covers.

    Chris Carbajal -

  12. 5qmJWpeWEYAp1k4W
    5qmJWpeWEYAp1k4W
    WL5vOsRxc6wEKmGY
    yCAUMJiESCqxJ3Rv
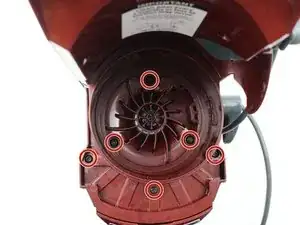
    • Use the T20 screwdriver to remove the six 12 mm screws by turning counter clockwise.

    • Lift the plastic filter holder upward to detach it from the vacuum.

  13. TDffveplTlqoBFU1
    TDffveplTlqoBFU1
    FZ5XBcVlkWNVWhoa
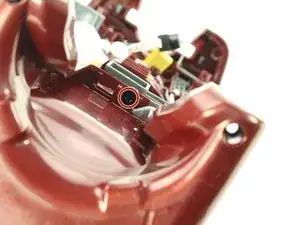
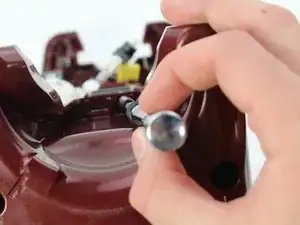
    • Use the T20 screwdriver to remove the one 14 mm screw from the bottom by turning counter clockwise.

    • For reassembly, this screw is difficult to put back in. It is supposed to be very tight.

  14. TrWAEPeZJt6dFJqF
    TrWAEPeZJt6dFJqF
    ArO2gTYYUUeTHvG5
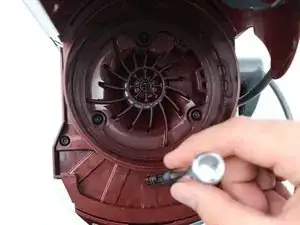
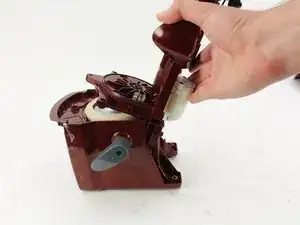
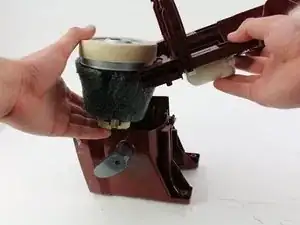
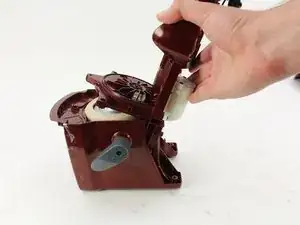
    • Pull up and back in a twisting motion to remove the motor from its casing.

    • The wire connected to the motor may make it difficult to remove. It may require a lot of wiggling to get the motor out.

  15. gLrjRTh4yobhsEDD
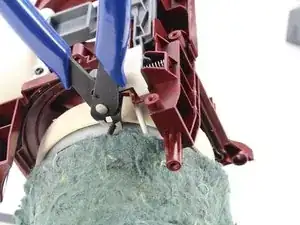
    • Use wire cutters to cut the black and white wires coming from the back of the motor.

    • For reassembly, you must strip and then rewire the new motor using wire strippers and end caps. Use this guide to learn more about stripping wires.

Conclusion

To reassemble your device, you must rewire to a new motor, then follow these instructions in reverse order.

Catie Halvorsen

Member since: 08/10/18

699 Reputation

5 comments

In step 11 there are two additional torx screws to remove, under the finish caps near power and lift away buttons

Phil Blades -

Great Steps . Its Looks More Interested If You can Shoot In Video.

however recently i order a dustbin cleaner with discount which i got from Couponswindow

haydond2 -

I just replaced the motor in a Shark AZ1000W which is similar to this except for the screws in different locations. In step 11, similar to what Phil’s comment says above, there is a screw underneath the dust cup release button. You have to pry that button off. To get that top piece off there are two additional screws on top and one on the bottom. Also in the AZ1000W there is a gray trim piece that goes around the HEPA filter and wraps around the back of the unit. You have to remove that before proceeding to step 14. The trim has two halves you have to separate at the seams where they come together. There are tabs holding it together and it’s hard to separate the halves without breaking the plastic holding it together.
chrisfarmer45 -

My NV752 looks almost just like this until step 13 and 14. It seems like the screw in step 13 doesn't exist, and like there's no way to access the motor. The pinwheel fan-looking part that they pull back in step 14 is fixed to the vacuum, it's the same piece of plastic as the base. I don't think there's any way to get into the motor for NV752 : (

Beth -

Have replaced the motor in my NV680. It all came apart quite easily, but now can't get the back to lower completely. I can't see what is stopping it - it seems the problem leans towards the cable side, but they both don't seem to be the cause. Any ideas anyone?

Edward Shaw -