Introduction
Follow this guide if you need to replace the power supply of your Sega Saturn. Before you begin disassembling, I advise getting the detailed tools together, as the screws have bad plastic sockets, so having the Standoff screwdriver really helps get those rigid screws in and out. The toughest part of this guide will be finally removing the Power Supply Board, as the last thing holding it in place are pins directly from the motherboard. Breaking those can lead to replacing two parts of the Sega Saturn, and it doesn’t help that it takes a good amount of force to unplug the pins either… Just take your time on that step and this repair should be fine.
Tools
Parts
-
-
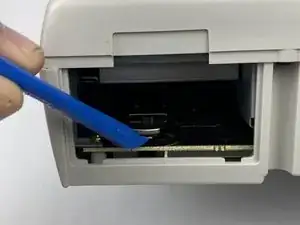
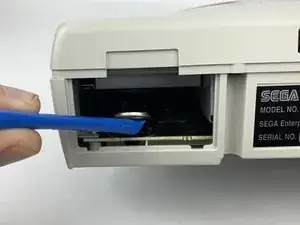
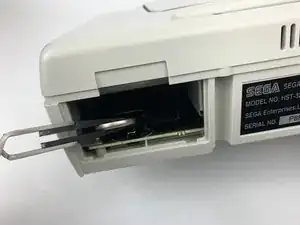
Push up the edge of the battery with the iFixit opening tool to get the battery out of its socket.
-
-
-
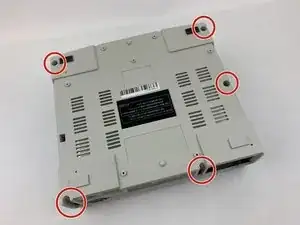
Remove the five black 13.5mm JIS#1 screws on the bottom of the device. One might be hidden by a sticker.
-
-
-
Flip the device over so it rests right side up.
-
Lift gently across the seam of the Sega Saturn. If parts get stuck, a light shake or prying with the iFixit opening tool should free it up. Do not use any brute force, as this can damage the case so it doesn't close again.
-
-
-
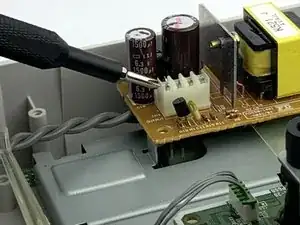
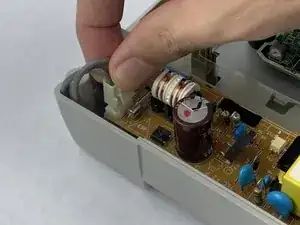
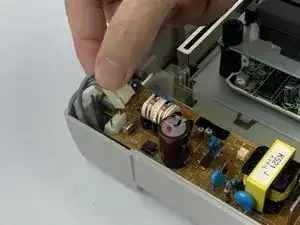
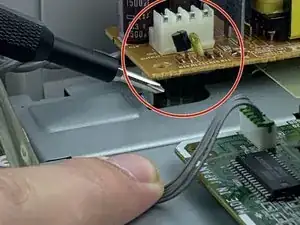
Unplug the power button plug on the power supply board. Use the iFixit opening tool if necessary.
-
-
-
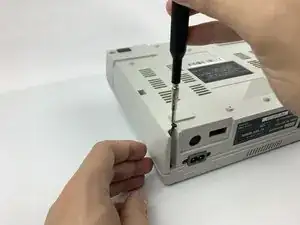
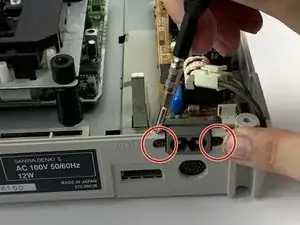
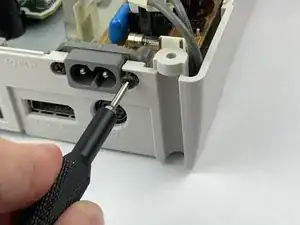
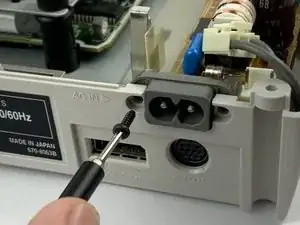
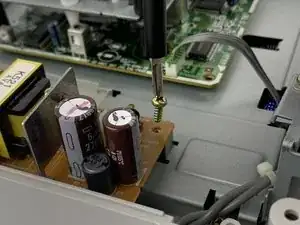
Remove the two black 11.4mm standoff screws on the back of the Sega Saturn holding the power socket in place. These screws are tight and easily stripped, so it's suggested to use a standoff screw head.
-
-
-
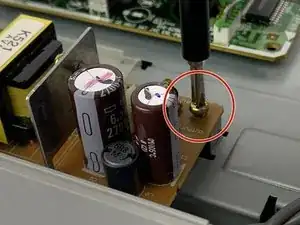
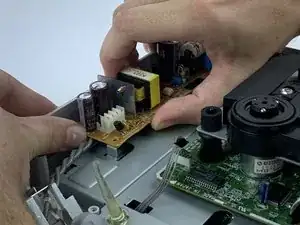
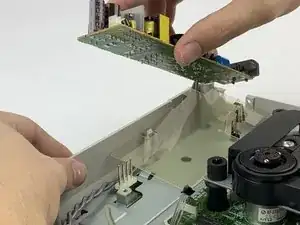
Lift the power supply board out of its socket, minding the pins that connect it to the motherboard. Some force will be required, but be careful when lifting or shaking the power supply board out.
-
To reassemble your device, follow these instructions in reverse order.
