Introduction
This guide will help you replace the motherboard of a Sega Saturn.
First: before disassembling, please get the detailed tools together. There are some plastic sockets that are just really bad, so having the right screw or tool for the job can save you a lot of time.
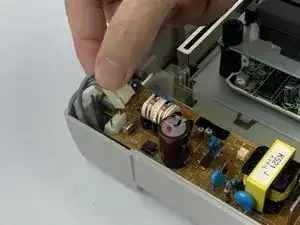
Second: Be careful removing the Power Supply Board, the pins that hold it in place connect right to the motherboard, and breaking can lead to replacing two parts instead of one.
Third: Do NOT touch the disc reader’s laser (Step 12 for picture). There have been reports of smudging ruining it and making it require replacement, so just avoid touching that area.
Other than that, just read each step through before doing it and this repair will be a fun project.
Tools
Parts
-
-
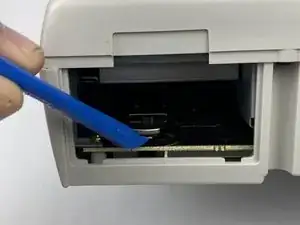
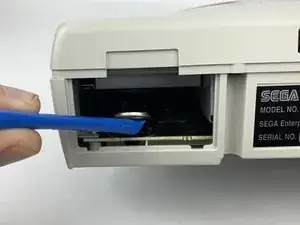
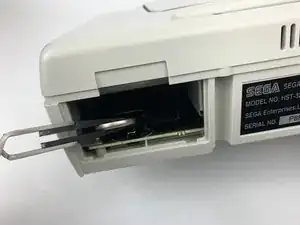
Push up the edge of the battery with the iFixit opening tool to get the battery out of its socket.
-
-
-
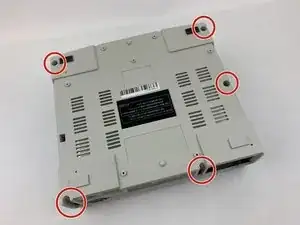
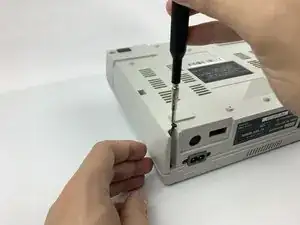
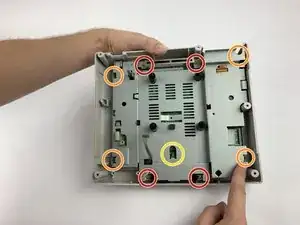
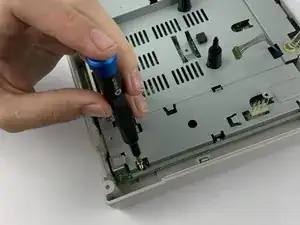
Remove the five black 13.5mm JIS#1 screws on the bottom of the device. One might be hidden by a sticker.
-
-
-
Flip the device over so it rests right side up.
-
Lift gently across the seam of the Sega Saturn. If parts get stuck, a light shake or prying with the iFixit opening tool should free it up. Do not use any brute force, as this can damage the case so it doesn't close again.
-
-
-
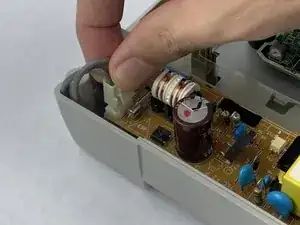
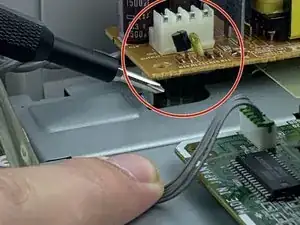
Unplug the power button plug on the power supply board. Use the iFixit opening tool if necessary.
-
-
-
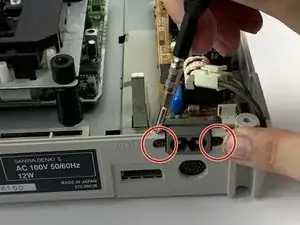
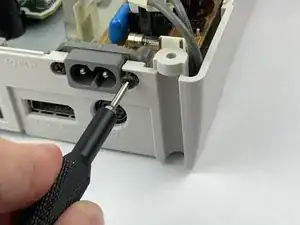
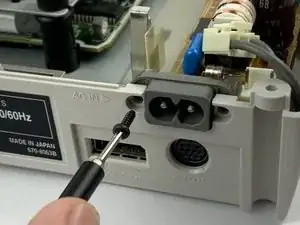
Remove the two black 11.4mm standoff screws on the back of the Sega Saturn holding the power socket in place. These screws are tight and easily stripped, so it's suggested to use a standoff screw head.
-
-
-
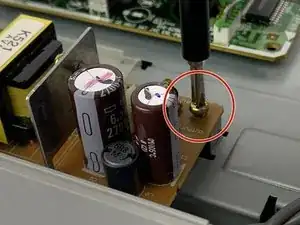
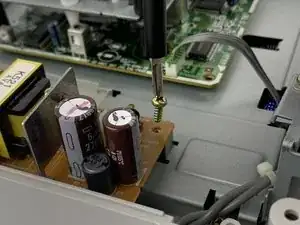
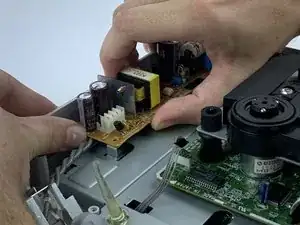
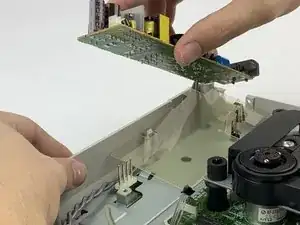
Lift the power supply board out of its socket, minding the pins that connect it to the motherboard. Some force will be required, but be careful when lifting or shaking the power supply board out.
-
-
-
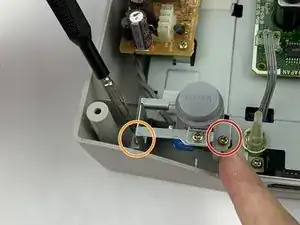
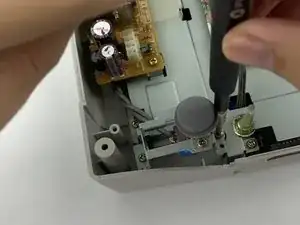
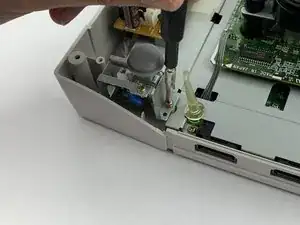
Remove the metallic 13.7mm JIS#1 screw on the right of the Power Button.
-
Remove the metallic 12.4mm JIS#1 screw on the left of the Power Button.
-
-
-
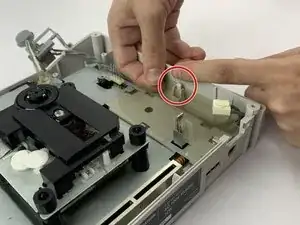
Push the plastic resting tray’s pin located here.
-
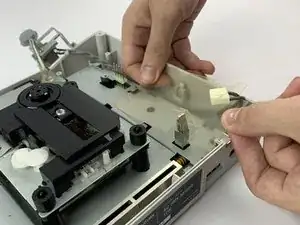
Remove the plastic resting tray to free the wire between the power supply board and the button.
-
Remove the power button when the wire is free.
-
-
-
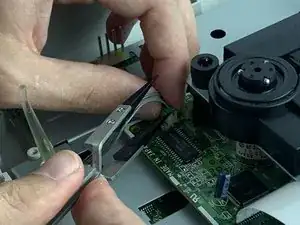
Pry the second cable out of its socket on the disk reader with the iFixit opening tool or ESD safe tweezers. When the lip of the cable gets enough distance out of the socket, it can be wiggled free.
-
-
-
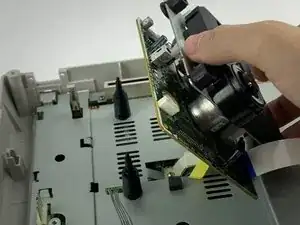
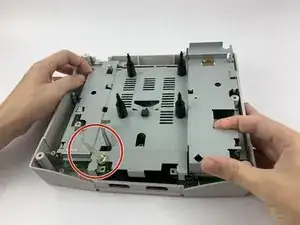
Lift the laser reader slowly out of its slot hosted by these four pins. There is a screw underneath with a cable attached to the motherboard.
-
-
-
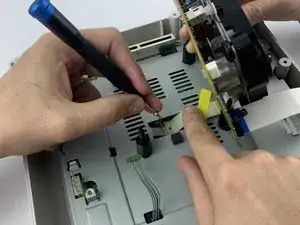
Remove the metallic 12.2mm JIS #1 screw. This will need additional hands in reverse to hold the disk reader steady.
-
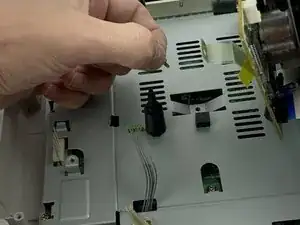
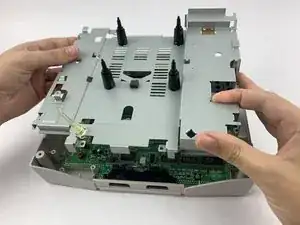
Remove the yellow tape on the reader strip and gently remove the disc reader without touching the laser reader.
-
-
-
Remove the four metallic 15.5mm JIS#1 screws from the Motherboard Frame.
-
Remove the four metallic 13.6mm JIS#1 screws from the Motherboard Frame.
-
Remove the metallic 12.3mm JIS#1 screw from the Motherboard Frame.
-
-
-
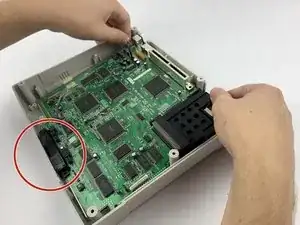
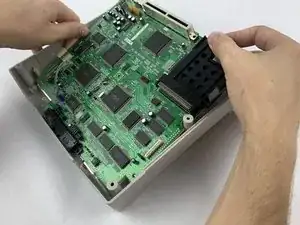
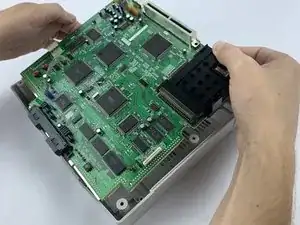
Lift the motherboard away from the controller sockets in the front of the device while keeping your hands on the edges of the board
-
Once the back of the motherboard is above the back of the case, lift backwards to pull the cables out of their sockets to free the motherboard.
-
To reassemble your device, follow these instructions in reverse order.


