Introduction
The Sega Saturn is a home video game console which contains a battery that has an average lifespan of 1-2 years. A healthy battery within this console is necessary for the Sega Saturn to work properly. If your console isn’t turning on, or if it only turns on briefly before turning off again, you are probably experiencing an issue relating to its battery. This repair guide will demonstrate and explain how to properly disassemble the Sega Saturn and replace its battery in order to restore it back to its functioning condition. Battery replacement will likely resolve the issues described above. There are no specific or special skills needed to complete this repair, and there is nothing unusual about this repair process. Please use a new battery when replacing your old one to delay further battery repairs.
Tools
Parts
-
-
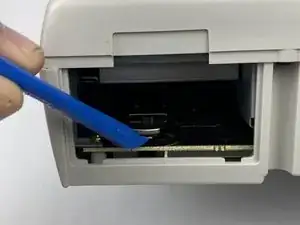
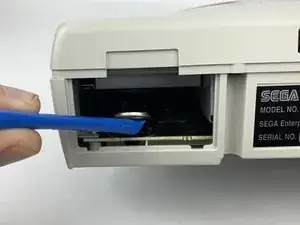
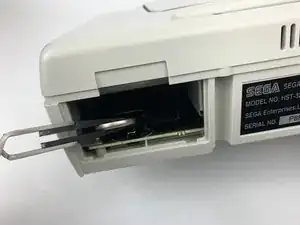
Push up the edge of the battery with the iFixit opening tool to get the battery out of its socket.
-
To reassemble your device, follow these instructions in reverse order.
One comment
Japanese Saturn? Here's how to set English after battery replacement...
Turn on the console without a disc inside.
If you get the date/time set screen, press the right direction until you have highlighted the bottom-right symbol then press A.
In the main system menu, select the icon that looks like a box with up-down arrow inside.
Next screen, choose bottom-right option.
In the next menu, select the item in the center (it’s the 2nd option)
Pick English (is not kanji) then select Exit.


