Introduction
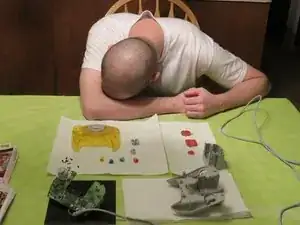
If your retro consoles and controllers are beginning to look a little, or a lot, seasoned from years of use or storage and you're interested in restoring their original look then this is the guide for you.
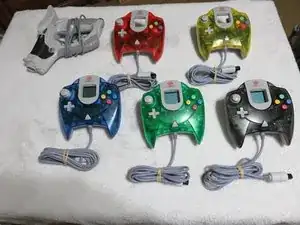
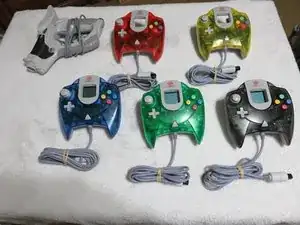
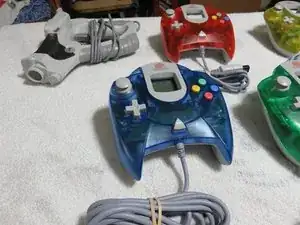
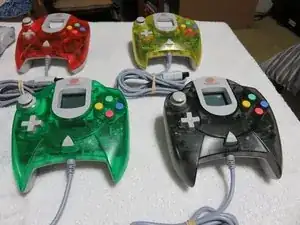
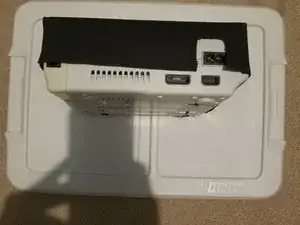
This guide specifically covers the Sega Dreamcast controller, as I have several variants, but the same techniques can be used on all retro systems. Examples in step 15 & 16.
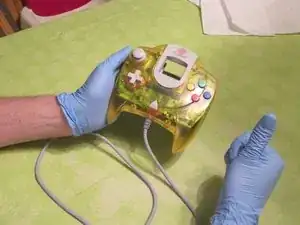
With a little work and elbow grease you can restore the original look, feel and finish to your retro controllers, consoles and games. In this guide I'll walk you through my personal process on how to refurbish your Sega Dreamcast controllers inside and out.
Since this is a retro restoration guide I'm also providing some accessories/techniques to clean your old cartridge based systems and games. These steps will be at the bottom of the guide. Added 5/7/19
Tools
-
-
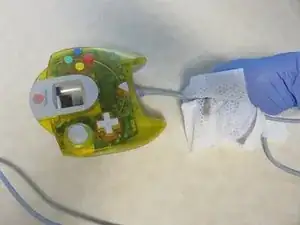
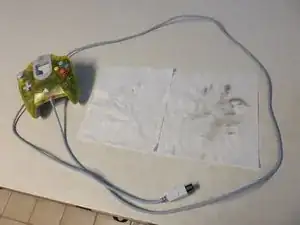
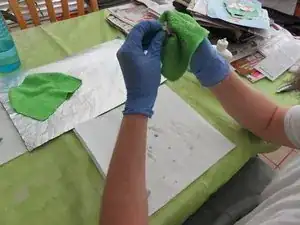
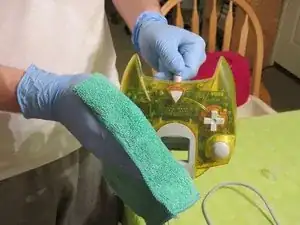
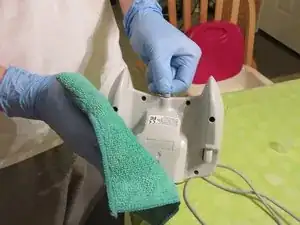
This is the easiest part of the refurbishing process. Simply put on some gloves, grab a bleach wipe and start rubbing down your controller cable. I recommend going both directions down the cord. By that I mean start at the base of the controller cord, down to the console port and then reverse the direction. I've found that simply going from top to
-
bottom isn't sufficient enough for some of the more stubborn dirt that's near the console port. Reversing the direction seems to be the easy fix for removing that dirt at the end of the cable. Repeat this process, using as many wipes as necessary, to remove this dirt/bacteria. You'll feel an instant difference when it's dry and it'll almost feel
-
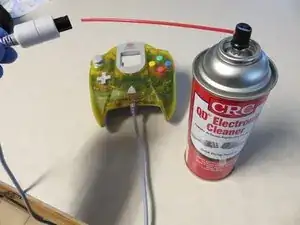
like new. When you're satisfied with the cleanliness of the cord take your electronics cleaner and spray inside the console port to clean the inside and ensure a clean and solid connection when you plug in your controller. This step is now complete. It's time to go sanitize everything else.
-
-
-
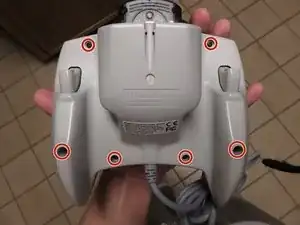
Use your #1 screwdriver to remove the 6 external screws and remove the back plate of the controller.
-
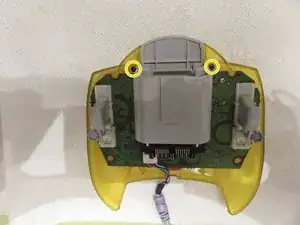
Remove the 2 internal screws and remove the controller board.
-
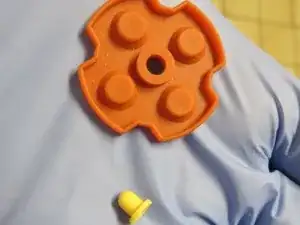
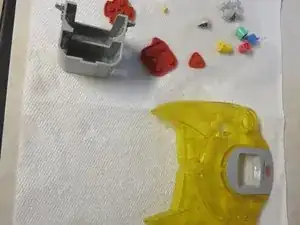
Remove the 3 rubber pads and all the buttons from the front controller cover and controller board and set them off to the side for now.
-
-
-
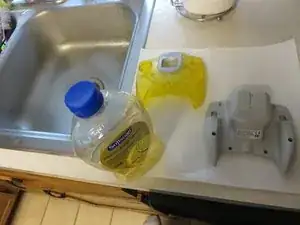
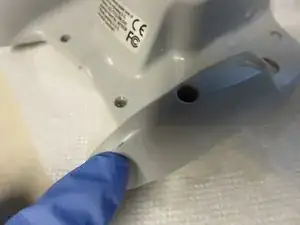
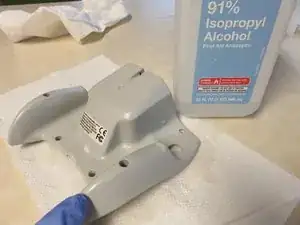
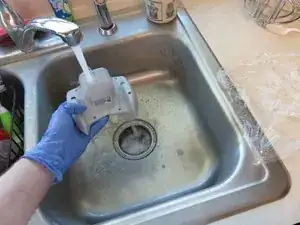
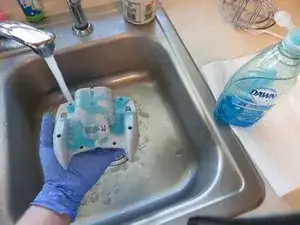
Using whatever sink suits you best use hot/warm water and antibacterial soap and clean the back cover by hand. Be sure to also clean the inside of the cover to remove any dirt/dust that's been sitting in there.
-
-
-
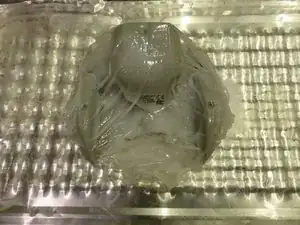
Grab your Saran Wrap and rip off a decent size piece. Large enough to completely wrap the back shell and lay it flat on your work surface.
-
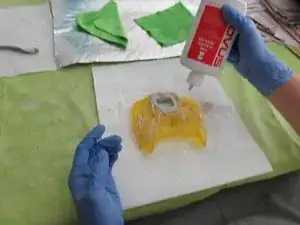
Open the bottle of Salon Care 40 Volume Creme and pour some out onto the shell. Do your best to cover the entire surface evenly. This is easier said than done due to the shells odd shape. Just do the best you can.
-
Smooth out the extra creme that poured off your controller, onto the Saran Wrap, in a big enough surface to cover the controller.
-
Quickly flip the shell over and cover the entire shell with the Saran Wrap. Try not to leave open airways as you don't want the solution to dry. If you need an extra piece of Saran Wrap to completely cover the shell now is the time. When shell is completely wrapped flip it back over and place it into the container that will be holding the shell.
-
-
-
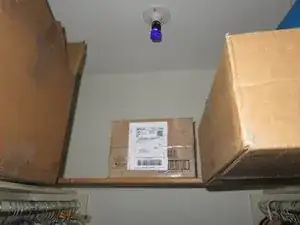
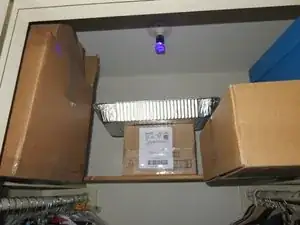
Here I've used a storage closet that seldom gets used as my black light room. I had to make some adjustments and shift some stuff around but my pan sits about a foot under the light. I can't explain the science behind why this works but there's a chemical reaction when the Salon Care 40 Creme sits under UV light. The end result is quite astounding.
-
Especially if your restoring a console or controller that is badly yellowed, it can restore its original color.
-
The reason for doing this is simple and is done for one of two reasons. Either you have a console/controller that's yellowed or you simply want to restore the original shine to the plastic. Even if your controller isn't discolored it still adds a "new" look and feel to it. I let mine sit for 24hrs before removing it from the room.
-
-
-
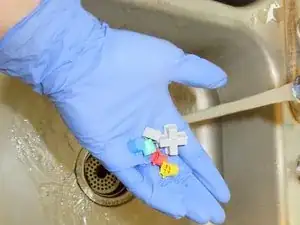
Grab your remaining parts to be cleaned and clean them using hot/warm water and antibacterial soap. Remember, the idea with all this is to remove the previous user(s) bacteria.
-
When you've finished cleaning your remaining pieces set the rubber pads and VMU slot holder out of the way to air dry. You are done with these pieces until the reassembly process.
-
-
-
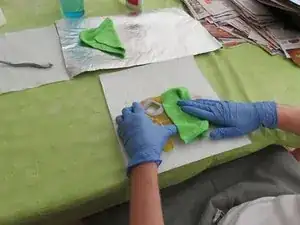
Here's where your aluminum foil, microfiber clothes, Novus Plastic Polish #2 and dish soap comes into play. Following the instructions on the back of the bottle, apply and buff polish to the buttons/shell until you're satisfied with results. I personally repeat this process 3 times.
-
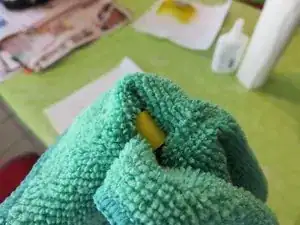
After the final coat is applied I use the dish soap to do a final clean of the shell and to remove any remaining polish. I use the dish soap because it's a little thicker, and lathers more which helps get the remaining polish off.
-
-
-
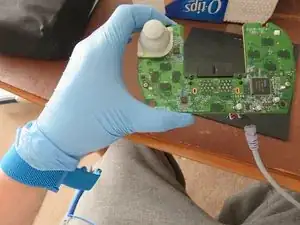
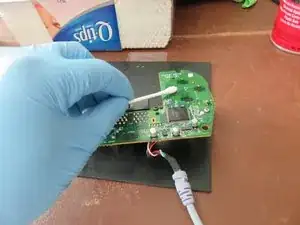
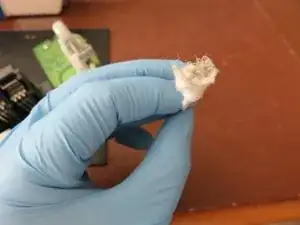
Grab your electronics cleaner, Qtips and an ESD bracelet. This part is pretty self explanatory. Spray the cleaner on the board or on a Qtip and give it a gentle scrub. You probably won't yield much filth but it's better not to have it there in the first place.
-
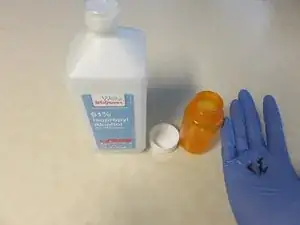
The thumbstick remains on the board unless you unscrew the 2 screws holding it to the board. Clean it with a Qtip and rubbing alcohol and use a toothbrush or nail brush to clean the underside of the stick if you so desire. Don't forget to clean the triggers as a lot of dirt can build up on them.
-
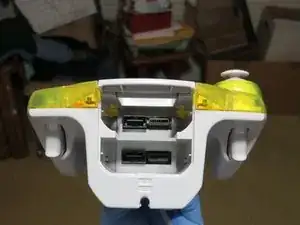
Spray some of your electronics cleaner into the VMU slots and then spray an airgun into the slots. This will help clean and remove any dirt that may be in there.
-
-
-
Once you've hit your desired amount of time that you want your controller shell to remain under the UV black light it's time to clean it one last time. I use the dish soap here for the same reasons mentioned in Step 7.
-
Once the Salon Care 40 Volume Creme has been rinsed off the shell take a paper towel and dry the exterior.
-
-
-
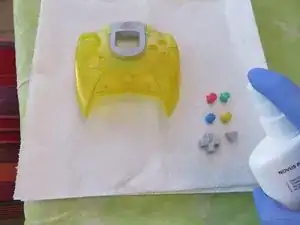
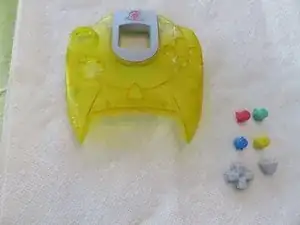
Place your buttons, and front controller shell on a clean paper towel. Face the buttons upward so any residual polish drips onto the sides. Following the directions on the back of the bottle, spray the Novus Polish #1 on the top of the shell and buttons. Let them sit for a moment and wipe them dry with a clean microfiber or lint free cloth.
-
Use the same rag to wipe the inside of the shell to remove any dried up water marks that remain from the washing.
-
-
-
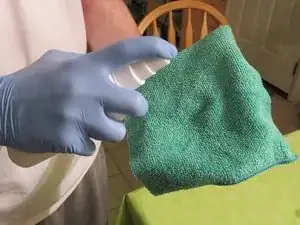
After your controller is reassembled take the cloth you used with the Novus Polish #1 and spray 1-2 pumps on the cloth. Give your entire controller a quick wipe down with the damp rag and set aside for a moment to dry.
-
-
-
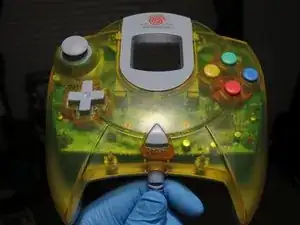
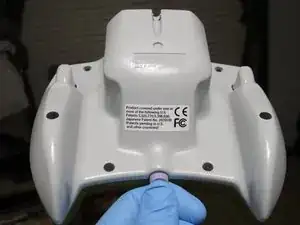
Your Sega Dreamcast Controller should now look and feel like new again. I hope you enjoyed this guide and that it assists you on the road to restoring your retro devices. A lot of these techniques can be applied to several other retro systems and controllers. This is my process and I have successfully restored all my retro systems and controllers
-
using the techniques shown in this guide. To include: N64 console & controllers, Dreamcast console & controllers, NES controller, NES & SNES game cartridges, Sega Game Gear console.
-
-
-
Welcome to the cartridge based portion of this guide. Lets dive right in!
-
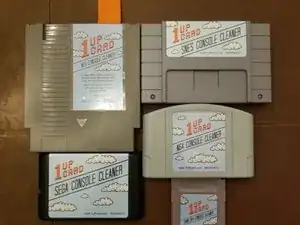
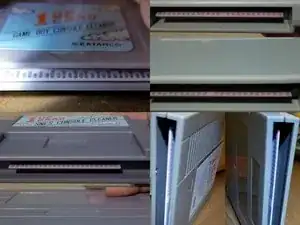
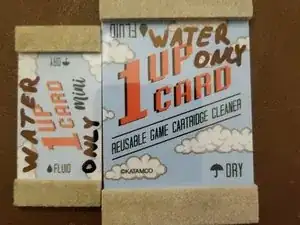
Recently I accidentally stumbled upon an amazing product. Allow me to introduce the 1up Card and various forms of the 1up Console Cleaner. The Console Cleaner is a friction based cleaning device and it does exactly as described, gives a 1up to your console. Simply insert and withdraw the cartridge a few times and it's amazing how well these work.
-
Now lets talk about the 1up Card real quick. These are specifically designed to fit the gap between the cartridge and game PCB. They are a much faster and economical solution to pin cleaning compared to Q-tips. They're reusable, create much less mess and leave no fibers on your nice and clean game pins which means less debris in your console.
-
Simply apply some alcohol to the pad labeled fluid, rub your pins vigorously with the card, flip the card and buff with the dry side. It's just that easy. If you're into retro gaming then I HIGHLY advise you to buy these products. I am not sponsored in anyway and will make nothing off of your purchases. Buy them here: https://www.1upcard.com/
-
-
-
I don't know about you but I hate dust. It's easy to clean but it's never ending and requires constant combating. Dust is a mortal enemy to gaming devices so lets talk about how to slay the beast.
-
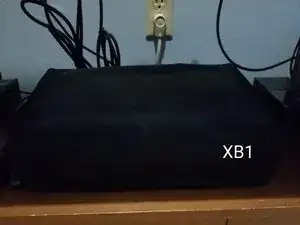
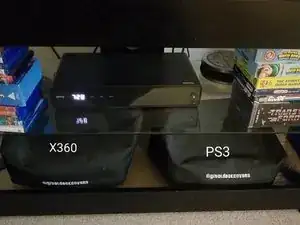
If I had a nickle for every console dust cover I owned I'd have .40 cents. Console covers are a great way to reduce dust or any other foreign debris into your devices. They're relatively low cost and very effective. Some sellers on eBay even stamp the covers with colored logos of your favorite systems adding a little flair to your collection.
-
https://www.digitaldeckcovers.com has a WIDE variety of dust covers for all sorts of electronics.
-
-
-
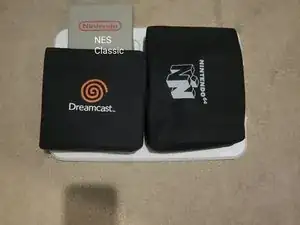
Last but not least, are the retro covers with stamped logos. Mind you, there are probably other sellers on eBay who sell similar items but I like the products from The Pat Rat Shack. Check them out at this link: https://www.ebay.com/sch/i.html?_saslop=...
-
-
-
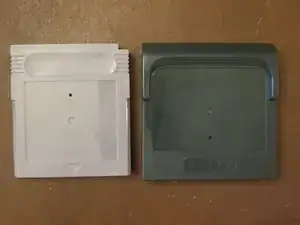
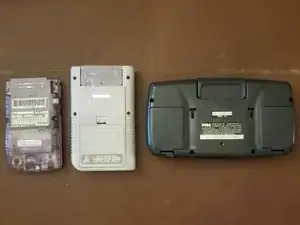
This falls under dust prevention. If you display your retro handheld devices you need to invest in a couple of blank dummy carts to put in your system. The cartridge slot is the easiest opening for dust/debris to enter your device, not to mention getting your cartridge reader dirty. Placing a dummy cart in your system will prevent filth from
-
getting in and will put zero added pressure on your pin connector. These systems and cartridges are friction based devices and personally I'd rather have a blank cart inside the system rather than an actual game. This will reduce wear on your cartridge reader as well as the cartridge itself. They're cheap and easily found on eBay.
-
-
-
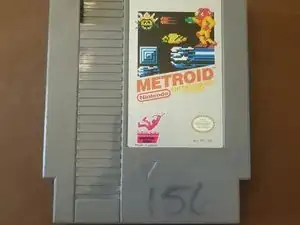
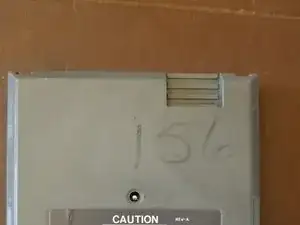
So you purchased a game or console that some punk kid, who's now an adult, wrote on with a marker and now you have to correct their youngerselfs stupid mistake. The inhumanity!
-
I cannot take credit for this as I stumbled upon this information on a youtube video long ago. The best and fastest way to remove marker from a cartridge is with a... Magic Erase Marker. Yes, use marker to fight marker. You'll still need some alcohol on hand but simply write over the old marker with the magic erase and give it a wipe with a paper
-
towel with a little alcohol on it. This simple method has saved me countless times and has effectively worked every time except for once.
-
-
-
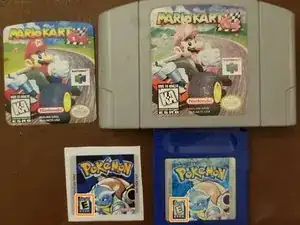
Technology does a lot of great things for us. We now have the ability to print replacement replica stickers for consoles and games. Well, some of us do anyway. eBay is one of the best spots to pick these up. If you damaged a sticker during cleaning or purchased something with a damaged sticker jump online for a replacement. This is a much cheaper
-
solution than replacing the entire game which you wouldn't be able to sell at full price now anyway. I can't guarantee there's a replacement sticker for everything but chances are pretty good and if you find a seller who makes them you can always ask for a special order. Bear in mind special orders may come at a higher price.
-
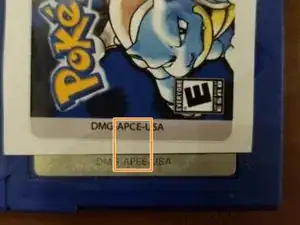
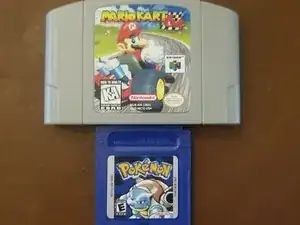
My Pokemon Blue replacement sticker is a perfect example of this. I observed the replica and a copy of a undamaged original sticker for comparison. The replica appears to be a perfect copy with the exception of two minor details. If you look at the left side of the game cartridges you'll notice the writing is identical except for 1 letter. A "C" is
-
in place where an "E" is located on the original sticker. Also the ESRB graphic isn't identical to the OEM sticker. I noticed this before purchase but a perfect replica sticker was 3x the price at $12. I didn't see this as a problem but it's something to consider when replacing.
-
Your Sega Dreamcast Controller(s) should now look and feel like new again. Enjoy and happy gaming!
One comment
The final result looks so good! I’d pay you to do this to be honest, I don’t have as much time as I’d like to dedicate to this deep of a clean :(
Paulo -
