Introduction
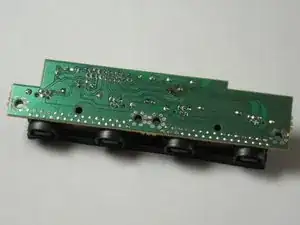
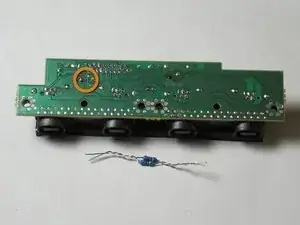
Replacing the F1 fuse on the controller board of the Sega Dreamcast. Soldering is required for repair.
Required parts
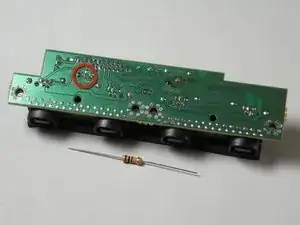
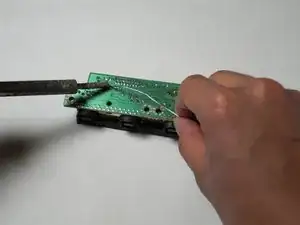
- 5 Ohm 1/2 watt fuse resistor OR two 10 Ohm 1/4 watt metalized resistors
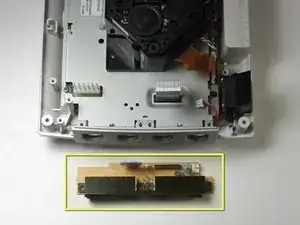
- Controller board
Tools
-
-
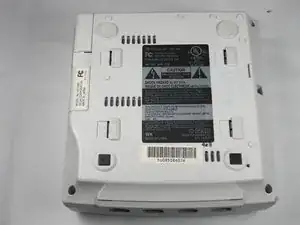
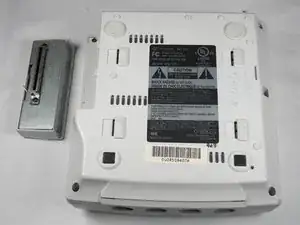
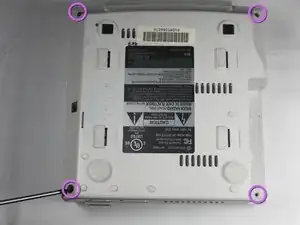
Flip the console over on its back.
-
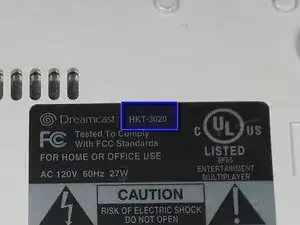
Take note of your model number, in case replacement parts are needed.
-
-
-
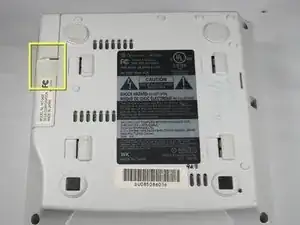
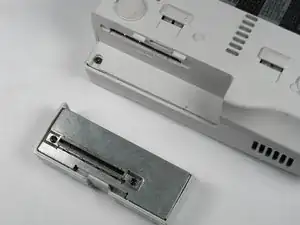
Remove the expansion bay by applying pressure to the small clip on the expansion bay while prying it away from the console.
-
-
-
Turn the console right side up.
-
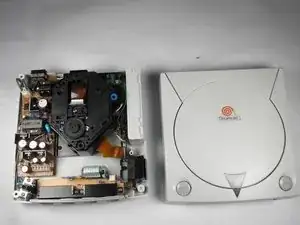
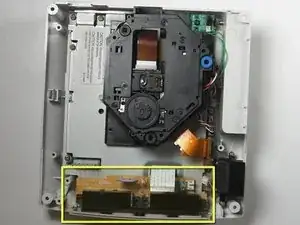
Remove the top cover by gently lifting the upper portion of the console.
-
-
-
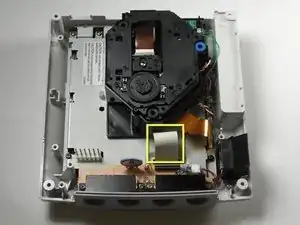
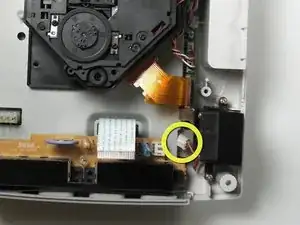
Disconnect the white controller cable by gently pulling the the cable while wiggling it back and forth until it detaches from the controller board.
-
-
-
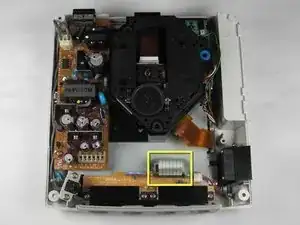
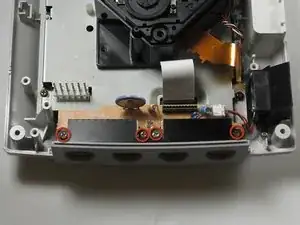
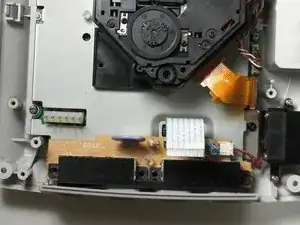
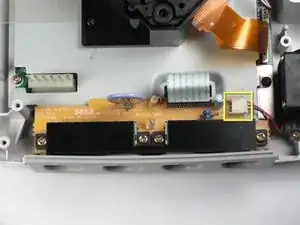
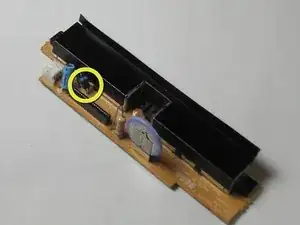
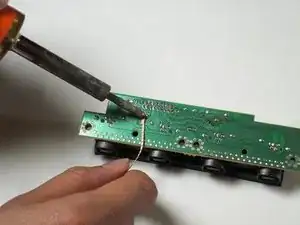
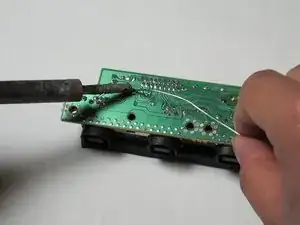
Remove the F1 fuse by using the soldering iron and desoldering wick.
-
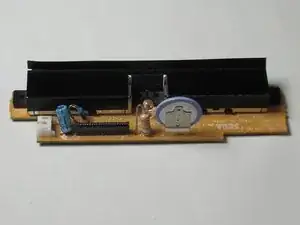
The F1 fuse is clearly indicated on the topside of the controller board.
-
To reassemble your device, follow these instructions in reverse order.
6 comments
Hello, Darren. I am having the utmost difficulty doing this with two 1/4 watt resistors, as you have demonstrated. I have three dreamcast systems, I would like to repair (all with a bad controller port.) What would be the chance that I could send you the ports, packs of resistors and and solder and pay you to do this to all of them?
djresree -
I would even be willing to give you two of them! I just want one working system!
djresree -
I can help with this, email me at yahoo address
rhedayi -
bonjour Darren. Ma question est surement bête mais est- ce que cette manipulation est nécessaire quand seul le premier port de la Dreamcast ne fonctionne pas ??
etra782a -
