Introduction
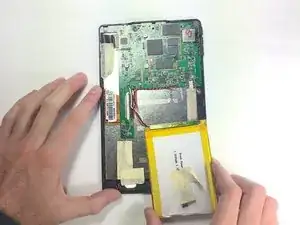
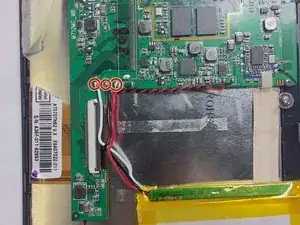
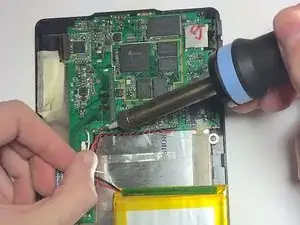
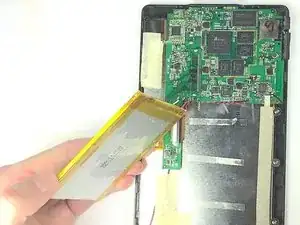
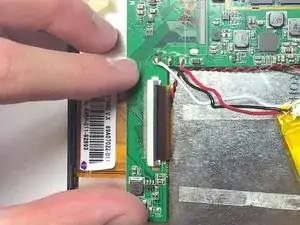
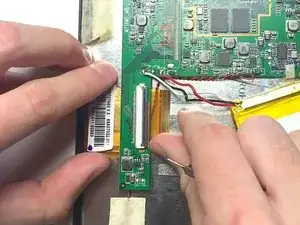
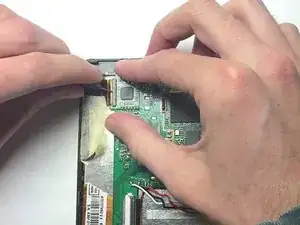
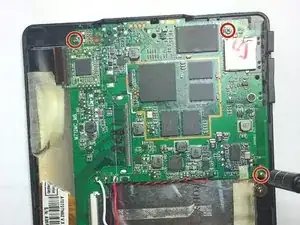
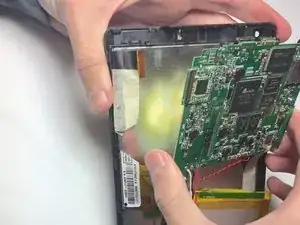
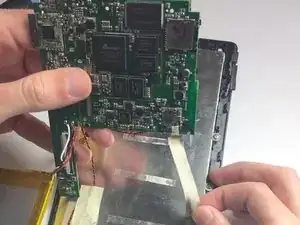
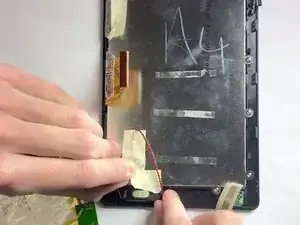
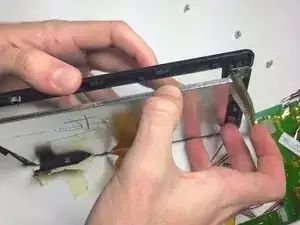
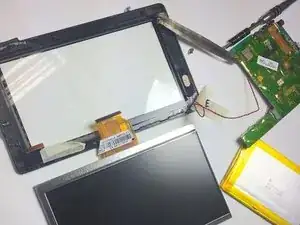
This guide will walk through the process of removing the screen. This guide has a large number of steps due to the need to remove the motherboard from the device before the screen will be accessible. Double check the tools needed for this guide as soldering is necessary for this disassembly.
Tools
-
-
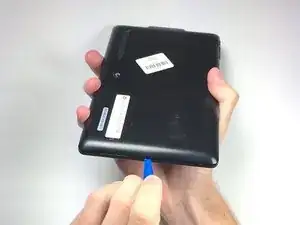
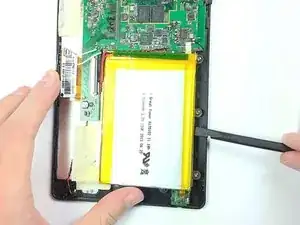
Insert the plastic opening tool into the middle of the bottom edge of the device. The tool should be inserted within the seam between the back and front covers.
-
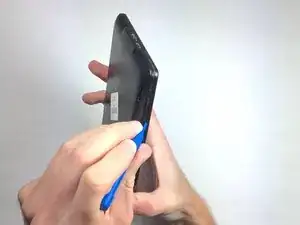
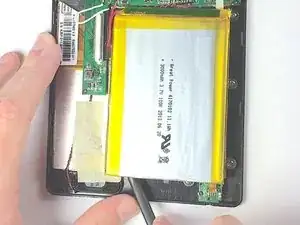
Slide the opening tool to the right and slowly continue to separate the back cover from the device.
-
-
-
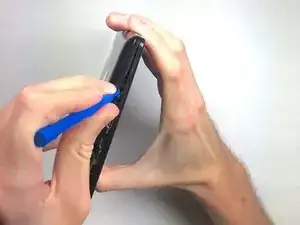
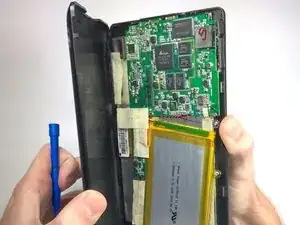
Pull the cover off of the device once about three quarters of the cover has been pried open using the plastic opening tool.
-
-
-
Remove the two ZIF connectors attached to the motherboard by flipping up the black tabs before pulling the ribbon cable away.
-
-
-
Peel back metal tape that is hiding the auxiliary port wires.
-
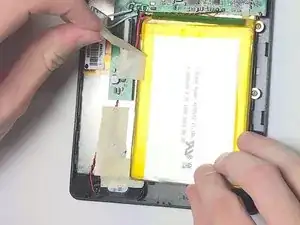
Remove tape that is holding the speaker wires in place.
-
Lift up on the motherboard to release it from the tablet.
-
-
-
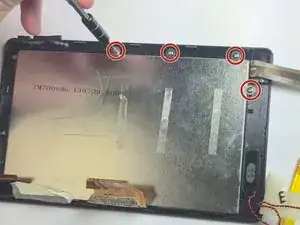
Remove the screen from the front cover of the device. At this point there should be no other component holding the screen down.
-
To reassemble your device, follow these instructions in reverse order.
