Introduction

Follow this guide to replace the screen on your iPad Pro 11" 1st gen.

If your battery is swollen, take appropriate precautions.

The LiDAR sensor assembly attached to the screen is paired with the Face ID hardware. You'll need to transfer it to your new screen to keep Face ID functionality.

  1. hb4aWKRHCDmmSRVB
    hb4aWKRHCDmmSRVB
    B3Xy2Vxj4eK5lSVE
    cVNQAyeKgZnZyBTC
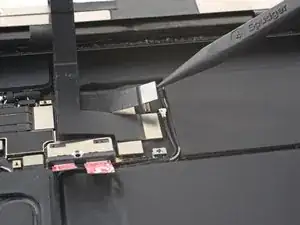
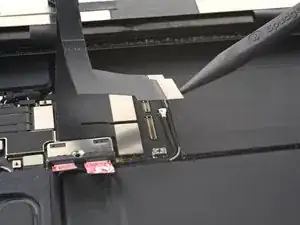
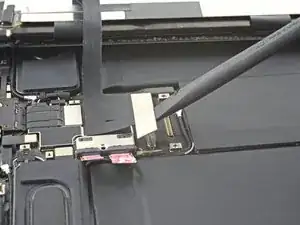
    • Use the pointed end of a spudger to pry up and disconnect the top two display cables.

  2. ZbHWsCPOofIWHcNt
    ZbHWsCPOofIWHcNt
    tJApCQr5ufqJPfiP
    bsoH3fv41niYEysg
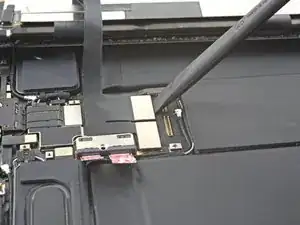
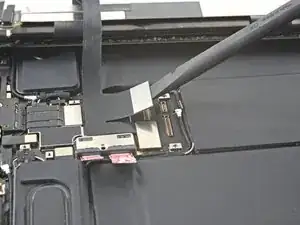
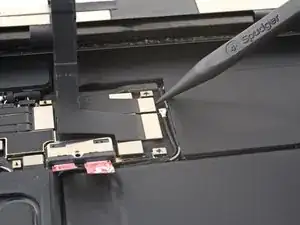
    • Disconnect the two remaining display cables.

  3. dnQviK5MA3rPPWbO
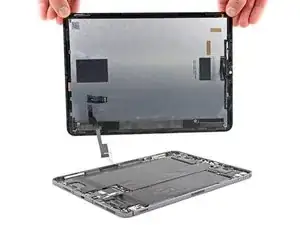
    • Grip the right edge of the screen and lift it away.

    • During reassembly, before installing a screen, remove any remaining adhesive from the frame, and clean the glued areas with high-strength (>90%) isopropyl alcohol and a lint-free cloth. This helps prep the iPad for fresh adhesive and ensures that it will bond properly.

    • If you plan to reinstall your existing screen, remove any remaining adhesive from the back and clean the adhered areas with isopropyl alcohol.

    • Follow this guide to install pre-cut adhesive strips on your iPad before sealing it up.

Conclusion

Compare your new replacement part to the original part—you may need to transfer remaining components or remove adhesive backings from the new part before installing.

To reassemble your device, follow these instructions in reverse order.

Take your e-waste to an R2 or e-Stewards certified recycler.

Repair didn’t go as planned? Try some basic troubleshooting, or ask our iPad Pro 11" 1st Gen answers community for help.
Chayton Ritter

Member since: 21/08/20

17428 Reputation

0 comments