Introduction
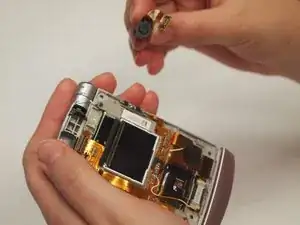
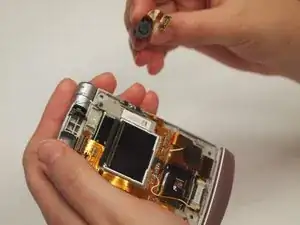
This guide removes the camera after reaching it by removing the screen and front case of the phone. Though the casing can be difficult to remove, the camera itself requires minimal effort to replace.
Tools
-
-
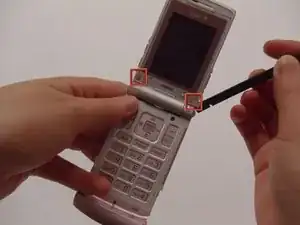
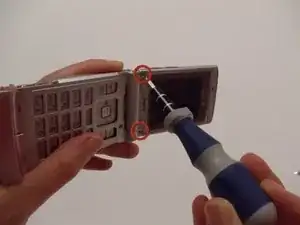
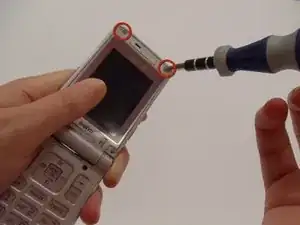
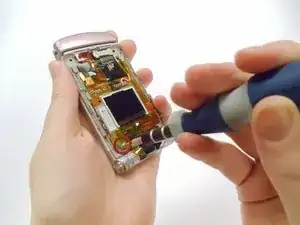
With the flat end of a spudger, remove the plastic covers located on the corners of the display near the hinge and above the screen, revealing four screws underneath.
-
-
-
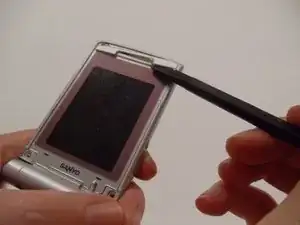
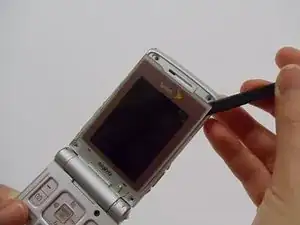
Carefully pry the screen protector off the phone using the flat end of the spudger.
-
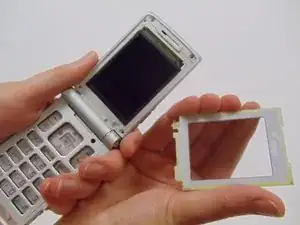
Once free from the adhesive, pull the screen protector away from the phone.
-
-
-
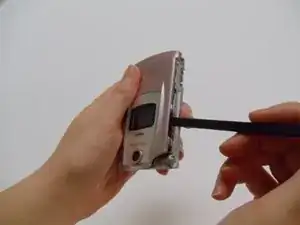
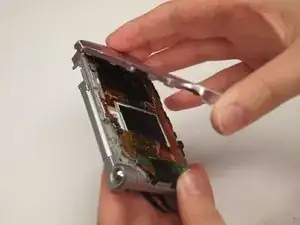
Use the spudger to pry off the front case from the left and right sides of the device.
-
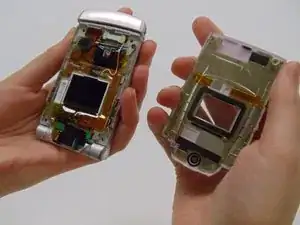
Once it has popped off, pull the casing apart with fingers.
-
-
-
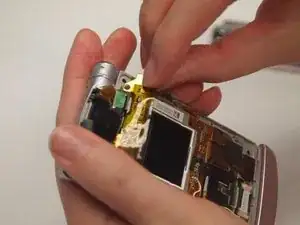
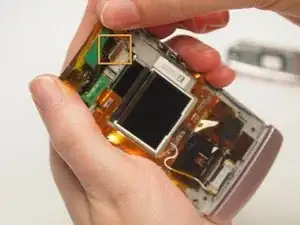
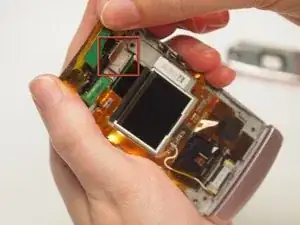
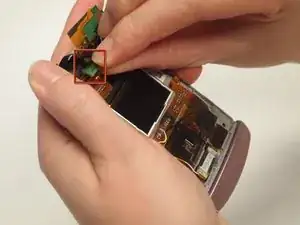
Detach the ribbon connections underneath the green connector strip and remove them from the device. This will reveal the camera.
-
-
-
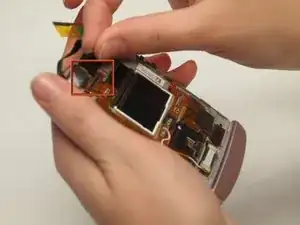
Using a spudger, remove the ribbon connection of the camera from the adhesive that attaches it to the device.
-
Grab the camera using fingers and remove it from the phone case.
-
To reassemble your device, follow these instructions in reverse order.
