Introduction

Use this guide to replace a cracked or broken screen on your Samsung Galaxy Watch Active.

Note: Some replacement screens come pre-installed in a new frame. That's a different procedure from what's shown in this guide. If you're replacing the screen and frame together, follow this guide instead.

You’ll need replacement adhesive to reassemble your device.

  1. RCApCkRPAgtqkLXV
    RCApCkRPAgtqkLXV
    qb4A4EIFaOI2MqEF
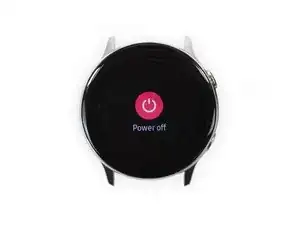
    • Turn off the Galaxy Watch Active by pushing and holding the bottom button for approximately 3 seconds. You should feel a short vibration.

    • When the "Power off" symbol appears tap the center of the screen to make it shut down. You should feel a longer vibration for confirmation.

  2. 1Jj2uF5cWgFAtF3r
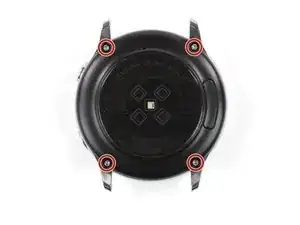
    • Use a Tri-point Y00 screwdriver to remove the four 4 mm-long screws on the back of the watch.

  3. ksCYS2QHyDkHnEjh
    ksCYS2QHyDkHnEjh
    WWqrWonten1M6re6
    ggRiQmOIcuHNliuZ
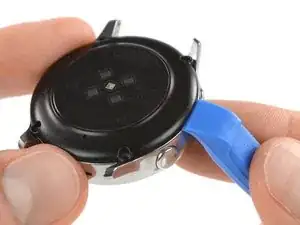
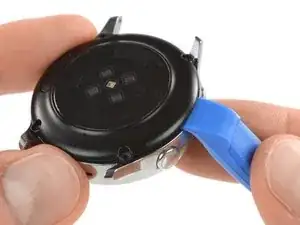
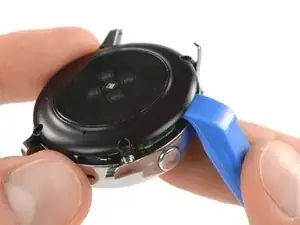
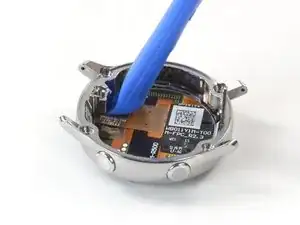
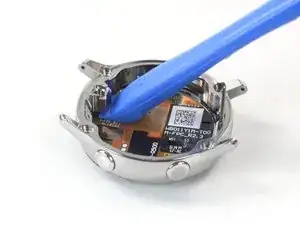
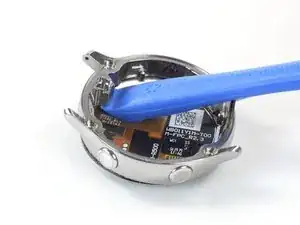
    • Use an opening tool and place it between the plastic back cover and the metal housing near the buttons.

    • Push the tip of the opening tool into the gap to separate the back cover from the housing.

    • Don’t remove the back cover all the way yet. There is a cable connecting it to the motherboard.

    Do i need heat for this? i can't get a pry tool in

    23william90 -

    EDIT: use a Rasor knife in the corner nest to the screw holes and it's a lot easier and less damaging to take off.

    23william90 -

  4. sjEsBcJfgjGXLtui
    sjEsBcJfgjGXLtui
    LMRZBowcgZpA3DqF
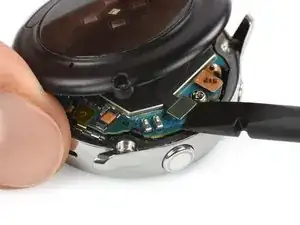
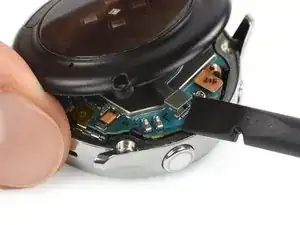
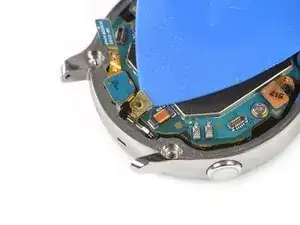
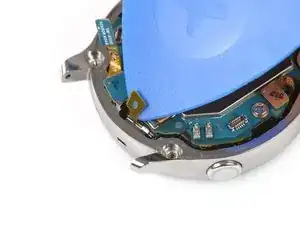
    • Carefully lift the back cover approximately 2 cm to access the sensor array connector near the two buttons.

    • Use a spudger to disconnect the sensor array from the motherboard.

  5. XQ1qXkBInRiA1uVd
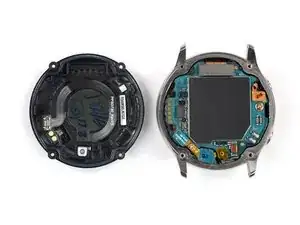
    • Remove the back cover.

    Thank you very much. Nice job!

    Alvaro Grites -

  6. ZGVLCTNHPt6hHTDA
    ZGVLCTNHPt6hHTDA
    DFpCr3UJjYPTttg4
    sRvQ4XNolKIAmDIM
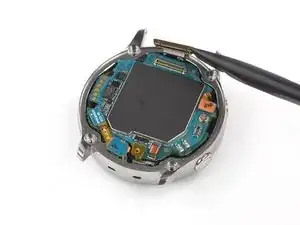
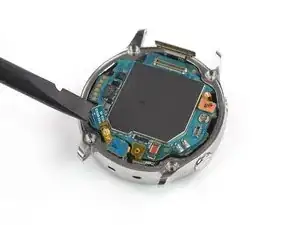
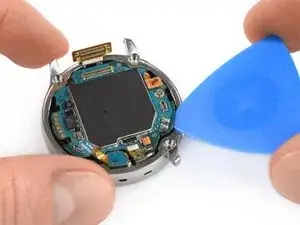
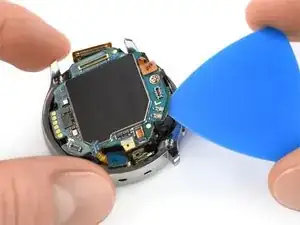
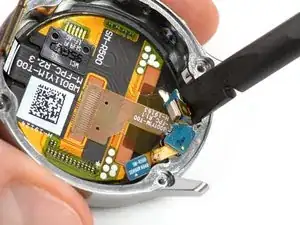
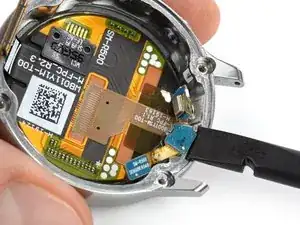
    • Use a spudger to disconnect the display assembly and the microphone and pressure sensor array.

  7. eZTwOTfsR4XhjwXp
    eZTwOTfsR4XhjwXp
    HqBqNdusil4POwvq
    rCRUeQ1GOQSyiSpj
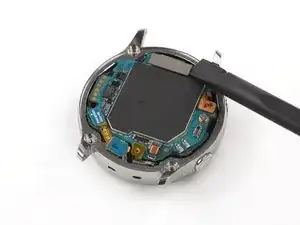
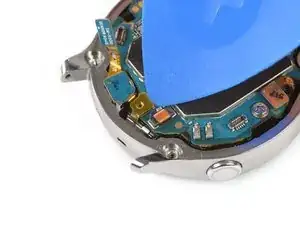
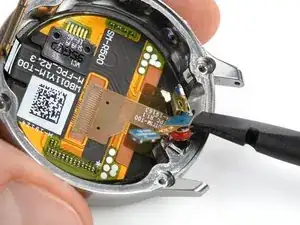
    • Use an opening pick to peel back the thin tape belonging to the microphone array.

    • When re-assembling make sure this tape properly sticks to the motherboard by pressing it down with the flat end of a spudger.

    What can I use if the glue no longer holds?

    Dominik Dittrich -

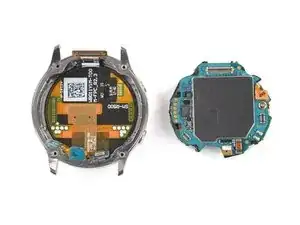
    Just make sure it lays flat and the counterpart on the back cover (the white thing at the bottom in the image of step 5) will press it down and hold it in place.

    Tobias Isakeit -

    What can I use to make it lay flat?

    Every time I press it down it just pops up again.

    Rosalie E. Morgan -

  8. nRHagQSSQCgBxIWD
    nRHagQSSQCgBxIWD
    mDNoIjCfAtLKprdJ
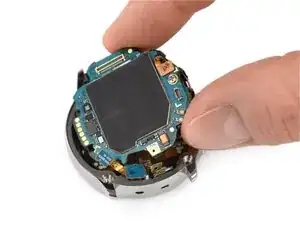
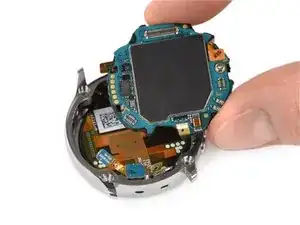
    • Insert an opening pick at the bottom right between the motherboard and the frame to lift up the core assembly.

  9. jwwDYN4Kb2xoEwKO
    jwwDYN4Kb2xoEwKO
    mnPNrRcallwY3oBC
    EQtZ2yrnFhyJ41d5
    • Lift out and remove the core assembly.

  10. AmUYSGPOpHXg1r63
    AmUYSGPOpHXg1r63
    dGqpvBTU3tM5LGFO
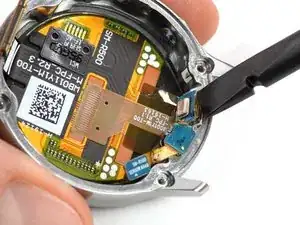
    • Use a spudger to loosen the microphone which is fixed to the frame with mild adhesive.

    What can I use to stick this back on during reassembly?

    The leftover adhesive is not strong enough to hold it in place.

    Rosalie E. Morgan -

  11. bYqGpY1ajClV2iJ2
    bYqGpY1ajClV2iJ2
    DqKjK5sfv1AtiBCJ
    • Use a spudger to lift the pressure sensor up and out of its recess in the frame.

  12. bQfbpGnxn5TFEady
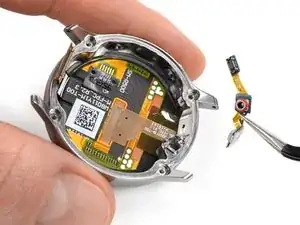
    • Carefully remove the microphone and barometric sensor array from the frame.

  13. CVHwpOrSHDLxwVlC
  14. wBsok2YvDe5wTdHm
    wBsok2YvDe5wTdHm
    S5dFfqYsOHOrFYq2
    lJWnJkBrLatiUQwh
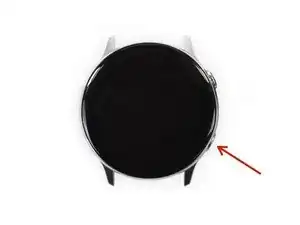
    • Insert the opening tool under the frame where the sensor array was located.

    • Pry upwards to separate the screen from the frame.

    Will this prying action damage a working screen?

    The screen on my watch needs to be glued back down, and this is the closest guide I can find for doing that.

    Rosalie E. Morgan -

    I needed to mark the inside of my watch on either side of the connector to make sure I put the face on with the cable centered properly so that it could reach the connector.

    Rosalie E. Morgan -

  15. 5UDb2MKqfPXixZ1F
    5UDb2MKqfPXixZ1F
    qwJ3EZoZO3l3pQkN
    ipNZOcTbQNuw3Yao
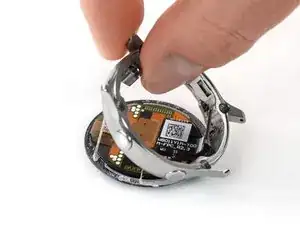
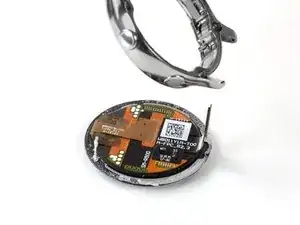
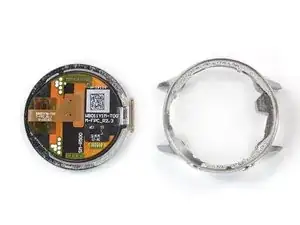
    • Use your fingers to pull the frame off the remaining screen adhesive.

    • Clean any remaining adhesive from the frame using isopropyl alcohol (>90%) before installing the new screen.

    Any tips for cleaning the adhesive off the screen if the screen is still good?

    I accidentally scratched the black paint off the inside of the bezel trying to remove all of the adhesive.

    Rosalie E. Morgan -

Conclusion

Compare your new replacement part to the original part—you may need to transfer remaining components or remove adhesive backings from the new part before installing.

To reassemble your device, follow these instructions in reverse order.

Take your e-waste to an R2 or e-Stewards certified recycler.

Repair didn’t go as planned? Try some basic troubleshooting, or ask our Answers community for help.

Tobias Isakeit

Member since: 31/03/14

116775 Reputation

2 comments

What replacement adhesive is needed? I think my screen is ok, but it is falling out and I need to reattach it.

Rosalie E. Morgan -

Try searching on Ali Express or Wish, etc. I just completed a screen replacement, and the screen I got came with 2 adhesives for it.

Colm O'Sullivan -