Introduction

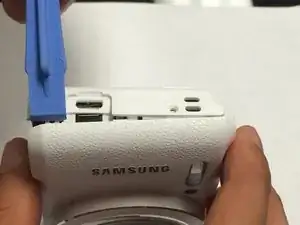
This guide will give the user step by step instructions on how to replace Menu/Control Buttons of the camera.

  1. iYNvlnHY1BAxiwEf
    iYNvlnHY1BAxiwEf
    FYYR2aRAJFHgwTnN
    hb2NhSocZoerv2p2
    • The first thing to do will be unscrew all the screws using Phillips #000 Screwdriver.

    • Keep all the screws in order. Black screws goes under the bottom of camera, and the silver screws goes on the sides and inside of the camera.

  2. C3o4dXkeBdTomYmT
    C3o4dXkeBdTomYmT
    WUG2XUoQ2dWoowCn
    • Using the spudger, and plastic opening tool open the casing of camera.

  3. ga33NGWX2VNjOAEE
    ga33NGWX2VNjOAEE
    YuZbxnofqJkyAHiv
    GKVtJkqEOKWtUE2E
    • Once you open the camera case, you will be able to work on any part of the camera.

  4. DPetylEeZPVAWnKS
    DPetylEeZPVAWnKS
    Zq6wLaSlUmCAGh4A
    • Carefully unplug the ribbon from the Menu/Control board.

  5. TxfQlp6IRyqQWUIv
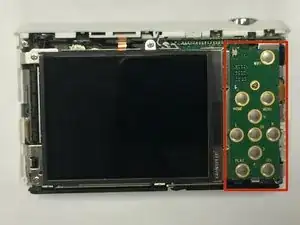
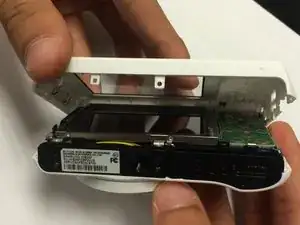
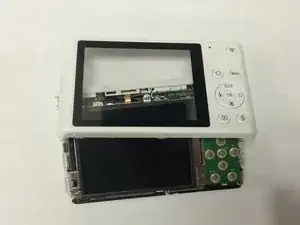
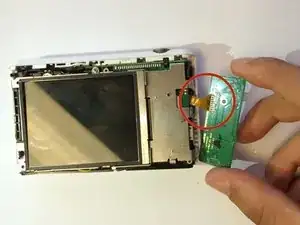
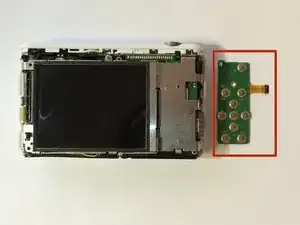
    • Once you unplug the ribbon. Take out the old board and replace it with new menu/control board.

Conclusion

To reassemble your device, follow these instructions in reverse order.

Sarmad Khan

Member since: 10/01/15

525 Reputation

0 comments