
Introduction
Tools
-
-
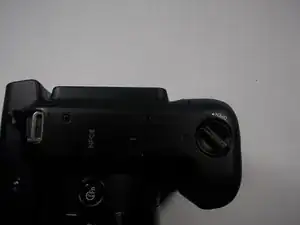
Remove the 6mm screws located on the bottom and sides of the camera using the using the screw driver with the JIS size 000 head.
-
-
-
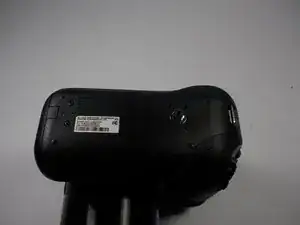
Remove the two 6mm screws located underneath the battery cover using the same screw driver with the JIS size 000 head.
-
-
-
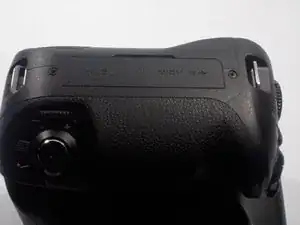
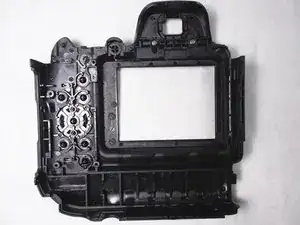
Carefully pry the face-plate away from the body of the camera, starting from the battery compartment. It should come off without too much trouble, although it may require force.
-
-
-
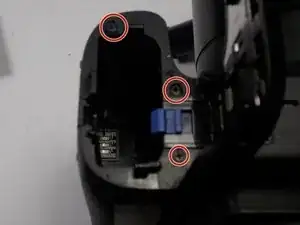
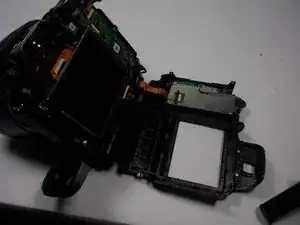
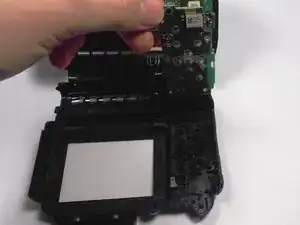
Open up the camera by removing the four 6 mm screws, that hold down the metal cover, using the screw driver with the JIS size 000 head.
-
Conclusion
To reassemble your device, follow these instructions in reverse order.