Introduction
All you need for this guide is the will to fix your camera. Enjoy!
-
-
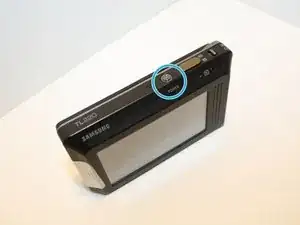
Check for debris and dust around the power button to make sure it's clean.
-
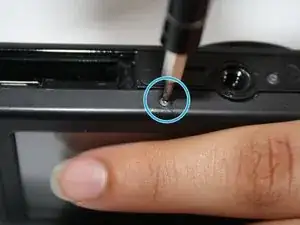
If dust is absent, then begin with unscrewing the seven outside shell 4 mm Philips screws with the Philips screw driver.
-
Now carefully pry open the back casing with the ifixit plastic opening tool.
-
-
-
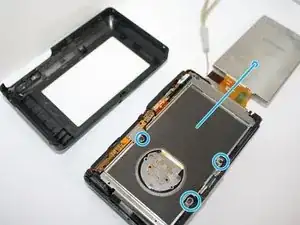
Now that you have the back casing off, gently remove the LCD screen from the camera.
-
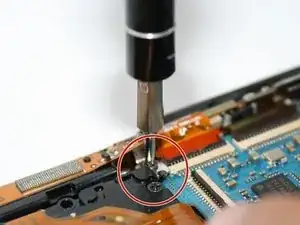
Next unscrew the three 4 mm Philips screws on the back panel with the same screw driver(See image).
-
-
-
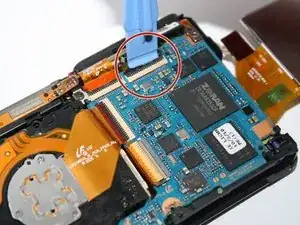
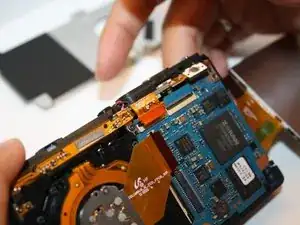
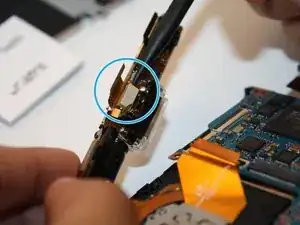
Unclip the four connecters that hold down the orange copper film strips with the plastic opening tool.
-
Then carefully pull out the three film strips with the ifixit tweezers.
-
-
-
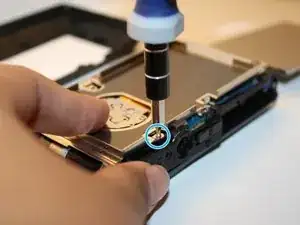
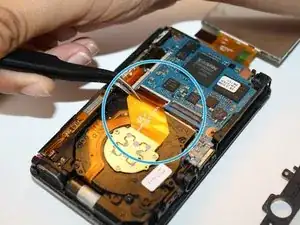
Remove the 4 mm Philip screw located above the center film strip with the Philips screw driver. This will allow the top frame to come loose to take off.
-
-
-
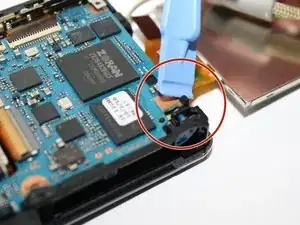
Then pull back the black claw located at the bottom right of the camera, to the right with the plastic opening tool. This holds the main plate down.
-

To reassemble your device, follow these instructions in reverse order.