Introduction
-
-
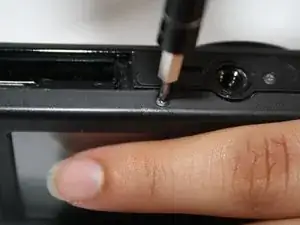
Begin with unscrewing the seven outer screws on the camera. There is one on each corner and then three at the bottom.
-
-
-
When the back casing is off, gently move the LCD screen to the side.
-
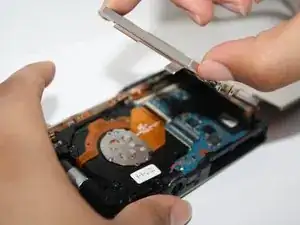
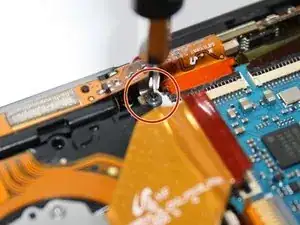
And then remove the three inner screws to remove the inside case.
-
-
-
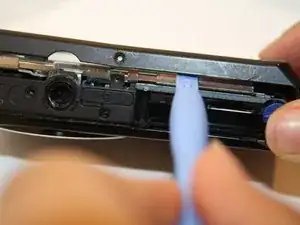
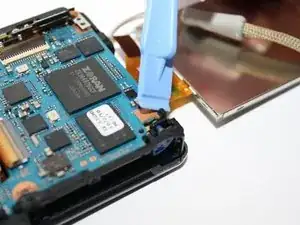
Unclip the four connectors that hold down the orange copper film strips.
-
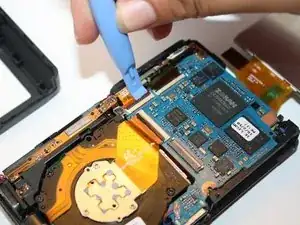
Then carefully pull out the three film strips with the ifixit plastic opening tool.
-
-
-
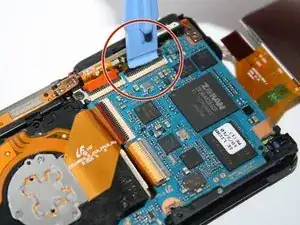
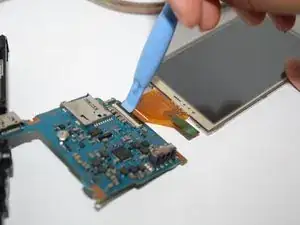
Next unclamp the connector to release the film strip and then you can replace your LCD screen.
-
Conclusion
To reassemble your device, follow these instructions in reverse order.