Introduction
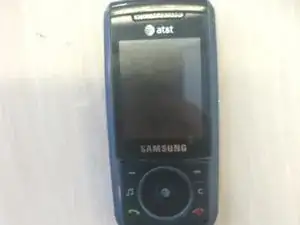
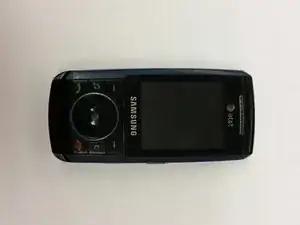
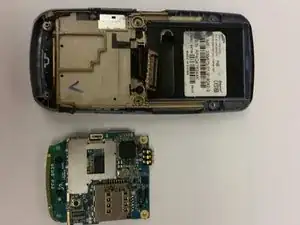
If you're experiencing issues with your Samsung SGH-A737's camera, you may need to replace it. This guide will show you how to access and replace the circuit board in the phone's body, which contains the phone's camera. By following our step-by-step instructions, you'll be able to effectively replace the camera and restore the full functionality of your device. Let's get started!
Tools
-
-
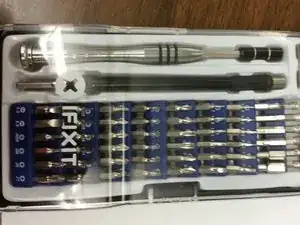
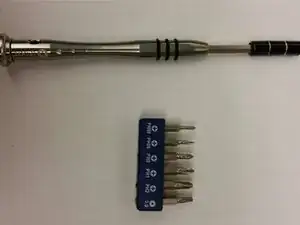
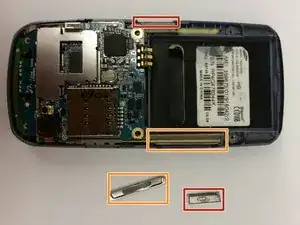
Gather all the materials required prior to the teardown.
-
A Phillips PH000 screw head and screwdriver are the only required tools for this guide.
-
-
-
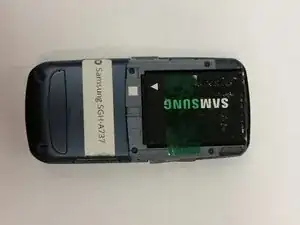
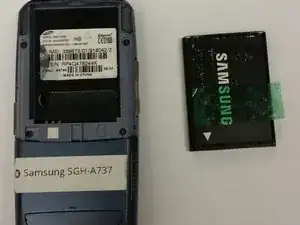
Remove the battery from the back of the device.
-
Once the rear cover is removed, the battery should easily pop out of the phone.
-
-
-
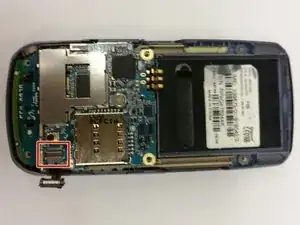
With care, lift up the connector located at the bottom left of the phone, as demonstrated in the accompanying image.
-
-
-
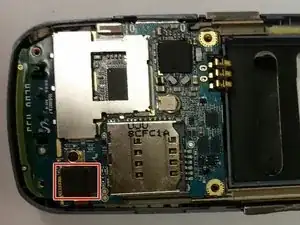
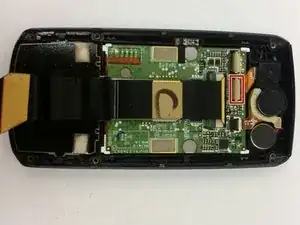
Flip the circuit board up to unveil an orange connector near bottom of it.
-
Gently unplug the connector by prying on the corner with a finger.
-
-
-
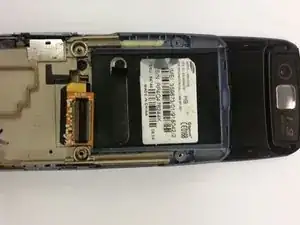
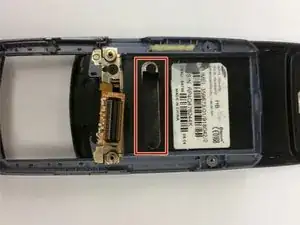
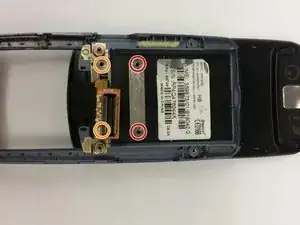
Peel off the black strip below the product sticker, unveiling two screws and unscrew them.
-
There are two more screws slightly below that need to be unscrewed as well.
-
-
-
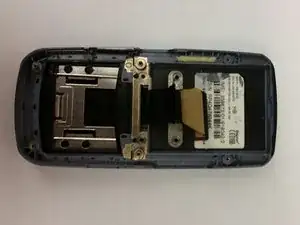
Make sure the phone is closed. If not slide it closed now.
-
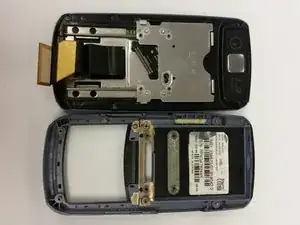
Next, carefully detach the blue plastic panel from the phone. It should already be slightly loose.
-
-
-
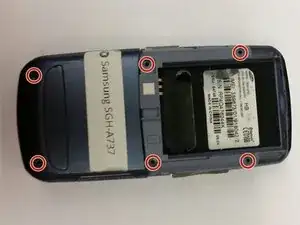
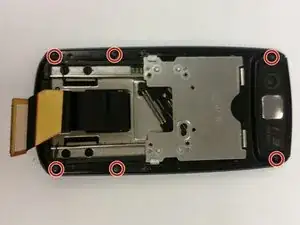
Begin by removing the six visible screws located on the outer edge of the device.
-
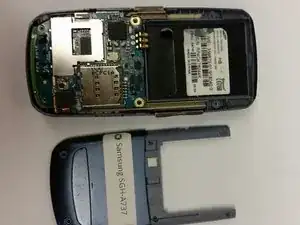
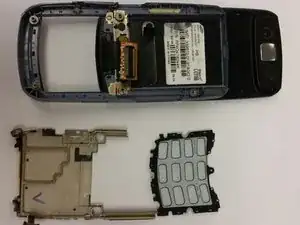
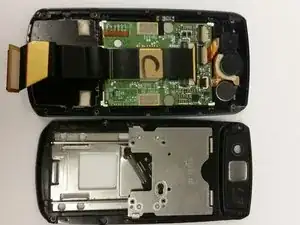
Once the screws are removed, gently separate the panel to unveil the circuits and camera.
-
-
-
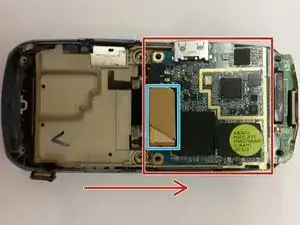
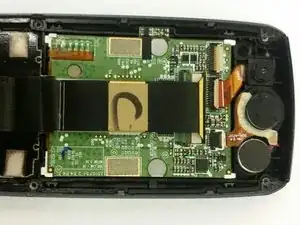
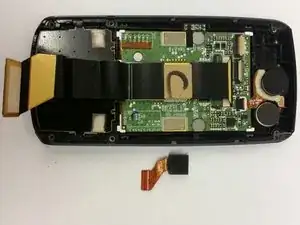
To disconnect the camera, gently lift the tan flap away from the camera where the orange connector is attached. This should loosen the wire.
-
Next, pry up on the camera to dislodge it. This may require some force.
-
To reassemble your device, follow these instructions in reverse order.
