Introduction
Is your screen broken or faulty? This guide will help you replace it.
-
-
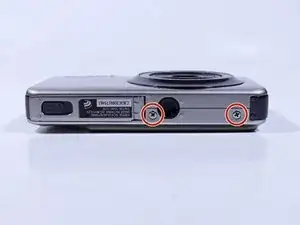
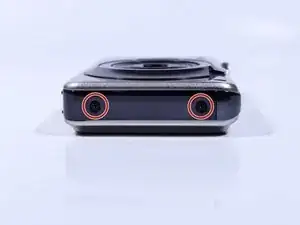
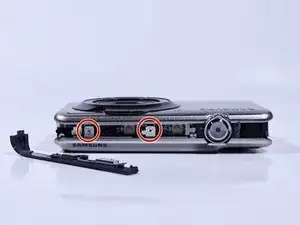
Unscrew all visible screws indicated by red circles with a #00 Phillips driver.
-
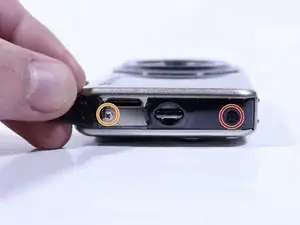
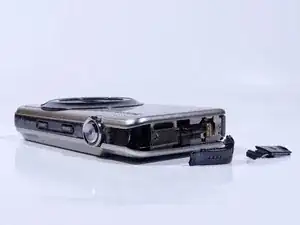
Slide memory card cover and unscrew hidden screw underneath with a #00 Phillips driver.
-
-
-
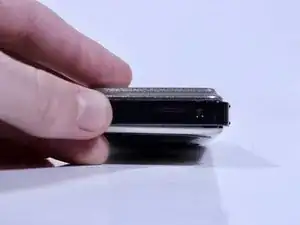
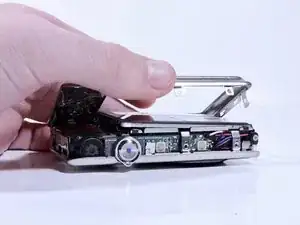
Remove the flat side panel by applying gentle pressure toward the bottom of the camera.
-
Remove the corner panel by applying pressure away from the shutter button.
-
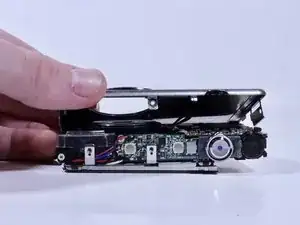
Remove the top panel by applying gentle pressure away from the shutter button.
-
-
-
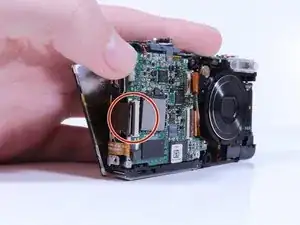
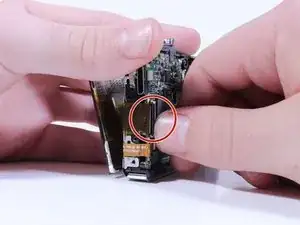
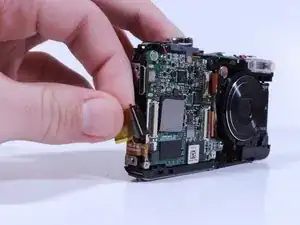
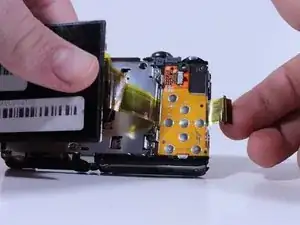
Pull the ribbon connected to the screen out from behind the button circuitry on the rear of the camera.
-
Feed the new screen's ribbon through the same slot it came out of.
-
Conclusion
To reassemble your device, follow these instructions in reverse order.