Introduction
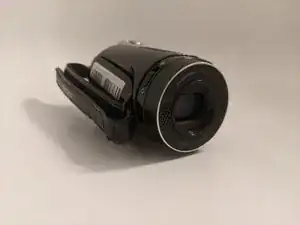
The lens of a camcorder is one of the most important components of the device. However, the lens is also susceptible to cracking and becoming dirty. A dirty/cracked lens may affect the outcome of the photographed results, so a replacement may be in order.
When the lens of a Samsung camcorder are damaged or non-functional, it would need to be replaced. This guide will show you how to remove the lens in your camcorder.
-
-
Unplug the cord connecting the LCD section of the device.
-
Remove the left face of the device.
-
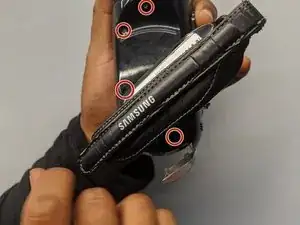
Remove the top face by removing the three 4mm screws using a Phillips #000 screwdriver.
-
-
-
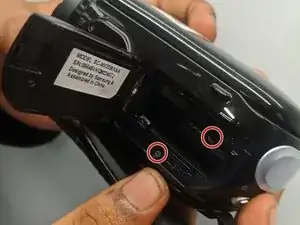
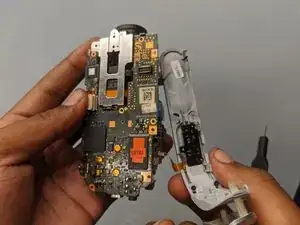
After removing the body of the device, unscrew the two 3.5mm Phillips #000 screws holding the battery compartment in place.
-
Remove the battery compartment.
-
-
-
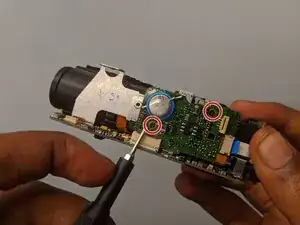
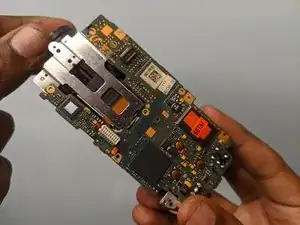
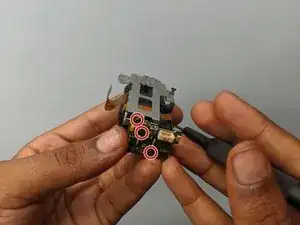
Remove the three 3.5mm Phillips #000 screws on the metal part from the lens component.
-
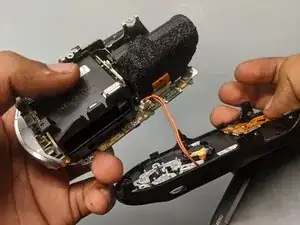
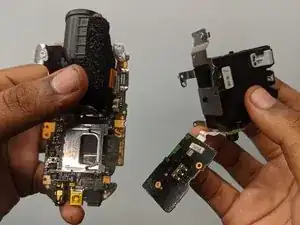
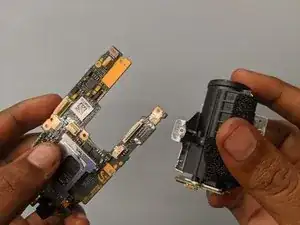
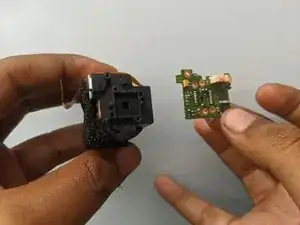
Remove the motherboard from the lens.
-
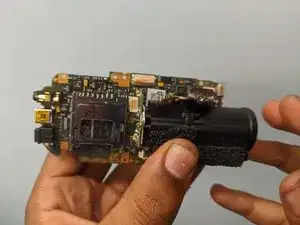
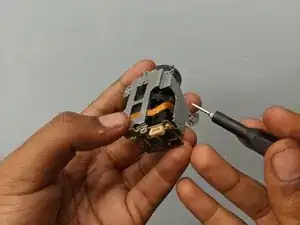
Remove the lens from the lens assembly.
-


To reassemble your device, follow these instructions in reverse order.