Introduction
The LCD screen can be cracked or water damaged
Tools
-
-
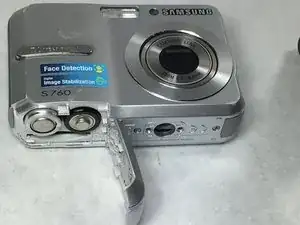
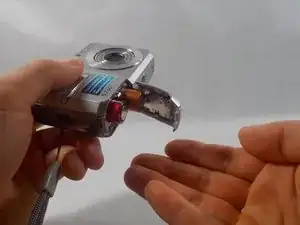
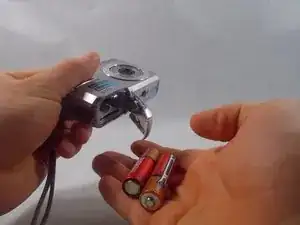
Placing your thumb on the battery cover, push outwards, away from the camera in the direction the arrow is pointing. If done correctly when it's completely unhooked, the latch will open.
-
-
-
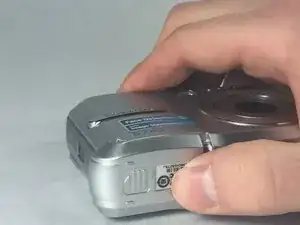
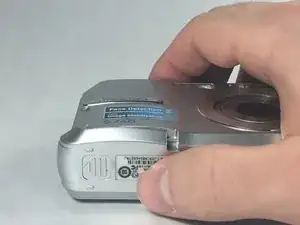
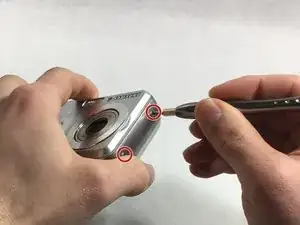
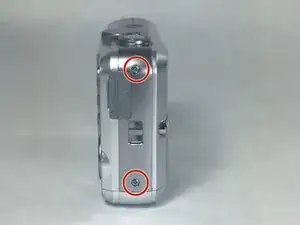
Locate and remove the six 4mm screws on the sides of the camera, using the Phillip Screwdriver #000 bit.
-
-
-
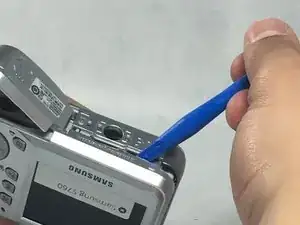
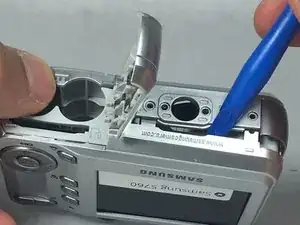
Use the plastic opening tool to open pry open the back case, following alongside the edge of the case if need be.
-
-
-
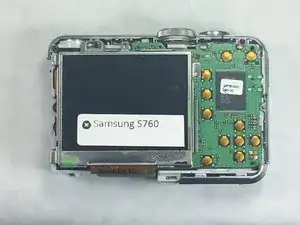
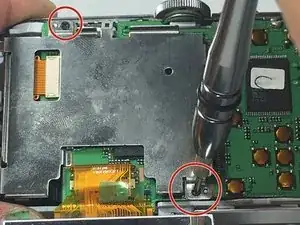
Under the LCD screen, remove the metal plate by removing the two 3mm screws holding it in place.
-
-
-
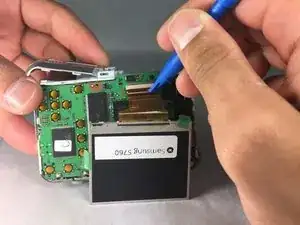
Use the plastic opening tool to gently lift the small gray clip covering the ribbon cable connection.
-
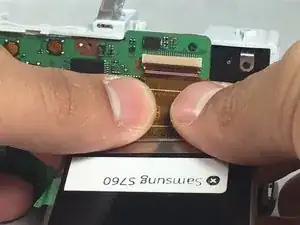
Carefully pull out the ribbon cable.
-
To reassemble your device, follow these instructions in reverse order.




hello
This camera which battery is use
Saidali R -