Introduction

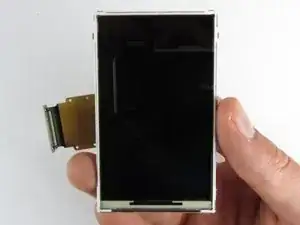
This guide will provide a step-by-step procedure for replacing the OLED screen in your Samsung Rogue. This is one of the more difficult repair guides because it requires a lot of disassembling.

  1. kwfNALJHelngV52O
    kwfNALJHelngV52O
    EOU4I3IToTSgDEwc
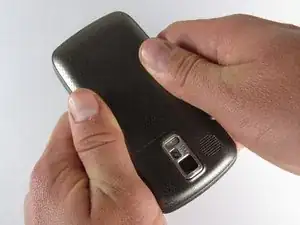
    • Before disassembling your Samsung Rogue, make sure it is powered off.

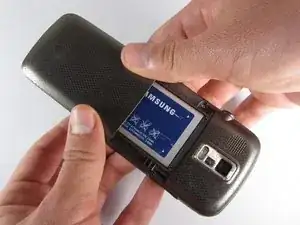
    • With your thumbs, push down on the back cover of your phone and slide it away from the camera.

  2. JMswmFGHrjTicvVt
    JMswmFGHrjTicvVt
    SfZL51juyGQonjNO
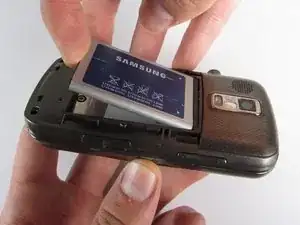
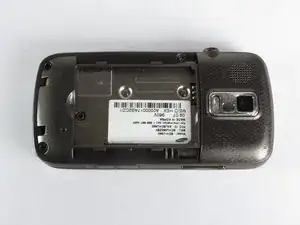
    • You can now remove the battery by prying it up with your finger.

  3. kDOxOtee4YPjofVW
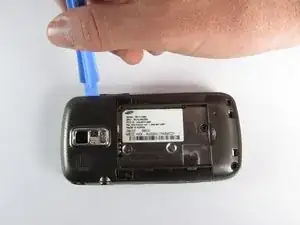
    • Use a plastic opening tool to carefully pry the back cover surrounding the camera up from the phone.

  4. mSaYe5AMA2OYv3Kb
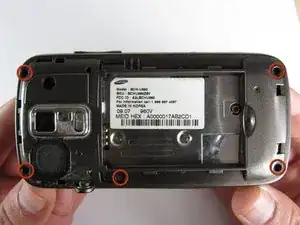
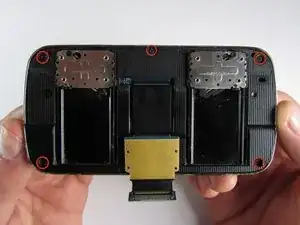
    • Remove the five 3.4mm Philips screws securing the backing of the phone.

  5. 1ptIgT5Sefo46SEC
    1ptIgT5Sefo46SEC
    4EWaXZtW4RPa2ggC
    TZCTxDYLbsqcsecj
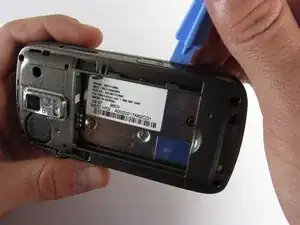
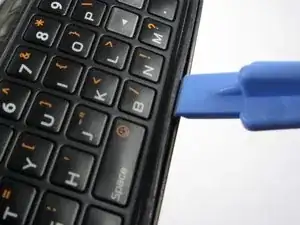
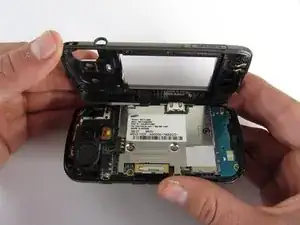
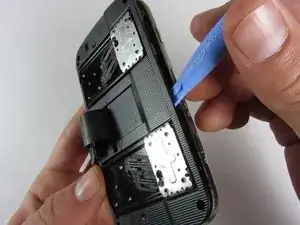
    • Use a plastic opening tool to carefully pry off the back cover.

    • Make sure you are prying along the edge and not between the two halves of the phone that slide away from each other.

    • Be careful to not drop the volume changing piece, for it can easily slip out.

  6. IFNUN5D5PmJdqOAX
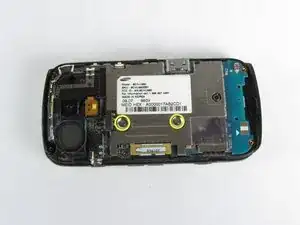
    • Remove the two 3.45 mm Philips screws below the white sticker.

  7. ayZNQYiuuxEHEHXl
    ayZNQYiuuxEHEHXl
    QDldbHTLqKRLGkLc
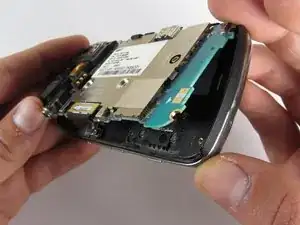
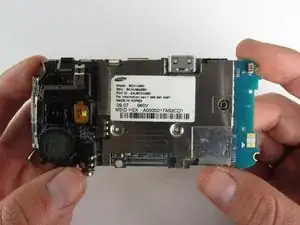
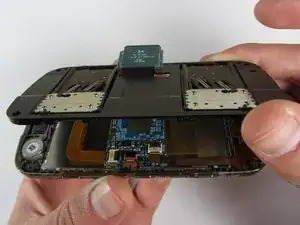
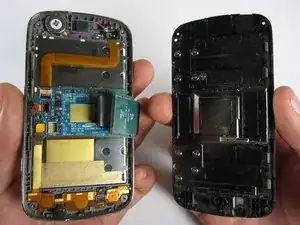
    • Carefully lift the motherboard up from the bottom edge.

    • The film of wires is still attached to the motherboard, so do not completely remove the motherboard just yet or you may damage it.

  8. lYAU52j6iZWL2KeP
    lYAU52j6iZWL2KeP
    2TUXWQsZrlWOFULV
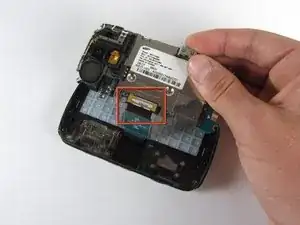
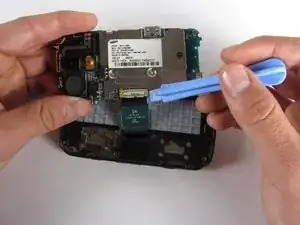
    • Use a plastic opening tool to disconnect the film from the motherboard.

  9. lHbwAHxDxDMsBIZr
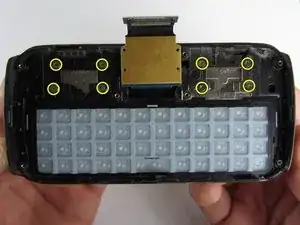
    • Remove the eight 1.7mm Philips screws above the keyboard.

  10. y4gSchrM5XReFyMK
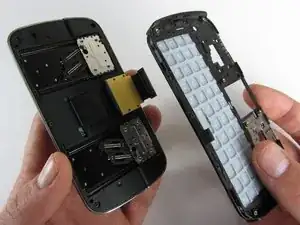
    • Carefully remove the keyboard frame from the sliding mechanisms underneath.

  11. YNRUIWoIDZEUkwcv
    • Remove the five 3.0mm Philips screws around the outside of the sliding mechanisms.

  12. Kjw1SUQTfqT4tdaO
    Kjw1SUQTfqT4tdaO
    SEHAyf2DFUldyfxE
    gV11hFUVeAeMDldU
    • Use a plastic opening tool to pry off the upper slide plate.

    • Be careful of the film of wires when taking off the upper slide plate.

  13. aVqOKfMVEHAJWJAc
    aVqOKfMVEHAJWJAc
    RErEAAZN5KLK6SwY
    GIbkrpl41f1CJi3E
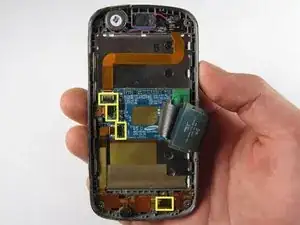
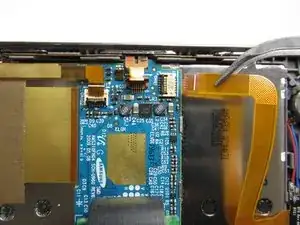
    • Use tweezers to open the four black gates by putting them in the "up" position.

    • With the same tweezers, carefully pull out the orange strips from the four specified gates.

  14. Q6WnTlYLu1EH62XD
    Q6WnTlYLu1EH62XD
    HKXC1mAVf45YB4yv
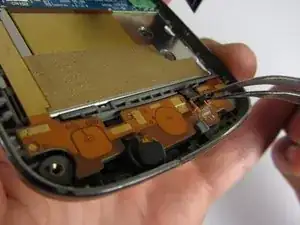
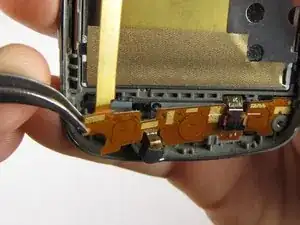
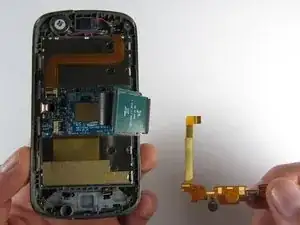
    • Using tweezers, gently remove the bottom orange strip from the device

  15. JTrFHPTjjsuJH36B
    JTrFHPTjjsuJH36B
    OFpmrMNFQnhrWd6f
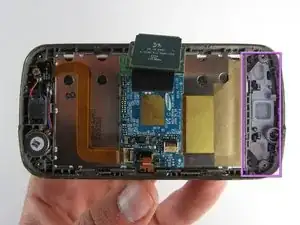
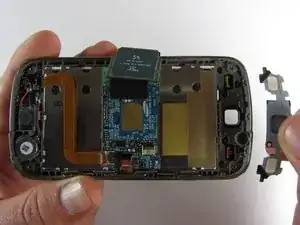
    • In this procedure, the rubber function key pad can easily fall out, so it would be best to take it out and set it safely aside.

  16. L6VHNWOHPGSS4NuJ
    L6VHNWOHPGSS4NuJ
    woIr6umiWjtvaeqp
    hoLasZamEjitZijJ
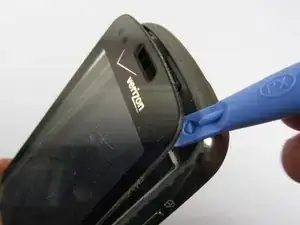
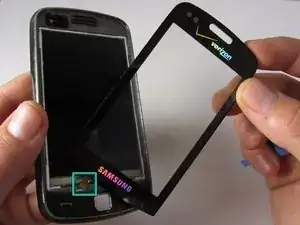
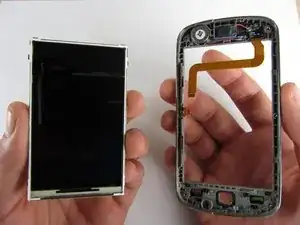
    • Starting at the top, use a plastic opening tool to pry open the protective screen on the front of the phone.

    • One of the strips you pulled out of a gate from a previous step is attached to the screen at the bottom. Be careful not to damage it when you are taking off the screen.

    • The protective screen is glued underneath the edges, so it will be a little more difficult to get off.

    • Keep your hand underneath the OLED screen at all times because it easily falls out once the protective screen detaches.

Conclusion

To reassemble your device, follow these instructions in reverse order.
Viktoria Mikoultchik

Member since: 15/04/12

25 Reputation

0 comments