Introduction

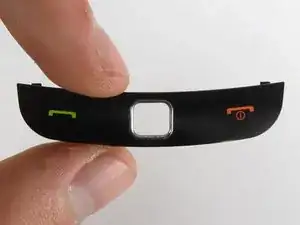
This guide will provide a step-by-step procedure for replacing the front function keys on your Samsung Rogue.

  1. kwfNALJHelngV52O
    kwfNALJHelngV52O
    EOU4I3IToTSgDEwc
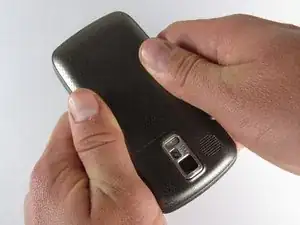
    • Before disassembling your Samsung Rogue, make sure it is powered off.

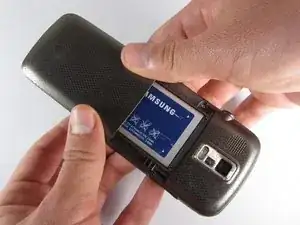
    • With your thumbs, push down on the back cover of your phone and slide it away from the camera.

  2. JMswmFGHrjTicvVt
    JMswmFGHrjTicvVt
    SfZL51juyGQonjNO
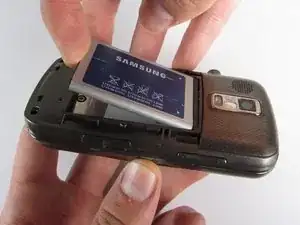
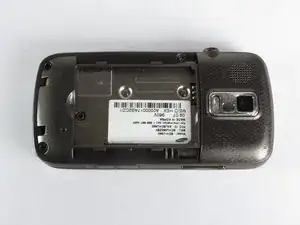
    • You can now remove the battery by prying it up with your finger.

  3. kDOxOtee4YPjofVW
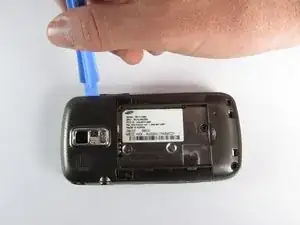
    • Use a plastic opening tool to carefully pry the back cover surrounding the camera up from the phone.

  4. mSaYe5AMA2OYv3Kb
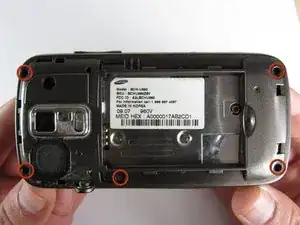
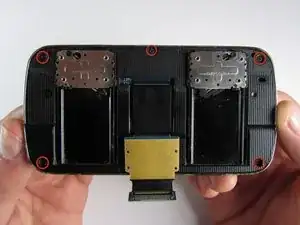
    • Remove the five 3.4mm Philips screws securing the backing of the phone.

  5. 1ptIgT5Sefo46SEC
    1ptIgT5Sefo46SEC
    4EWaXZtW4RPa2ggC
    TZCTxDYLbsqcsecj
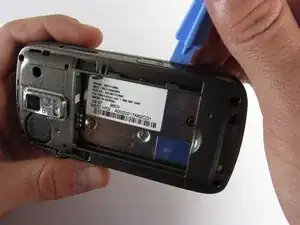
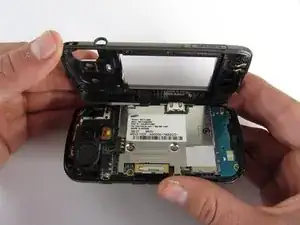
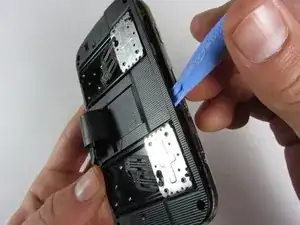
    • Use a plastic opening tool to carefully pry off the back cover.

    • Make sure you are prying along the edge and not between the two halves of the phone that slide away from each other.

    • Be careful to not drop the volume changing piece, for it can easily slip out.

  6. IFNUN5D5PmJdqOAX
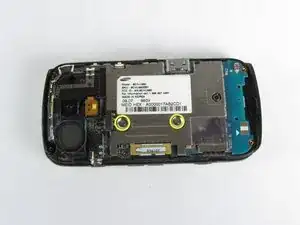
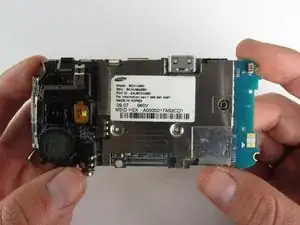
    • Remove the two 3.45 mm Philips screws below the white sticker.

  7. ayZNQYiuuxEHEHXl
    ayZNQYiuuxEHEHXl
    QDldbHTLqKRLGkLc
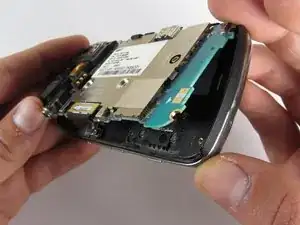
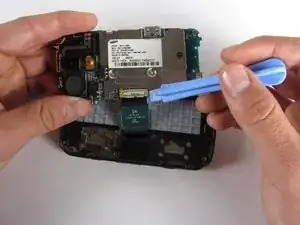
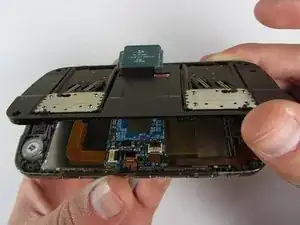
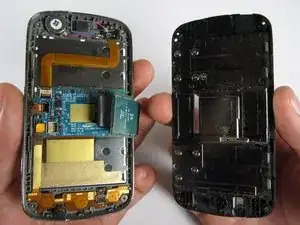
    • Carefully lift the motherboard up from the bottom edge.

    • The film of wires is still attached to the motherboard, so do not completely remove the motherboard just yet or you may damage it.

  8. lYAU52j6iZWL2KeP
    lYAU52j6iZWL2KeP
    2TUXWQsZrlWOFULV
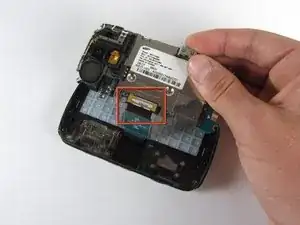
    • Use a plastic opening tool to disconnect the film from the motherboard.

  9. RQsWVaINmiNGeJ1E
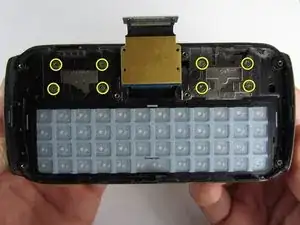
    • Remove the eight 1.7mm Philips screws above the keyboard.

  10. B2L54QjNwVNCt1cE
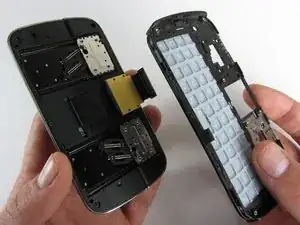
    • Carefully remove keyboard frame from the sliding mechanisms underneath.

  11. 6blTuEjXdLCbKhgU
    • Remove the five 3.0mm Philips screws around the outside of the sliding mechanisms.

  12. 11fEriPbVANKasbs
    11fEriPbVANKasbs
    ncewJpFI4i4DBVUr
    NVcHvIZRLAL4EDSr
    • Use a plastic opening tool to pry off the upper slide plate.

    • Be careful of the film of wires when taking off the upper slide plate.

  13. WBWxGiuqZcaIGmac
    WBWxGiuqZcaIGmac
    ZVCi4VMpnTWFka6V
    ZADCZq12GJpwSSIm
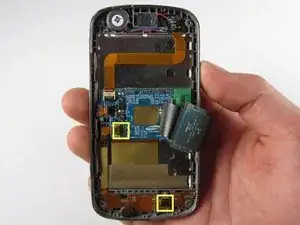
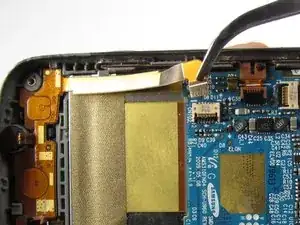
    • Use tweezers to open the two black gates by putting them in the "up" position.

    • With the same tweezers, carefully pull out the orange strips from the two specified gates.

  14. C1JPRpqZwNpexAO3
    C1JPRpqZwNpexAO3
    cCPWY4kFDDrpOy2B
    STBQEeHtyATToBOT
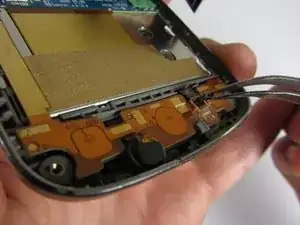
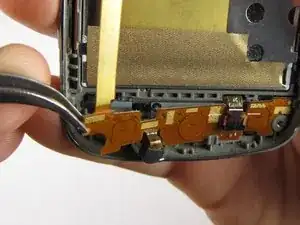
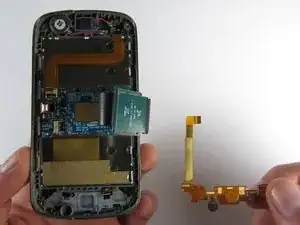
    • Using tweezers, gently remove the bottom orange strip from the device.

    • At this point you can easily lift out the rubber function key pad as well.

  15. RU1u2NLJaUplNumc
    RU1u2NLJaUplNumc
    II1TtVTGl1RGeP4R
    cBpByBkJtcpstVMJ
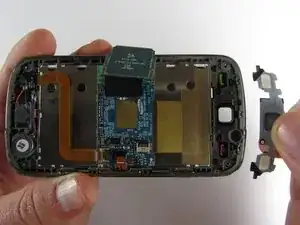
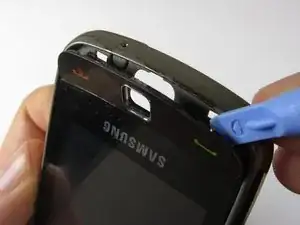
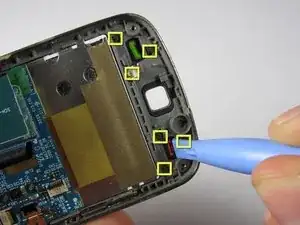
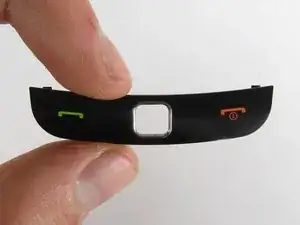
    • There are two ways you can take out the front function keys:

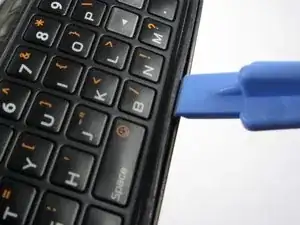
    • 1) Use a plastic phone opening tool to pry out the piece from the front of the phone.

    • 2) Simply pop out the piece from the inside by pushing on its tabs.

Conclusion

To reassemble your device, follow these instructions in reverse order.
Viktoria Mikoultchik

Member since: 15/04/12

25 Reputation

0 comments