Introduction
Replace the left wheel of your POWERbot. This can be done to resolve a persistent error code (C 02) and/or to simply eliminate movement issues.
Tools
-
-
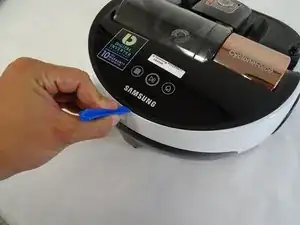
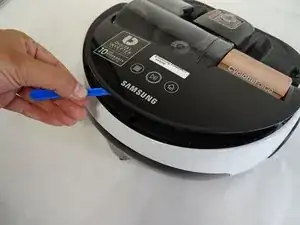
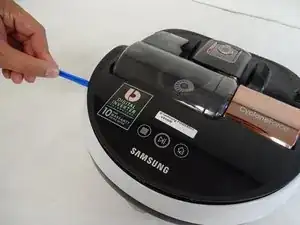
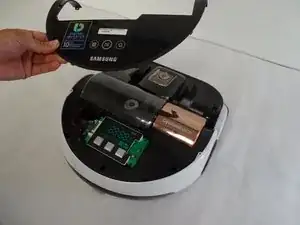
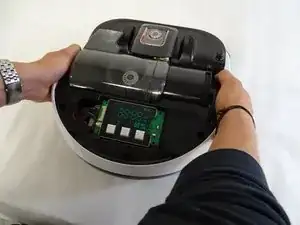
Insert the plastic opening tool under the black cover, near the Samsung logo on the back of the device, and partially pry open.
-
-
-
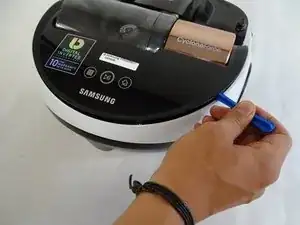
Slide the plastic opening tool to the left, remaining under the black cover, until two left side pins have been detached. Then slide the plastic opening tool to the right until two right side pins have been detached.
-
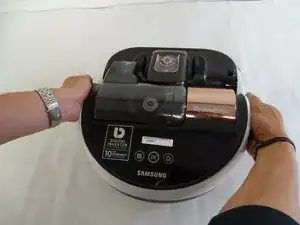
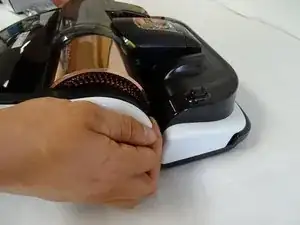
Grab the two clips near the front of the black cover, on in front of each wheel. Pull the clips away from the wheels.
-
-
-
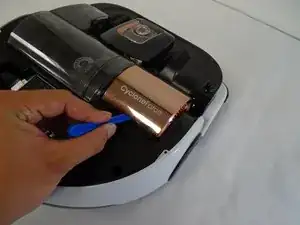
Insert the plastic opening tool under copper-colored cover, under the words "CycloneForce," and pry open, applying a small rotation, until the two pins are released .
-
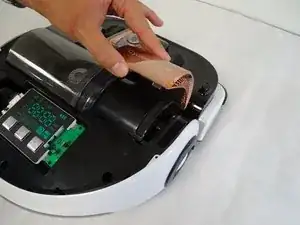
Grab the underside of the cover and lift upwards while pushing forward until the cover pops off.
-
-
-
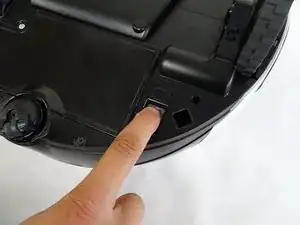
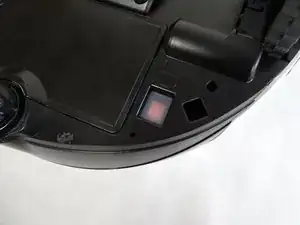
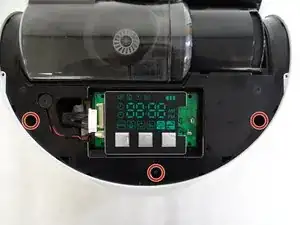
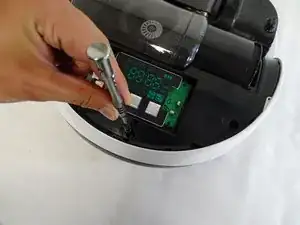
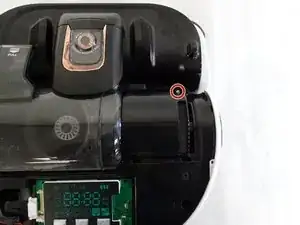
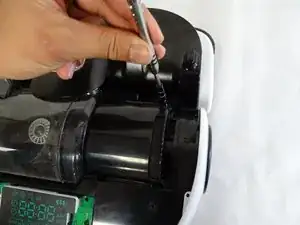
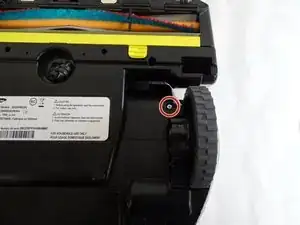
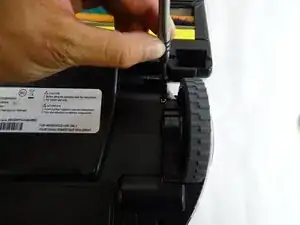
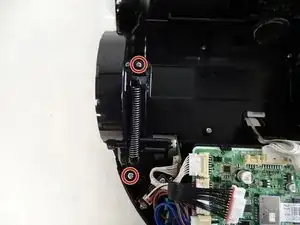
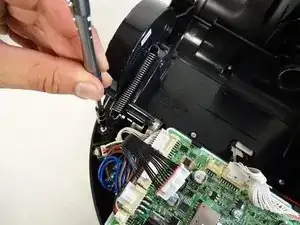
Flip the device over and remove the 6mm Phillips #1 screw in front of the left (from this perspective, right) wheel.
-
-
-
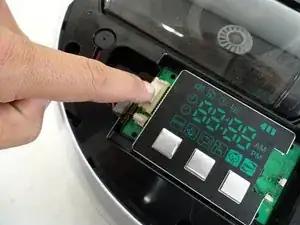
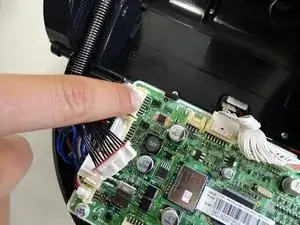
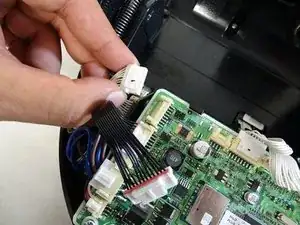
Detach the wider circuit connector by pressing down gently on the left end of the clip and pulling the connector out.
-
-
-
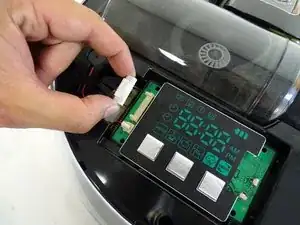
Detach the top-most circuit connector on the left side by pressing down gently on the left end of the clip and pulling the connector out.
-
-
-
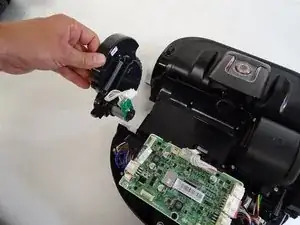
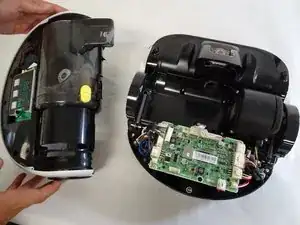
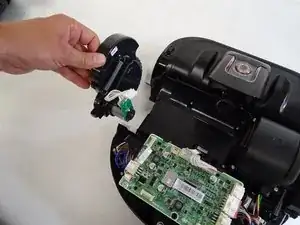
Remove the driving wheel assembly from the POWERbot by grabbing the wheel and lifting upwards.
-
To reassemble your device, follow these instructions in reverse order.
9 comments
Thanks for the info but can you tell me where I can get the wheel assembly as I think the motor has burned out. Thanks
Thank you so much :) … You helped me save all the money that I have spent on the Samsung Powerbot as I thought there is no way to fix it !
Can't Thank you enough Kyle ;)
Thanks for your information, also I would like to find the spare parts of wheel assembly . Can you recommend me for seller and prices?
October 23, 2018
Narit pukkapan
I needed to replace the left drive wheel on a SR20J9250U model. It is largely the same and many parts have VR9000H stamped on them. I will add any differences as I see them.
For this step, there are three clips plus the clip in front of the wheel on each side. First clip is approx 6 cm from the centre at the back. Next is approx 11cm from the first clip and the third is 11 cm from the second clip (almost above the wheel). Then there is the clip in front of each wheel that you can see.
Matt -