Introduction
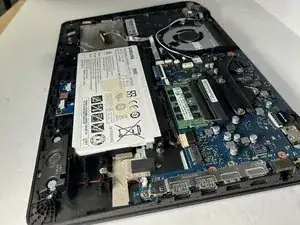
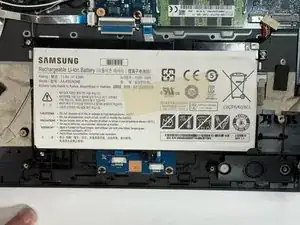
This guide is listed as a prerequisite for most other repair or replacement guides for the Samsung Notebook 5 NP530E5M, because it is recommended to unplug the battery from the mother board before any repairs or replacements for personal safety and safety of your electronics. Also, if your laptop is having power issues and you have ruled out power cables and other factors, you may want to replace your battery. This could include not holding a charge, not being able to charge, or not being able to power on at all. With this guide you will learn how to disconnect, remove, and replace the battery for your Samsung Notebook 5 NP530E5M.
This laptop runs on a lithium ion battery, which can be hazardous if not disposed of properly. Most electronics stores have recycle bins for old discarded electronics, where you can drop those items off at no charge.
Tools
-
-
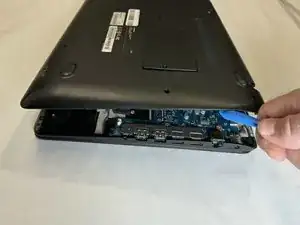
Flip the laptop over to access the bottom case.
-
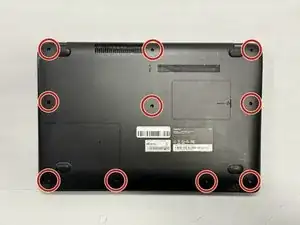
Using a Phillips #000 screwdriver, remove the ten 6mm screws that secure the bottom case.
-
-
-
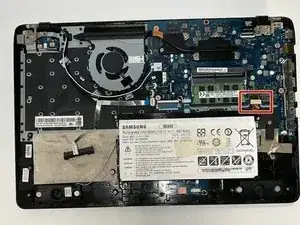
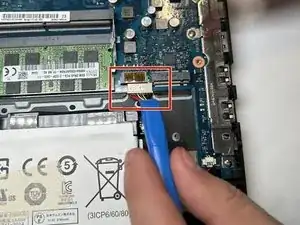
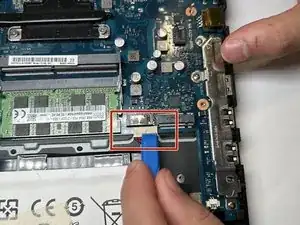
Using a spudger or iFixit opening tool, loosen the bundled power cable from its connector on the motherboard.
-
Disconnect the bundled cable connector.
-
-
-
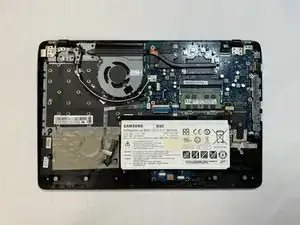
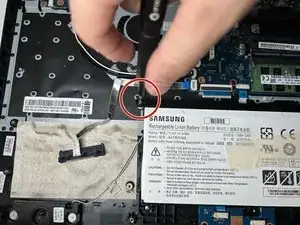
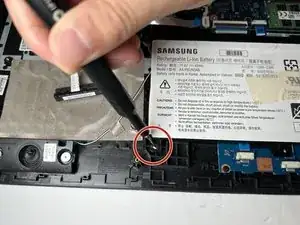
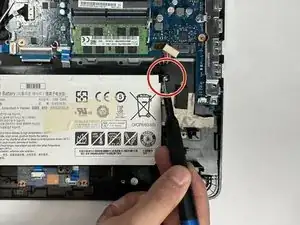
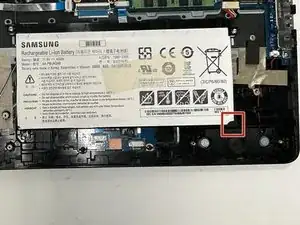
Using the Phillips #000 screwdriver, remove the three 5 mm screws holding the battery in place.
-
-
-
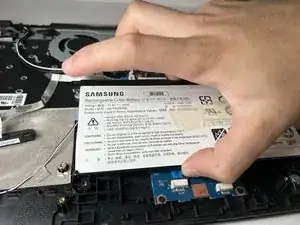
Gently grip the battery from the sides, lift up and and to the left to remove the battery from its place.
-
To reassemble your device, follow these instructions in reverse order.
