Introduction

Use this guide to replace a damaged back case, or open the case to access other components of your camera.

We highly suggest you use a magnetic project mat or an organization tray. This camera has many different types of screws and keeping them organized is key to proper reassembly.

  1. GIkMMb6eElYskyfR
    GIkMMb6eElYskyfR
    v1SdkxFgRiWmSkiX
    pbuPdnboQJqUgYiS
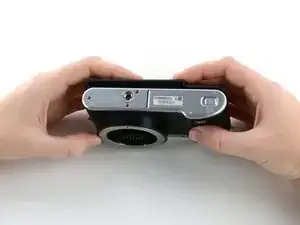
    • Turn the camera upside down. Only remove the lens if you have to in order to access the battery compartment, as dust particles could easily enter the main body and fall onto the delicate sensor.

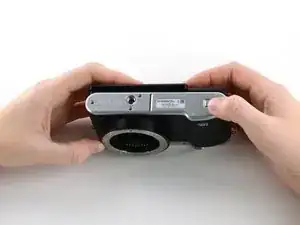
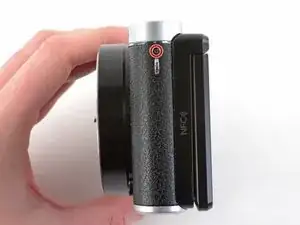
    • Slide the button to the left to open the battery compartment.

    • Push the blue button up to release the battery.

    • The battery is not shown in these photos.

  2. XEkPSEQtSQQNm65o
    XEkPSEQtSQQNm65o
    TVnrHHlgWjbFqjMS
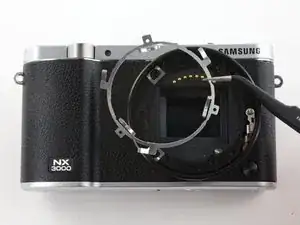
    • Remove the four 7.3 mm Phillips screws from the front of the lens assembly.

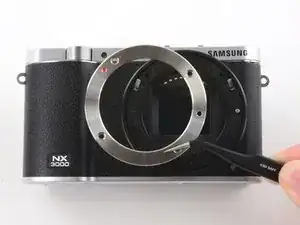
    • Remove the silver ring with tweezers.

  3. PtZXXHmxWyTcMwEX
    PtZXXHmxWyTcMwEX
    JFSjBYhPsH3jmfhH
    • Use tweezers to remove the black plastic ring and small metal ring inside the lens assembly.

  4. PdAp3WadHdMCZLYd
    PdAp3WadHdMCZLYd
    rExqpeCCfFMv3HJk
    DeAomvuiJILiJyHV
    • Use tweezers to lift the pyramid screw and spring from the lens assembly.

  5. NWZ2sRgyZOEsLbMt
    NWZ2sRgyZOEsLbMt
    bNCK2cwPfbcJ1vCL
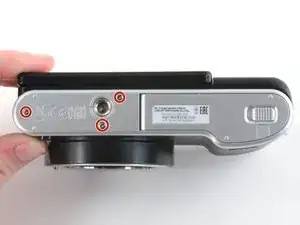
    • Remove the three 4.3 mm Phillips screws from the bottom of the camera.

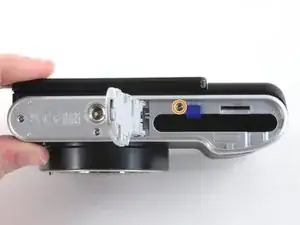
    • Remove the 4.3 mm Phillips screw hiding inside the battery compartment.

  6. EdbdBLphTWgRlilI
    EdbdBLphTWgRlilI
    h3NJDVHFGdtlDJid
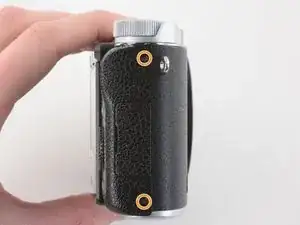
    • Remove the 4.2 mm Phillips screw from the left handgrip.

    • Remove the two 4.2 mm Phillips screws from the right handgrip.

  7. K5xtxBsKxZRsVCPm
    K5xtxBsKxZRsVCPm
    L5YqVTsKoeGiKKZf
    • Use tweezers to remove the metal shield from the external flash mount.

    You have to lift the front and then slide back

    Anthony Hunter -

  8. vJdWVqA6BEgDQoxw
    • Remove the four 5 mm Phillips screws from the external flash mount .

  9. KWEFnP3DOqlNscba
    KWEFnP3DOqlNscba
    fp2siyRnfCmrObyq
    • Remove the external flash mount.

  10. AZ6RCnN51Oa3U1pa
    AZ6RCnN51Oa3U1pa
    Ebb4VEWQGycIK1lX
    • Slowly pull the bottom of the back case away from the camera.

    • Do not attempt to remove the back case as it is attached to the motherboard by a ribbon cable.

  11. fXDvkWa5ElFfRIyd
    fXDvkWa5ElFfRIyd
    lqumKR1QGUna5XHy
    hMMjSasaQtQTaNjA
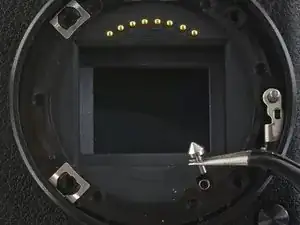
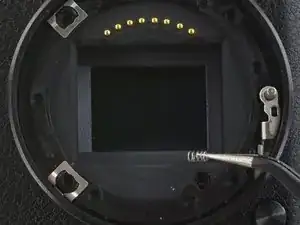
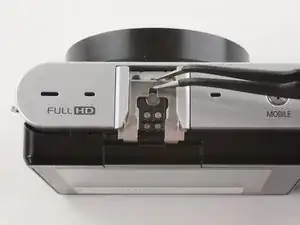
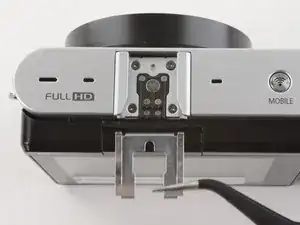
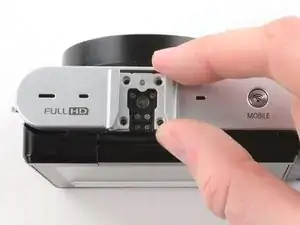
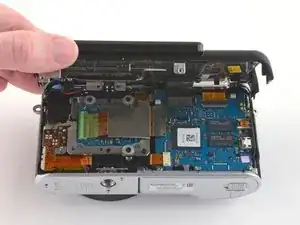
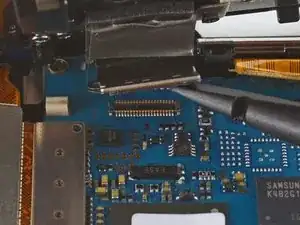
    • Use the flat end of a spudger to pry the flat topped connector straight up from the motherboard.

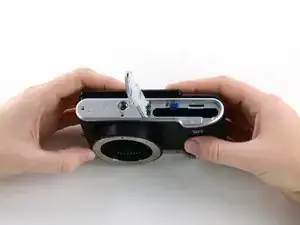
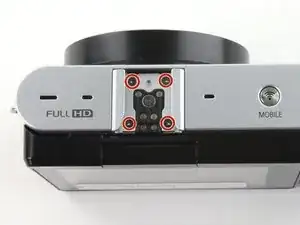
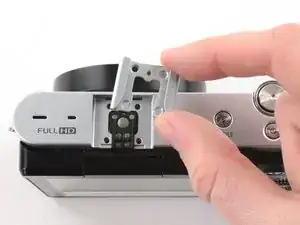
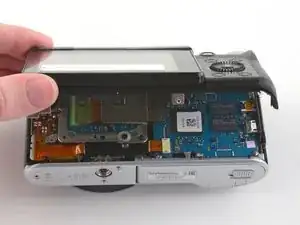
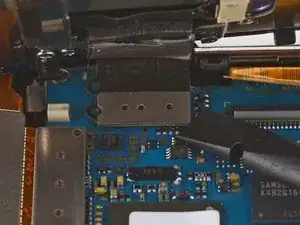
    • Remove the back case.

Conclusion

To reassemble your device, follow these instructions in reverse order.

Kelsea Weber

Member since: 12/11/15

19745 Reputation

0 comments