Introduction

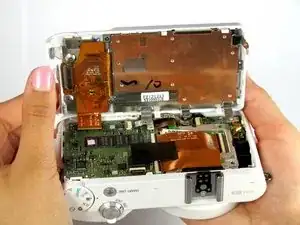
This guide will show you how to separate the back panel from the camera. Before starting the guide make sure the camera is powered off and the memory card is removed.

  1. tqFAtn3shITp2y1R
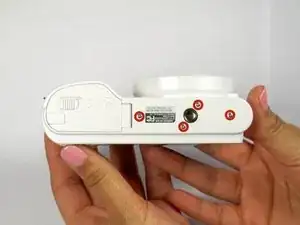
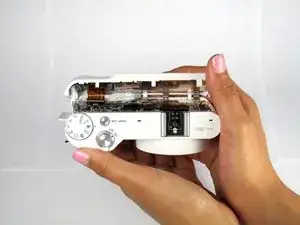
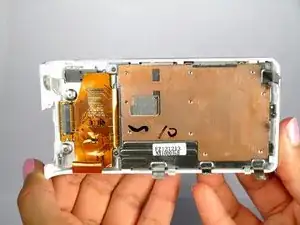
    • Locate the bottom panel of the camera.

    • Unscrew the four 4.5mm Philips #000 (perpendicular cross) screws with the Philips #000 screwdriver.

    • Push the screwdriver firmly into the screw so that the driver will not strip the screw.

  2. OMLZDahDpjN6cD1v
    OMLZDahDpjN6cD1v
    BEQiYiUNRacWlFML
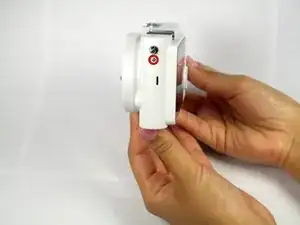
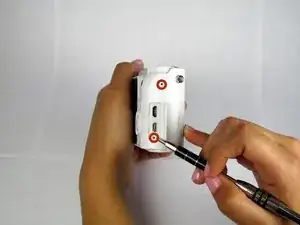
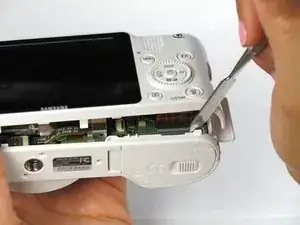
    • Unscrew the three 4.5mm #000 Philips screws on the sides of the camera using the Philips #000 screwdriver.

  3. CFtCHnNtSjPpF2w2
    CFtCHnNtSjPpF2w2
    3AKuDOJVomEGYPtk
    • Pry open the back panel using the metal spudger.

    • Do not completely separate the back panel from the camera. There is a ribbon on bottom left back corner underneath the buttons. The ribbon will hold the back panel to the camera. Do not jam the tool in this part or the ribbon will rip.

  4. BZsGYHyacZ1NdZPW
    BZsGYHyacZ1NdZPW
    WnkIO3BR2bZCHT1j
    • Open the two halves of the camera, taking care not to disturb the ribbon cable.

    • Do not completely separate the halves. The ribbon cable needs to be disconnected from the ZIF connection carefully as shown in the next step

  5. EOTWFOlbThSmTep3
    EOTWFOlbThSmTep3
    TJmqdHPBhLlWw4VJ
    TLEPOjoZAxJHSEf1
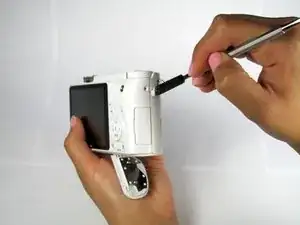
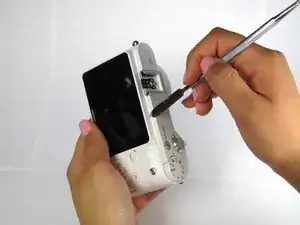
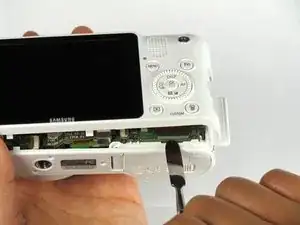
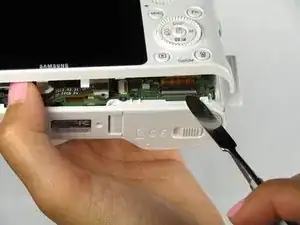
    • Remove the ribbon by lifting the grey tab on the ZIF connector with the metal spudger.

    • Push the ribbon out of its socket with the plastic opening tool.

  6. nwvyDI1nJGGorfEA
    nwvyDI1nJGGorfEA
    hmTVDGLBdjGS6mcy
    • Completely separate the back panel from the camera.

Conclusion

To reassemble your device, follow these instructions in reverse order.

Yesenia

Member since: 22/01/15

717 Reputation

0 comments