Introduction

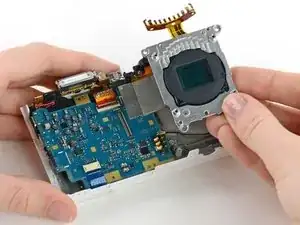
This guide will show you how to access the sensor for cleaning or necessary repairs.

  1. psgCIinb2HQMroHV
    psgCIinb2HQMroHV
    6yv6OFRTRWGjJuDq
    LZkXwqCYcOK1XgtX
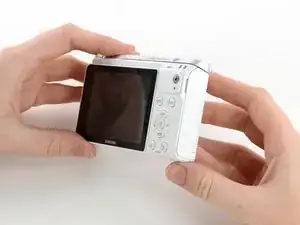
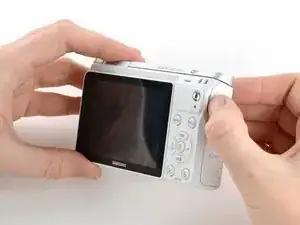
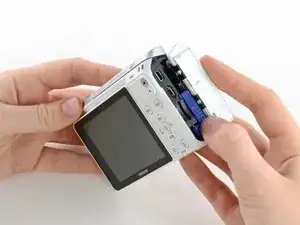
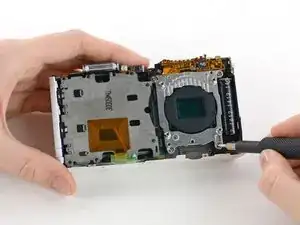
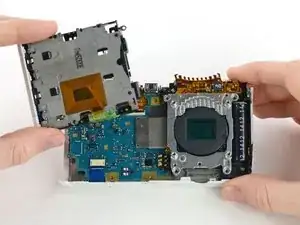
    • Orient the camera so the button panel and LCD are facing you.

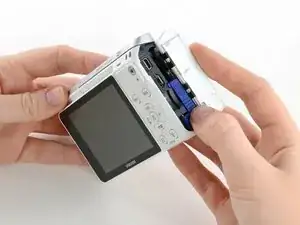
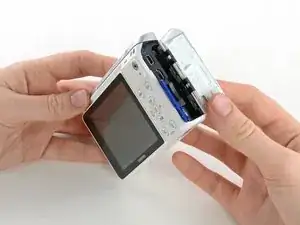
    • Use a spudger or fingernail to open the battery compartment on the right side of the camera.

  2. NOJqRWLyWWHfIedp
    NOJqRWLyWWHfIedp
    PGw5WQLbd5UsU1ZT
    • Push the blue trapdoor to the left to release the battery, and remove the battery.

    • There is no battery shown in this photo.

    my battery is stuck, is there a manual release button or a way to remove the battery safely?

    beat70 -

  3. usF2HdXjipSkAu65
    • Use a Phillips #00 screwdriver to remove the 4 mm screw inside the battery compartment.

  4. FBhJCXxOCVoKTGgA
    • Remove the 4 mm Phillips #00 screw hiding in the external flash port.

    You don't show us how to remove the top plate

    Bev Curran -

  5. RQypSEK2pdXYyDFf
    • Remove the four 5 mm Phillips #00 screws from the lens assembly.

  6. 52UiRHqVkOYpBNq3
    • Remove the metal lens mount by hand or with tweezers.

    • Be careful not to touch the sensor in the center of the lens assembly.

  7. fuT3A4bYWYT26OFe
    • Use tweezers to remove the inner metal ring.

  8. n3eyKKDHKE1x6WVH
    • Use a Phillips #00 screwdriver to remove the three 4 mm screws from the bottom of the case.

  9. lhXCW5uEdZpJbVWT
    lhXCW5uEdZpJbVWT
    HYEglwV2lN5kAHBD
    • Use your hands to slowly pull the front casing away from the camera.

    • The case is attached with multiple clips that may make a cracking noise as you pull it away from the camera.

  10. 5bxPsdobXUhXKRG2
    5bxPsdobXUhXKRG2
    LeBurhyDnv546y4G
    w4jU2XYShyWsFPjy
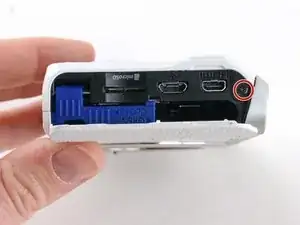
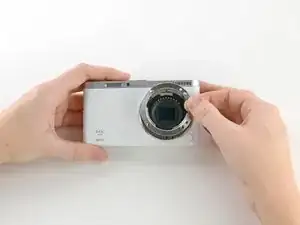
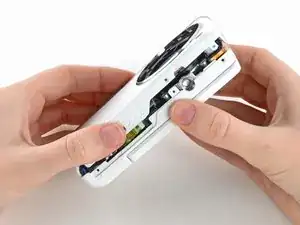
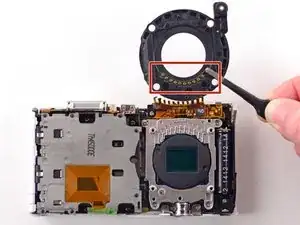
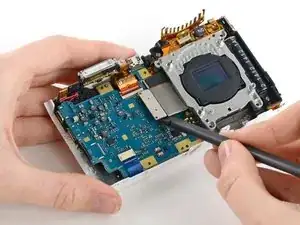
    • Gently flip the sensor cover back to expose the screw attaching the sensor cover to the ribbon cable.

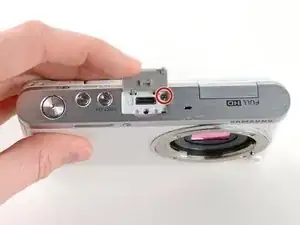
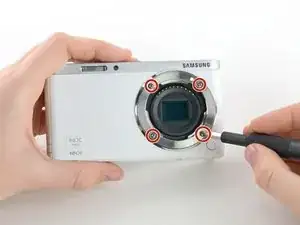
    • Use a Phillips #00 screwdriver to remove the 3 mm screw from the sensor cover.

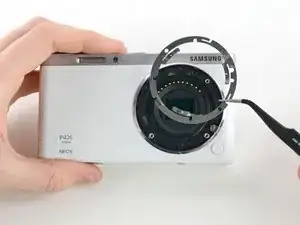
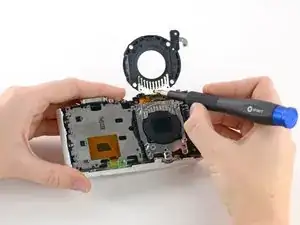
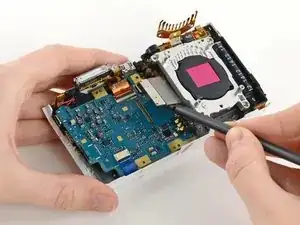
    • Use tweezers to remove the metal contact cover. Be sure to carefully remove the cover so the gold contacts remain in place.

    • The gold lens contacts lying beneath the ribbon cable become loose when the screw and contact cover are removed.

  11. OAgp2SpqopONw5nV
    OAgp2SpqopONw5nV
    O6GLTONJMbJMiDjP
    • Remove the four 4 mm Phillips #00 screws holding the sensor mount in place.

  12. n1EoBerVgoxK5nKQ
    n1EoBerVgoxK5nKQ
    saZACwfTUYYCVJji
    XCqZmVyZQmvHGwpB
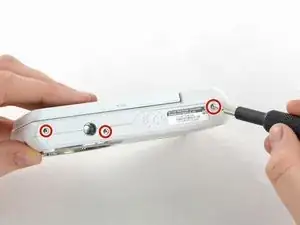
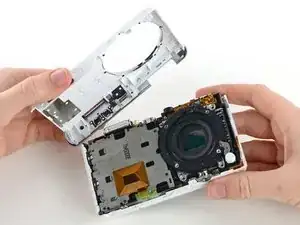
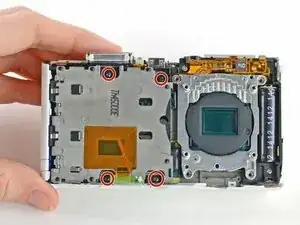
    • Remove the four 4 mm Phillips #00 screws securing the battery compartment to the mother board.

    • Remove the battery compartment.

  13. BWBfAHN2uTvO12Nn
    BWBfAHN2uTvO12Nn
    JlkgIVtduVg4jcJi
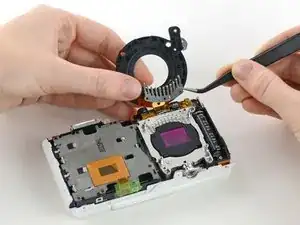
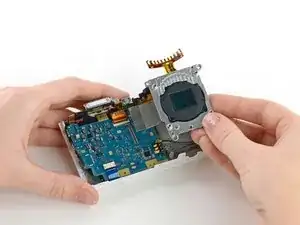
    • Use a spudger to disconnect the ribbon cable connecting the image sensor to the motherboard.

  14. TSGKI1XrLKOSBQoc
    • Gently remove the sensor mount from the camera case.

Conclusion

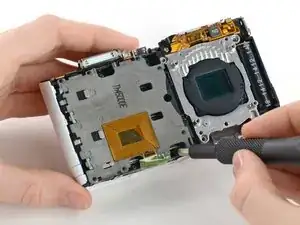
To reassemble your camera, follow these instructions in reverse order.

Kelsea Weber

Member since: 12/11/15

19745 Reputation

One comment

Hello,

I need to know the exact dimensions of the IR-cut filter in the Samsung NX Mini camera, which should be just above the sensor. Could you possibly give me that information? I need that because I’d like to modify my NX Mini camera and change it into an infrared camera. I have to cut an infrared filter in the right size, before the disassembly of the camera.

Thank you!

Siamak ADN -