Introduction
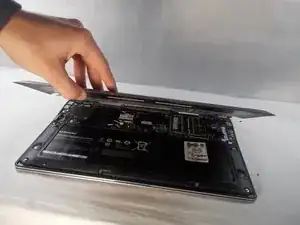
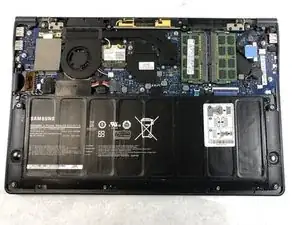
This guide will give a step by step walk through on how to remove the back panel of the laptop. Before replacing the back cover make sure the device is unplugged and turned off as a safety step.
Tools
-
-
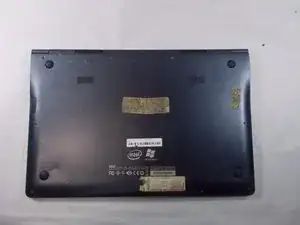
First turn the computer over so you are looking at the back panel.
-
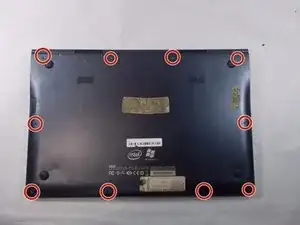
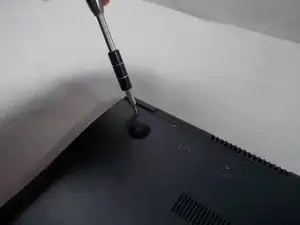
Next locate all ten Phillips #0 3.5mm screws on the back panel that are securing it down.
-
Conclusion
To reassemble your device, follow these instructions in reverse order.
